Cricut Travel Scrapbook Page
Note: As an Amazon Associate, I earn from qualifying purchases. If you click on a link from Amazon or another of my advertising affliates, I will earn a small commission at no additional cost to you. Please see my full disclosure policy here.
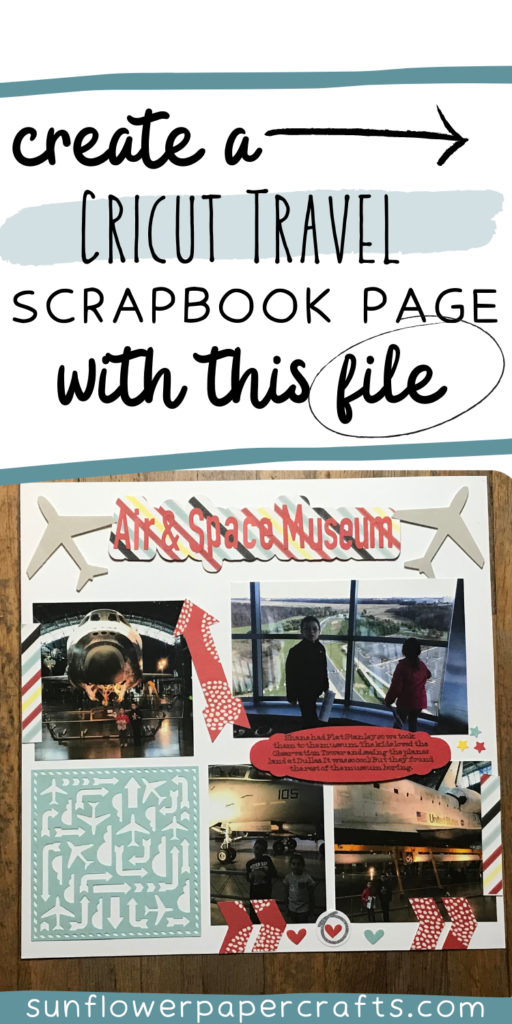
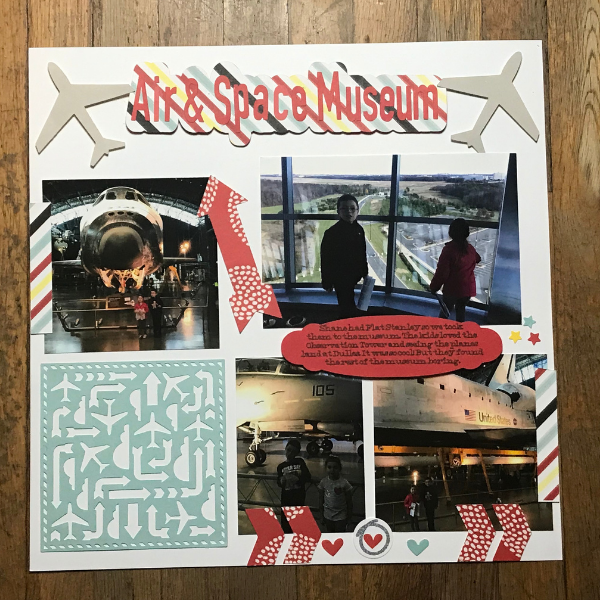
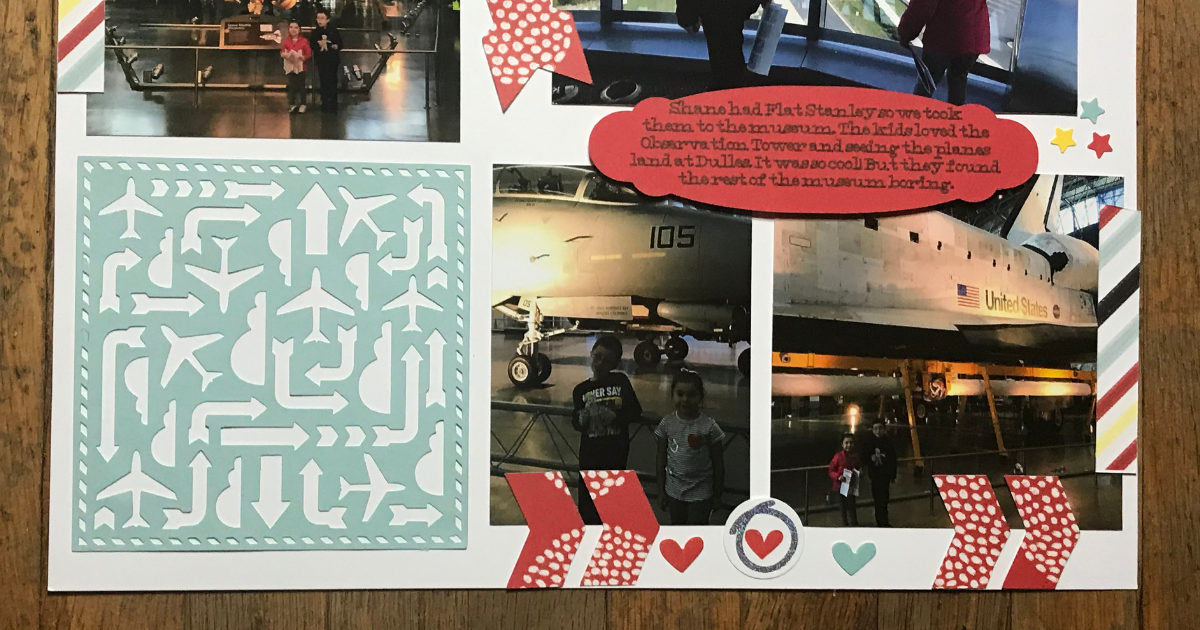
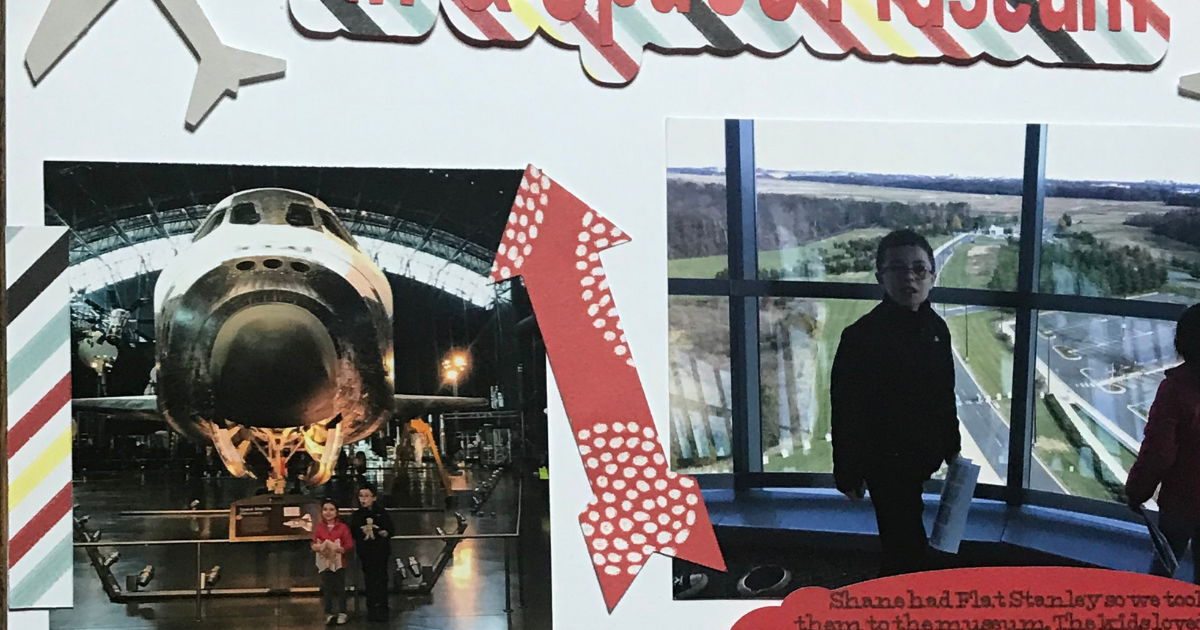
Scrapbooking is all about the story behind the photos and nothing is better than the stories of your travels. I created this Cricut Travel Scrapbook page for our trip to visit the Air and Space Museum in Virginia. My husband and I though the kids would love seeing the space shuttle and all the planes, but we were so wrong. I’m in awe of the space shuttle and I’ve seen it a few times, but my kids were not impressed. Traveling with kids is always an adventure for sure.

In Cricut Design Space, I created almost the whole page using one image- the airplane stencil overlay. The airplane stencil overlay is part of the Close To My Heart Artbooking image set. The Close To My Heart Artbooking Image Set is free with a Cricut Access Standard or Premium membership or you can purchase the set or images.
Contour Tool In Cricut Design Space
You might be wondering- how did I create this whole page with an airplane stencil overlay from Close To My Heart? One of the really great things about Cricut Design Space is the contour tool. The contour tool will hide the parts of the image you don’t want to use. Using the airplane stencil overlay, hide all the contours (there are just so many), then click only the ones you want to use. Duplicate the airplane stencil overlay for each image you want to use. Then each image will be its own image. For example the arrow is it’s own image and I can change it and move it. Towards the end of the post, I will be sharing the Design Space link to the page, so you can easily create your own page.
Cricut Travel Scrapbook Page
I did this for the airplanes and all the arrows on the page. It worked out perfectly and made a really cool Cricut travel scrapbook page.
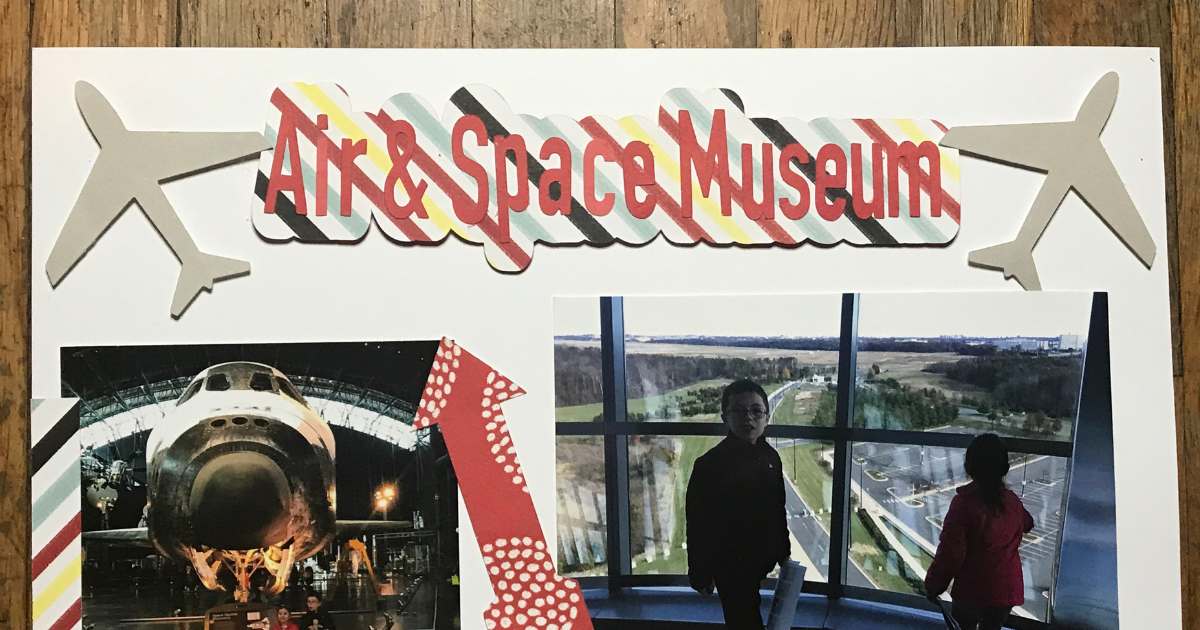
For the title of the scrapbook page, I used the name of the museum and the new offset tool in Design Space. Here are other ways to create scrapbook titles with Cricut.
The colors of this page went really well with the Happiest Place Paper. I used it for the offset shadow in the title and a few page embellishments. Next I added on a few stickers that I had left from the Happiest Place Sticker Sheet. The Happiest Place is such a fun collection for summer memories, travel, carnivals/fairs, and amusement park fun.
I say this all the time, but I just love using Close TO My Heart scrapbook paper and card stock. It’s so easy to use up leftover pieces on another page (just like this one). Plus it’s the absolute best paper for cutting with the Cricut machine. It cuts so smooth and well, I highly recommend it. You will never go back to other scrapbook paper or card stock.
My Cricut Travel Scrapbook page can be used for that first flight or any kind of travel or visit that involves a plane. Use the layout and just add different Cricut images to make it your own and personalized for your travel adventures. Here is the Cricut Travel Scrapbook Page, just open the link and start customizing and cutting your page.
Photos for Travel Page
This scrapbook page holds 1- 4×6, 1- 4×4, and 2 3×4. You can choose to cut the photo place holders (the white squares and rectangles) or hide them before cutting, which I normally do.
If you have never created a scrapbook page from scratch with your Cricut, you can use this **tutoiral to make a page today with your Cricut.
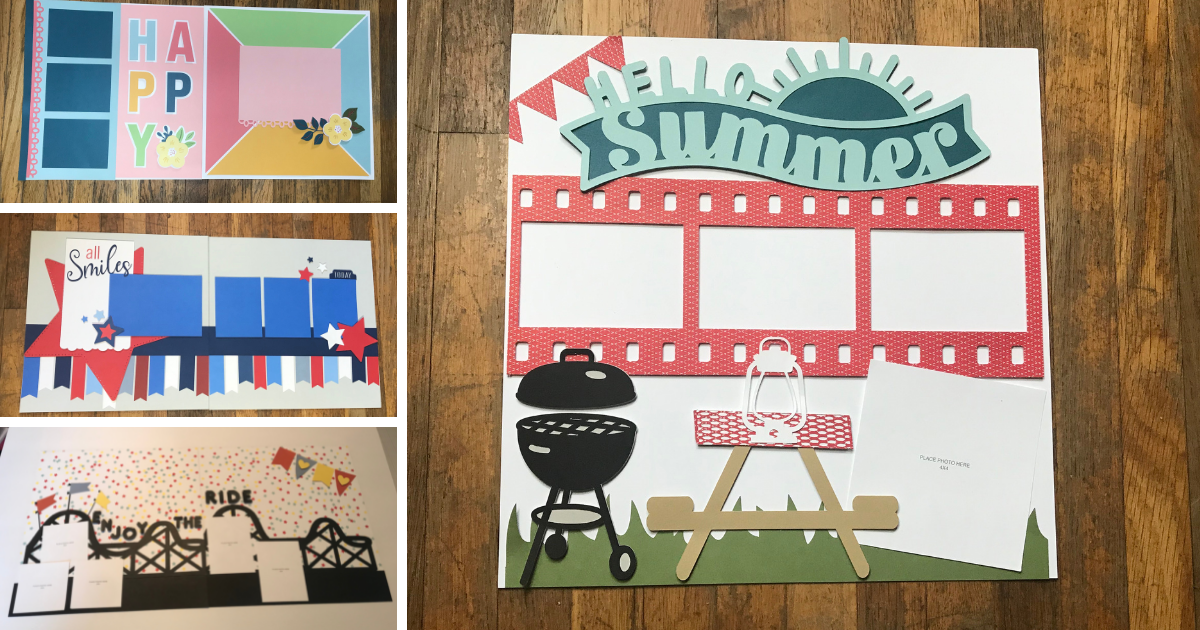
More Cricut Scrapbook Layouts
Patriotic Scrapbook Page
Picnic Scrapbook Layout
Spring Scrapbook Page
Great Outdoors Scrapbook Page
Amusement Park Scrapbook Page
Family Scrapbook Page
