How to Build a Scrapbook Page in 5 Easy Steps
Note: As an Amazon Associate, I earn from qualifying purchases. If you click on a link from Amazon or another of my advertising affliates, I will earn a small commission at no additional cost to you. Please see my full disclosure policy here.
Do you want to know how to make a perfect scrapbook page each time? I’m sharing the 5 easy steps to make that perfect page all the time. The basics of building a scrapbook page are really easy and simple. You just have to know where to start and now to build a scrapbook page. I wish I had known these steps when I started.
If you are a beginner or returning to scrapbooking, these step by step ideas are going to inspire you and increase your creativity. These 5 easy steps can be used for any scrapbook page, paper or topic.
5 Steps To Make a Scrapbook Page
#1- Choosing Photos
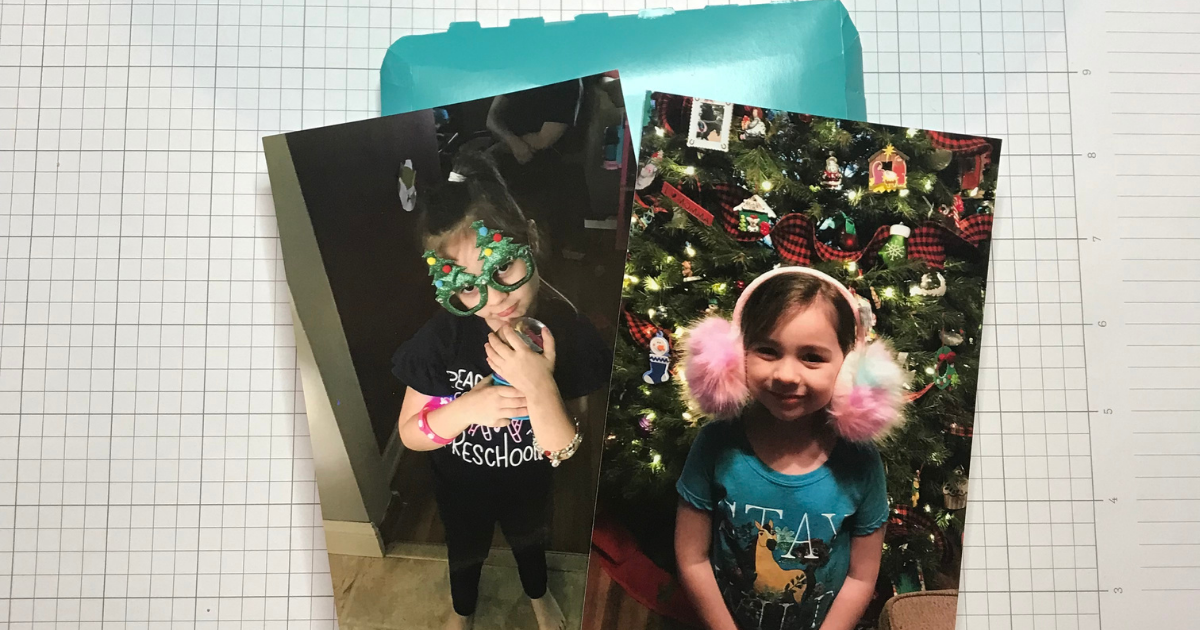
Pick the photos for the scrapbook page. Decide on the size of the photos so that you can easily look for a scrapbook pattern. Photo choice is a very personal choice to me. All photos will be different because we all have our own story to tell. Any photos that capture a special moment is a scrapbook must.
#2- Scrapbook Page Layout
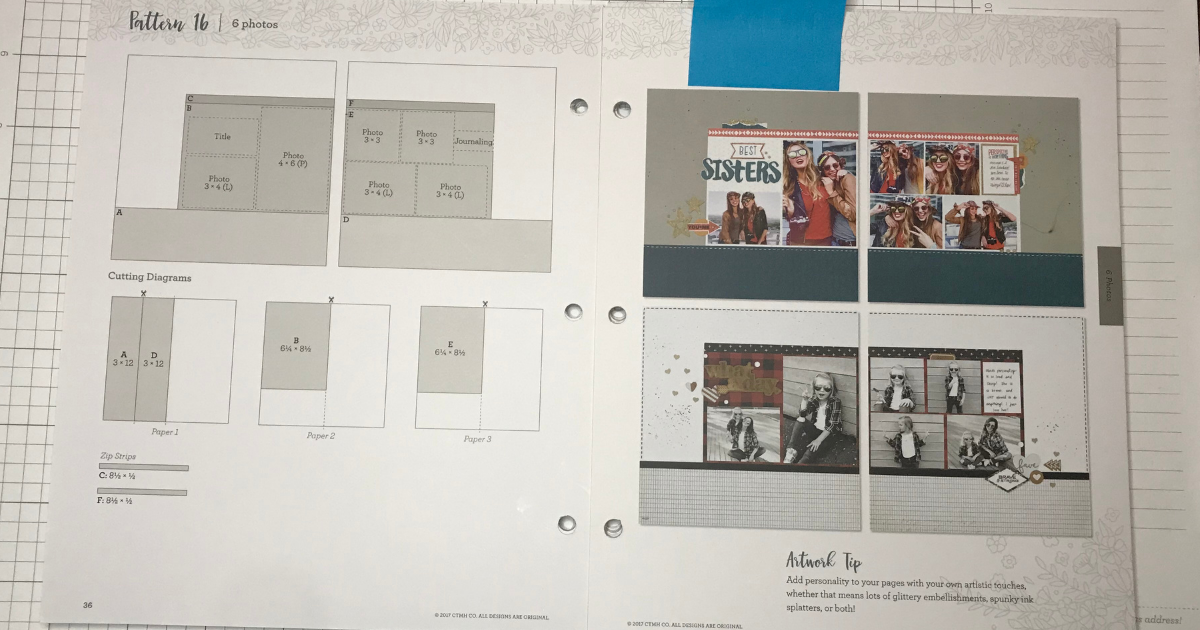
Choose a scrapbook pattern, layout or template to start your page. I feel like these words are interchangeable because this is the design you are creating your scrapbook page with. You can use a pattern from the Make it from the heart books or other layouts. Using a pattern or template saves some time, but you can always sketch out your design too.
Free Scrapbook Layouts
3 Easy Kids Scrapbook Pages with Sketches
Scrapbook Sketches to Get Ahead on Scrapbooking
Basic Scrapbook Sketch with 6 Photos
Secret to Quick Scrapbook Layouts
Fun and Easy DIY Scrapbook Layout
#3- Picking the Scrapbook Paper
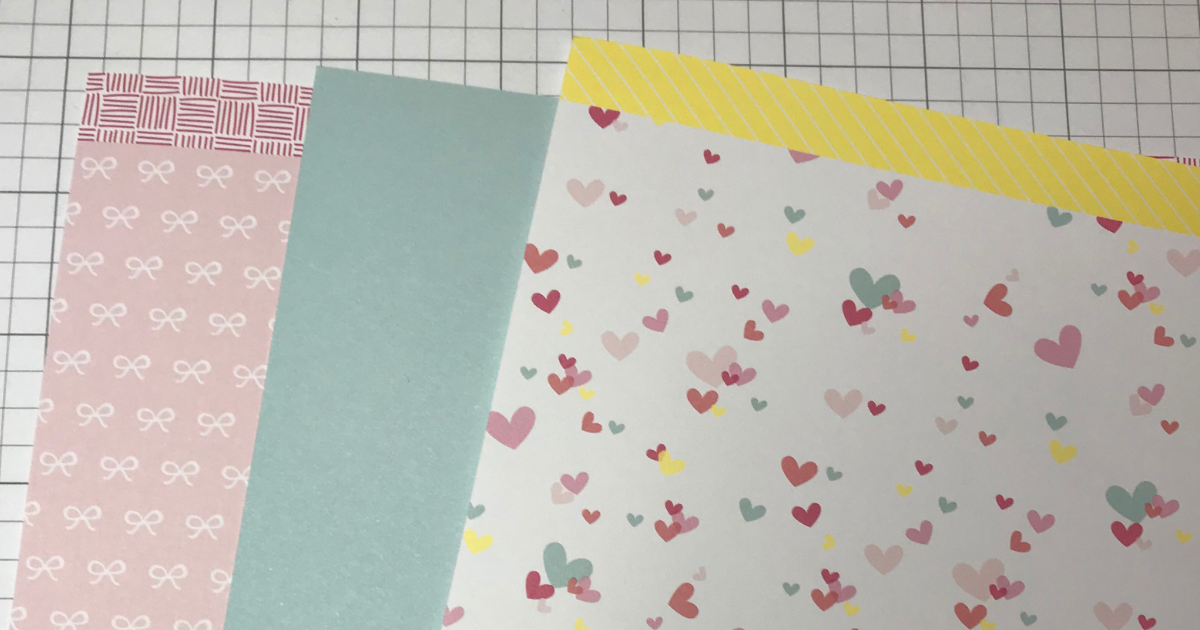
The third step is my favorite one of choosing paper. Honestly though any time I’m making a scrapbook page, it’s my favorite step. Scrapbook paper is like an obsession to me, I always have to look at it, feel the paper (yep I’m weird like that) and check it out anytime I see it. You can choose paper that matches your photos or the themes of your photos. My #1 tip for paper selection is to use white card stock as your base and add on colorful card stock and patterned paper as accents.
#4- Putting It All Together
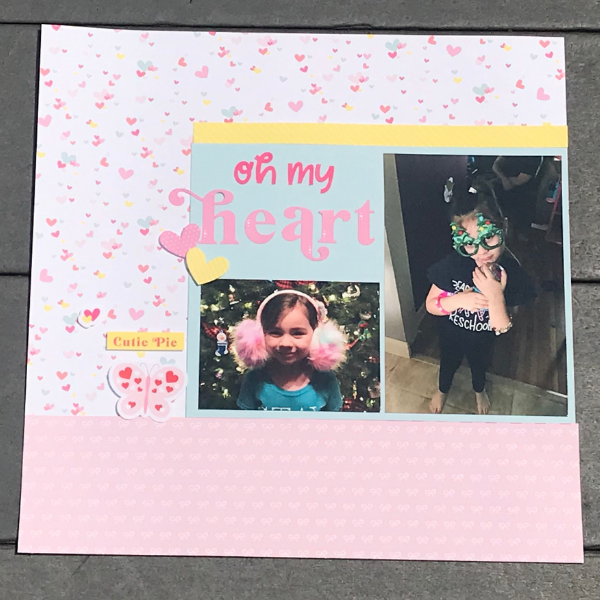
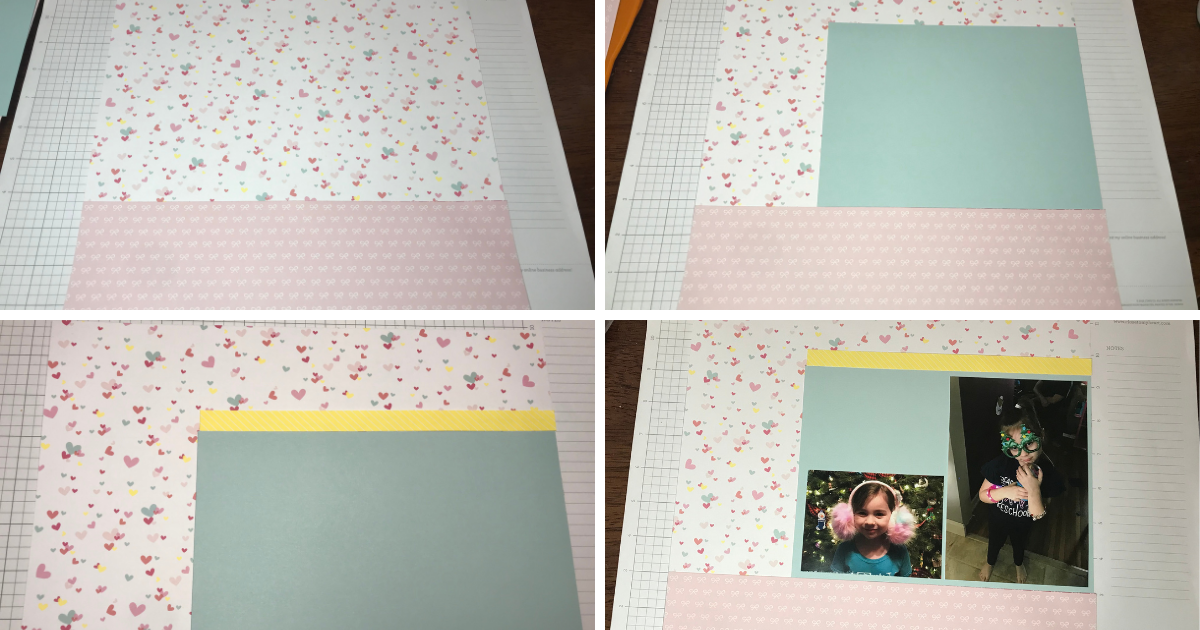
Now it’s time to start putting it all together. Start to build the scrapbook page from the bottom layer up. Have the base paper and add the paper and photos on top of it.
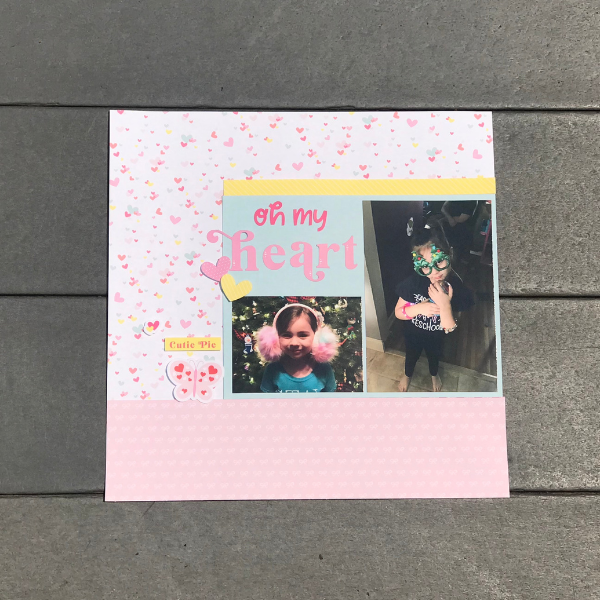
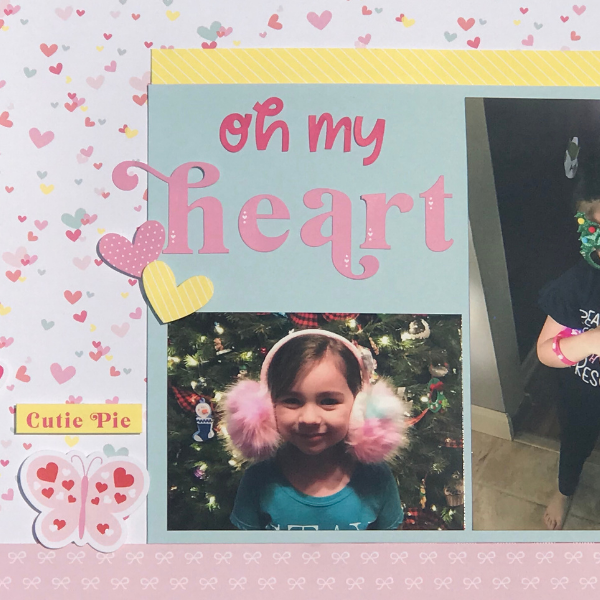
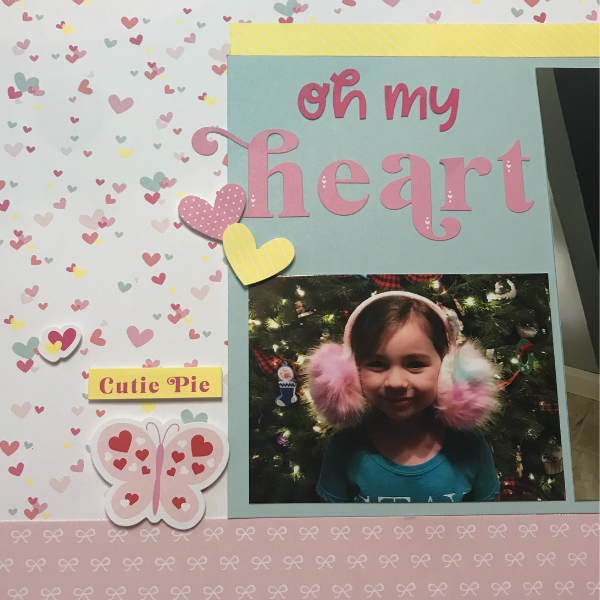
For this page, I’m using the white paper with the multicolored hearts as the background and the yellow zip strip on top for the page. All of these pieces are cut using a paper trimmer.
#5- Decorating
The last step is to add the embellishments, stamps, stickers, die-cuts.shapes or picture my life cards
All of the decorative elements add the “cute” to the scrapbook page. It brings the design of the scrapbook page to life.
Tips for Decorating a Scrapbook Page
Use 3D foam tape
Layer the decorations on top of each other or very close together
Use the corners of the photos or the top of the page corners to add more embellishments
Use a combination of all of the different types of embellishments
Add acrylic or wooden shapes to the page
Using these ways to make a scrapbook page will give you a perfect page every time. Make sure each of your pages have these 5 things . Your design will be flawless and your memories will be cherished forever. Easy and simple will be your new guide to scrapbooking. Print the steps so that you can see them and have them every time you scrapbook.
