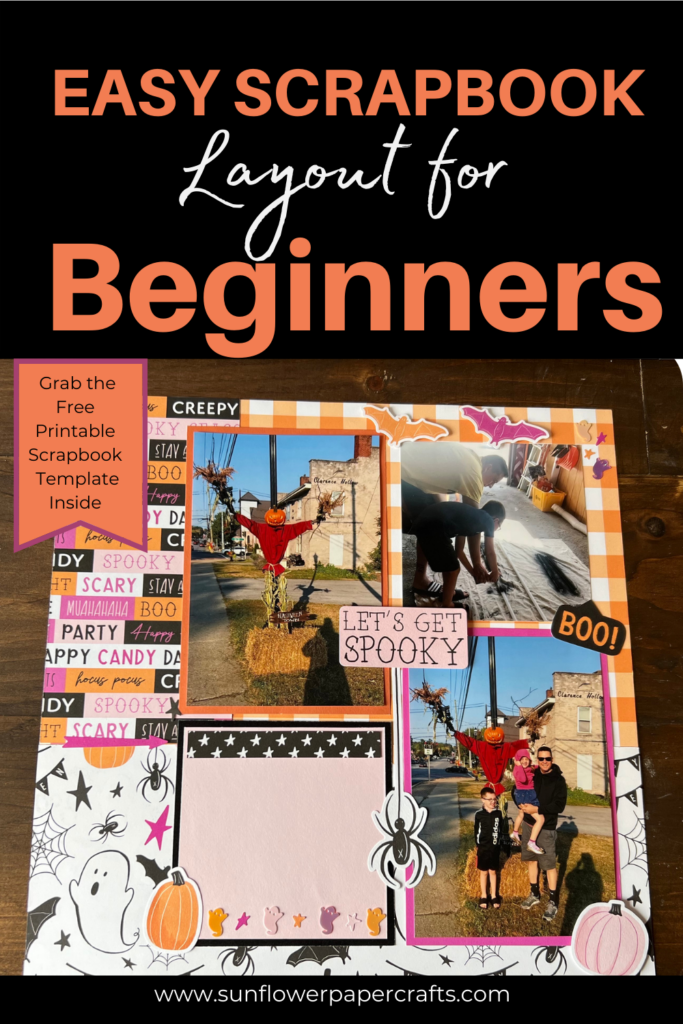
Make this Easy Scrapbook Layout for Beginners in 15 Minutes
Note: As an Amazon Associate, I earn from qualifying purchases. If you click on a link from Amazon or another of my advertising affliates, I will earn a small commission at no additional cost to you. Please see my full disclosure policy here.
If you’ve wanted to start scrapbooking, but have no idea where to begin then you are in the right place! Today I’m sharing a super simple and cute page layout that anyone can sit down and create. I have all the measurements for cutting, the design is basic and when you put it all together it will be the best scrapbook page ever. This easy scrapbook layout for beginners was so much fun to create because it takes me back to the basics of scrapbooking.
To get started all you need are a few simple supplies because this scrapbook tutorial uses a paper trimmer, paper, glue and stickers. When I say basic I mean basic, but the cuteness factor is out of this world.
I’ll show you step by step how to create this easy scrapbook layout because I know how confusing it can be. One thing about scrapbooking is to start with the bottom layer and add on.
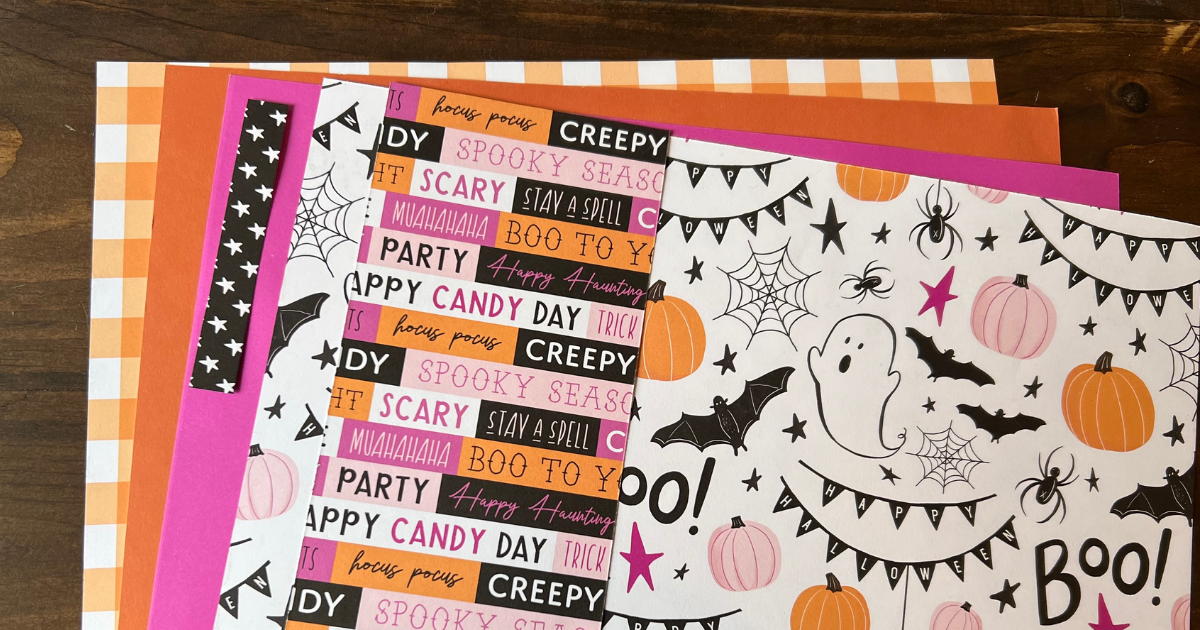
Materials for Beginner Scrapbook Layouts
Paper Trimmer
Glue
Base Paper (orange checkered)
Patterned Paper
Cardstock
Stickers
Boo Crew Sequins
Choose your base scrapbook paper, patterned paper, cardstock and your photos before you start. Having these items all together will make creating the layout so much easier. If this is all super new to you visit my simple and easy steps to start scrapbooking to help you get started.
For this beginner scrapbook layout, I’m using the Boo Crew Paper Packet + Sticker Sheet pieces that I have left. I can’t believe it, but I’ve almost used up a whole paper collection.
I choose to use the CTMH products because it’s made my scrapbooking so much easier. Before I was a CTMH Maker, I would spend the majority of my scrapbooking time matching paper, then I would have little time left to actually create a scrapbook page. I was becoming very frustrated because I felt like all I had time for was matching paper. My time is very valuable to me and having all of my paper matching makes my life so much easier (and happier). Now when I have the time to scrapbook, I actually get to scrapbook! It’s amazing and I’ve been able to complete so many layouts.
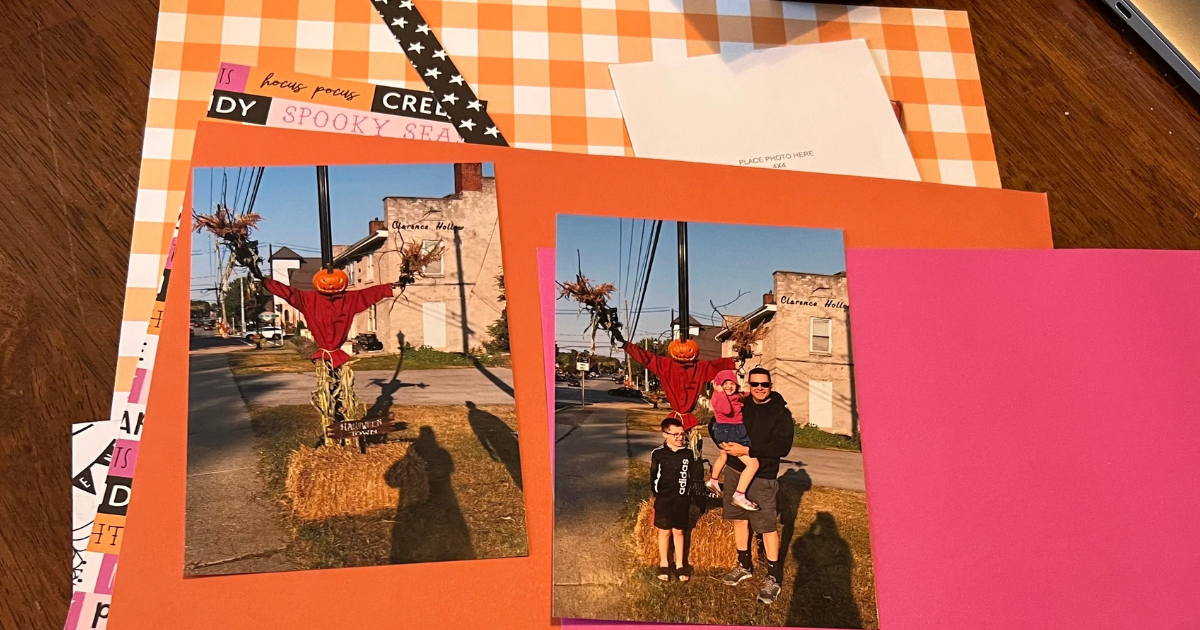
Easy Scrapbook Layouts for Beginners
Step 1: Mat the Photos
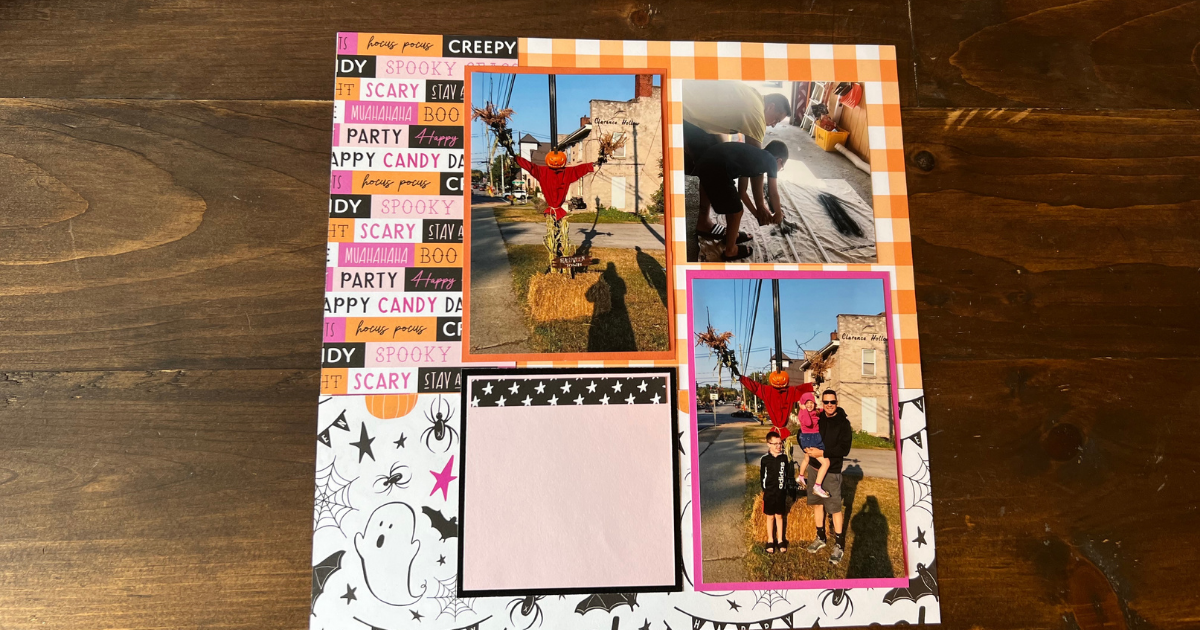
The first thing is to create the mats for two 4×6 photos using cardstock. Cut the mats 4.25 x 6.25 using the paper trimmer. Adhere the photos to the mats. Next cut the other photo to 4×4 using the paper trimmer. Set aside all the photos for later.
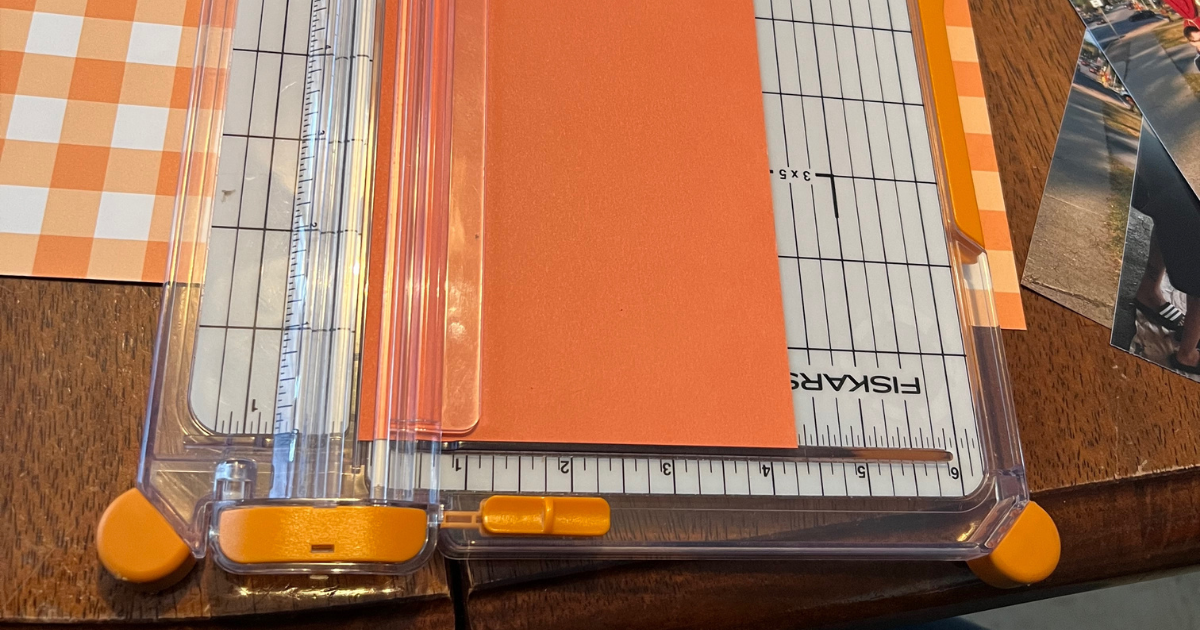
Step 2: Cut the Patterned Scrapbook Paper
Cut the patterned paper for the bottom strip (mine is the white ghost paper) 4.5 x12. Attach the patterned paper strip to the bottom of the base page. The orange checkered paper is my base paper.
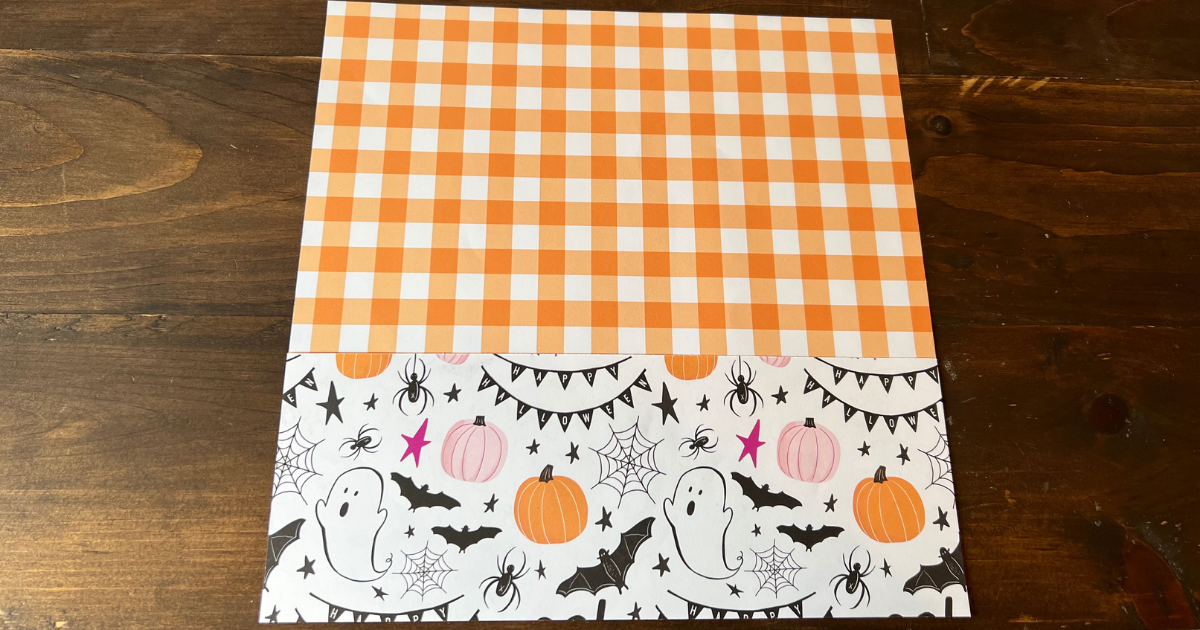
Step 3: Add Patterned Paper to Scrapbook Layout
Add the patterned paper with all the words to the top of the left hand side of the page. Cut this paper to 3.75 x 7.5. This paper will meet the patterned paper at the bottom.
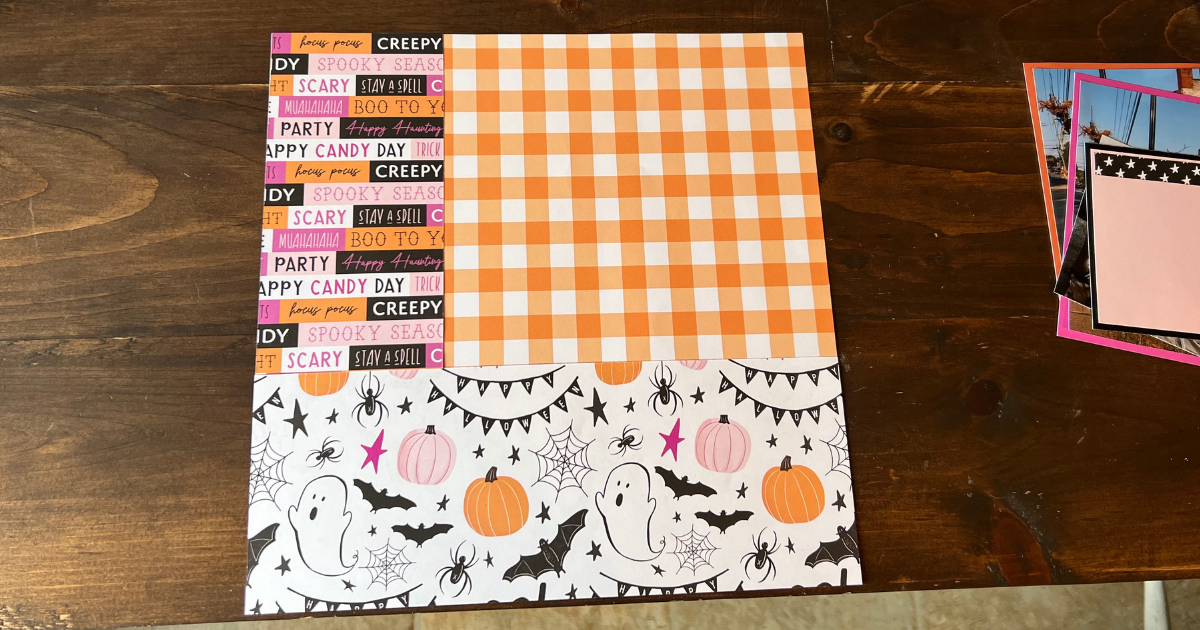
Step 4: Create the Journal Card
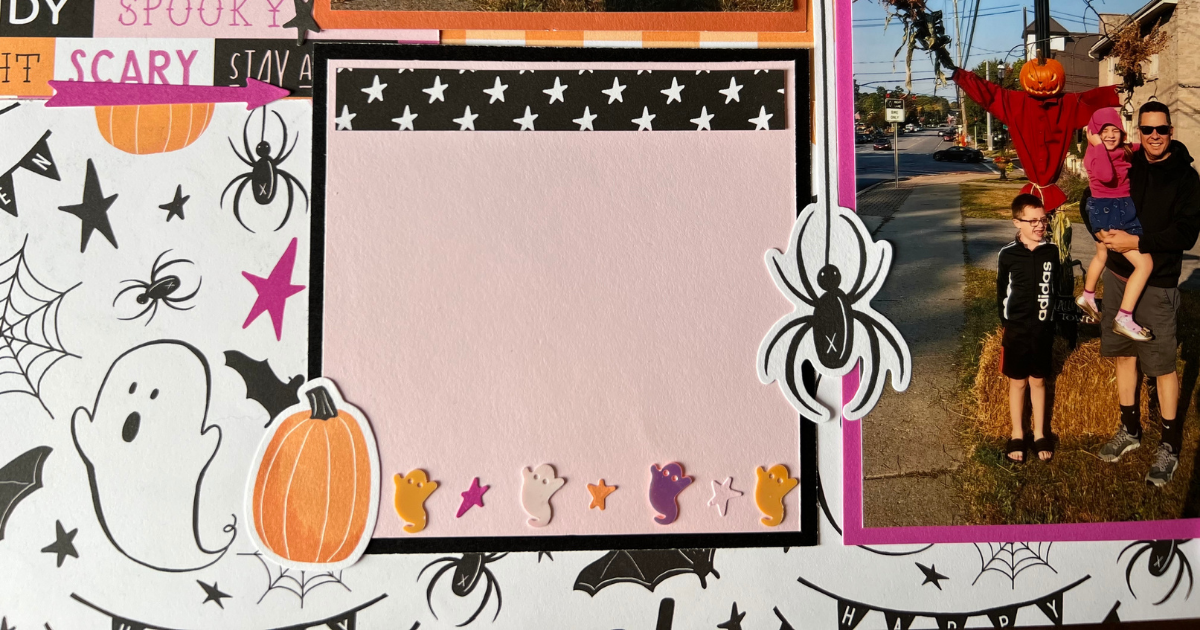
Create the journaling card for the page with light pink and black cardstock. Cut the black cardstock 4.25 x 4.25 and the light pink cardstock 4×4. Adhere the cardstock together and add the star zip strip to the top of the journaling card.
A zip strip is a patterned piece of paper that is .5 in width and this one is 3.75 inches long. It was a scrap piece, but it fit perfectly on this page.
Step 5: Add the Photos to the Scrapbook Page Layout
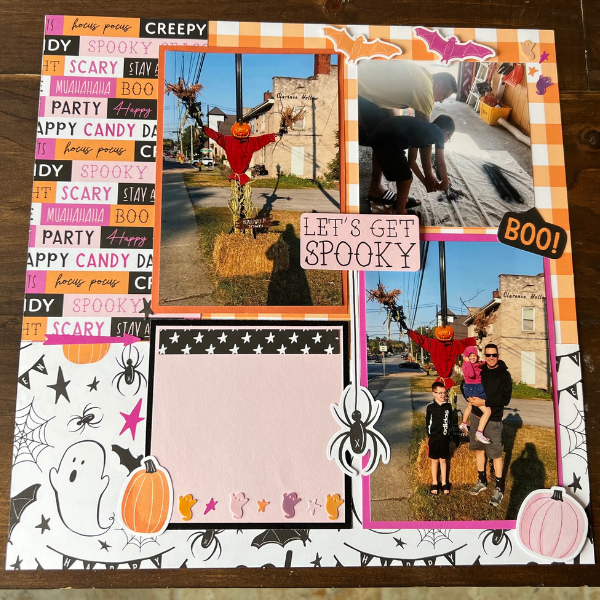
It’s finally time to put the easy scrapbook layout together by adding the photos and journaling card. Personally I feel like this is a personal choice. I add my photos and journaling card to make a rectangle shape on the page and to make sure everything lines up. I place the 4×4 photo centered above the photo with the mat.
Step 6: Time to Decorate
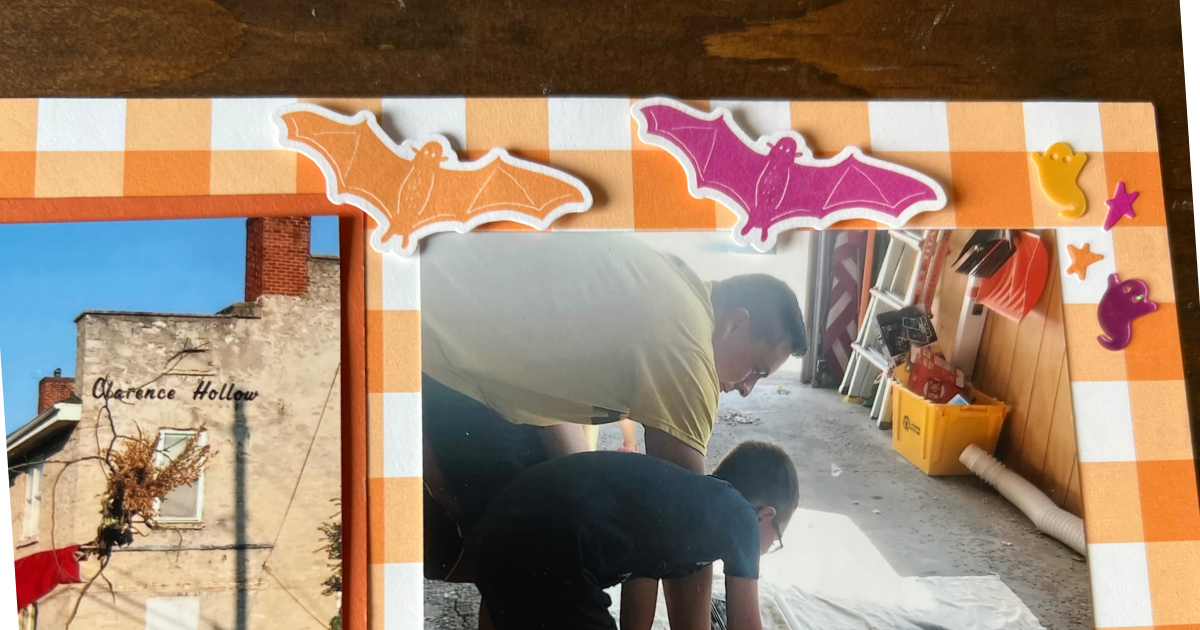
Congratulations you have created your first easy scrapbook layout for beginners and now it’s time to decorate. Lets up the cuteness with some sticker and ghost sequins. Add the stickers where you want and remember to use some 3D foam tape for depth on your page. For my page title I used the sticker that says “Let’s get spooky” and added it to the center of the page.
I hope you found this easy scrapbook layout for beginners tutorial helpful and that you had fun creating your scrapbook layout. Here is the scrapbook template with all the measurements and details about the page that you can print and keep for future pages. Oh yes, keep the templates that you like and reuse them again. Using different scrapbook paper and decorations make the page layout look completely different.

Other Beginner Scrapbook Tutorials You May Like
Simple Scrapbook Page Using 5 Pieces of Scrapbook Paper
