Creative DIY Scrapbook Album Cover | How to Make in 3 Steps
Note: As an Amazon Associate, I earn from qualifying purchases. If you click on a link from Amazon or another of my advertising affliates, I will earn a small commission at no additional cost to you. Please see my full disclosure policy here.
Scrapbook albums are filled with wondrous pages, layouts, photos, embellishments and so much more, but many times it’s just a blank album cover. Don’t let your scrapbook album cover be boring anymore! It’s super easy to create a design with your Cricut in vinyl and add it to your album cover and spine. Here’s how I made a creative DIY scrapbook album cover in 3 easy steps.
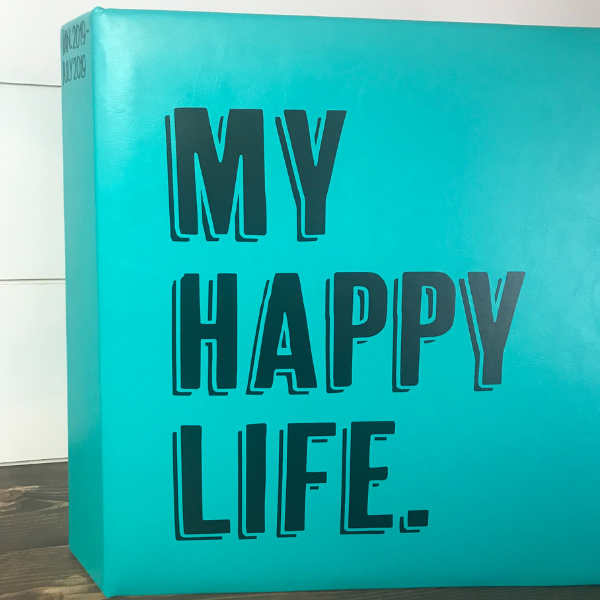
Some scrapbook album covers can be cloth or faux leather. The adhesive vinyl will work perfectly on either of these. You could also use heat transfer vinyl too as an option. Adding a creative design to your album cover can be done on a post bound album or a D ring album. A DIY album cover can also be added to any size scrapbook, just adjust the design size to your album.
Did you know that Close To My Heart has digital art? I’ll share a little secret that they are going to have more CTMH created SVGS and Cricut collections.I’m so excited for all of this. I love creating with my Cricut and the images that CTMH and Cricut create are always amazing. I’ll just share a few of my favorite Cricut scrapbook pages below.
Cricut Scrapbook Pages
Fun and Sun Cricut Scrapbook Page
Cricut Patriotic Page
Cricut Picnic Layout.
If you’ve never created a scrapbook page before in Cricut Design Space, here is a Cricut Tutorial to Make a Scrapbook Page in Design Space.
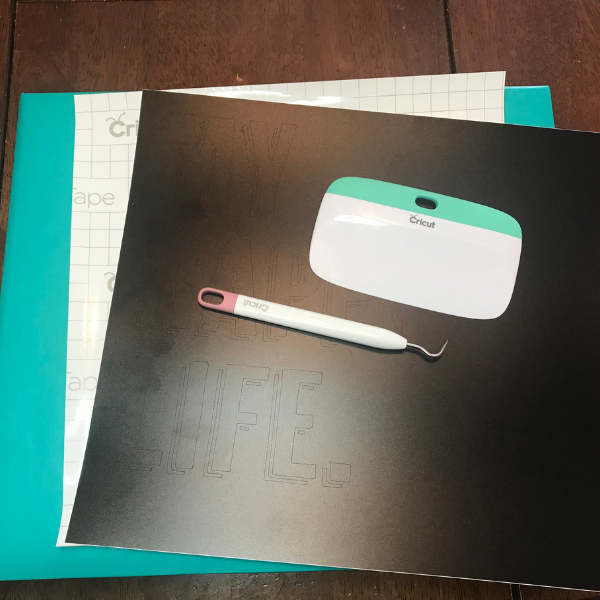
Supplies for How To Make a Scrapbook Cover
Scrapbook
Vinyl
Weeding Tool
Scraper
Transfer Tape
How To Make a Scrapbook Cover with Vinyl
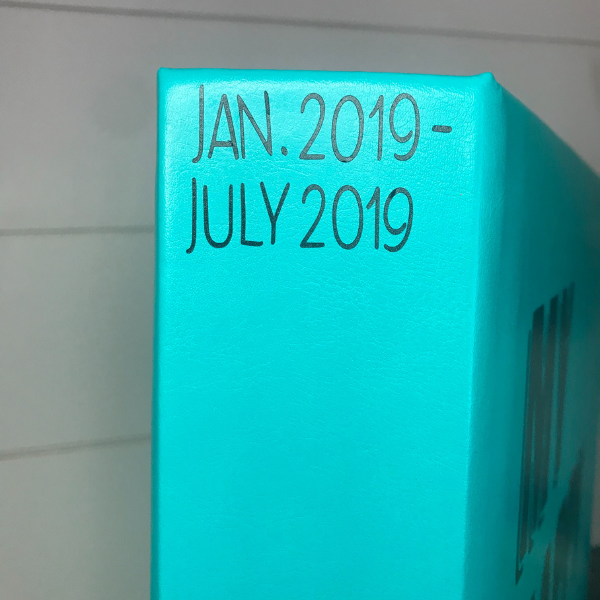
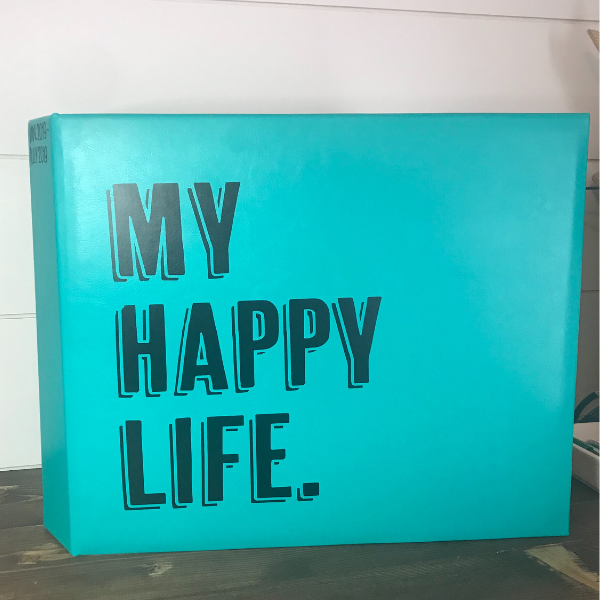
Let’s get back to the scrapbook album cover. For the album cover I’ve chosen the My Happy Life digital art and then on the spine I’m going to add the dates of the album. I do my scrapbook albums by years, but I make so many pages I need to have two scrapbook albums for a year. I just can’t help myself, but I need to start using more of the Pocket Plus Memory Protectors to add more photos to my scrapbook without creating a ton of pages.
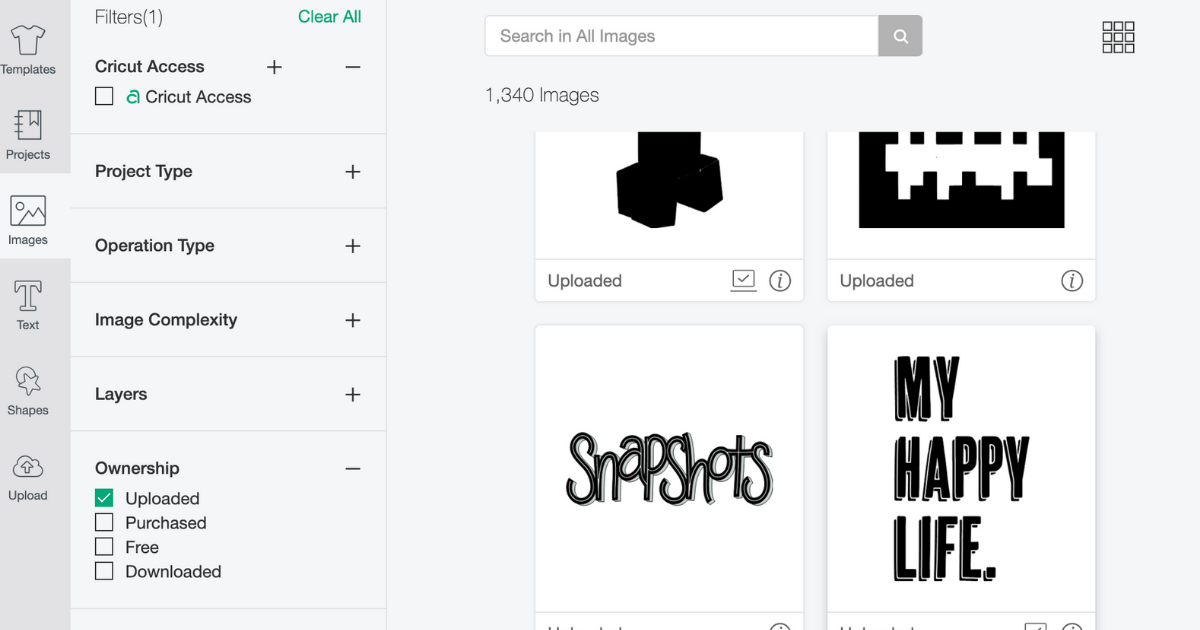
To decorate the album cover, I uploaded the My Happy Life Digital Art into Cricut Design Space.
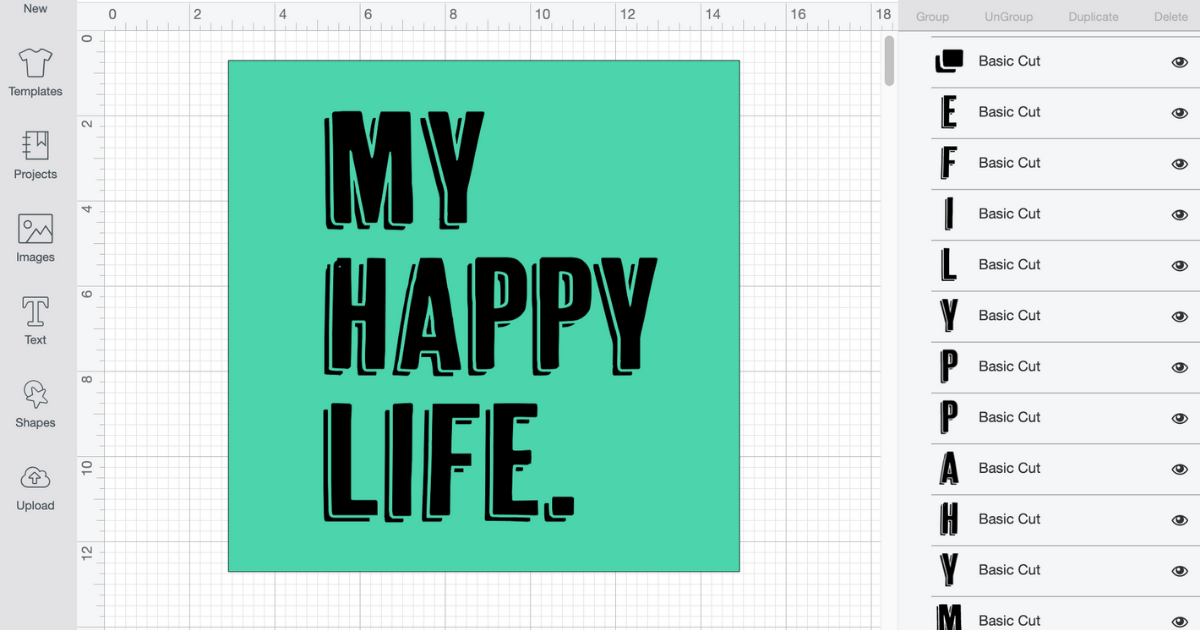
Then I created a 12×12 square to size my image on. I like visuals when I create in Design Space, but I will hide the square before cutting my design. When the square is hidden, highlight all the words and click attach (once you have it sized).
Now click Make It and cut the design in permanent vinyl. I just upgraded to the Cricut Maker 3 and I’m in love. It’s a huge upgrade from the Maker, it’s quieter and so fast.
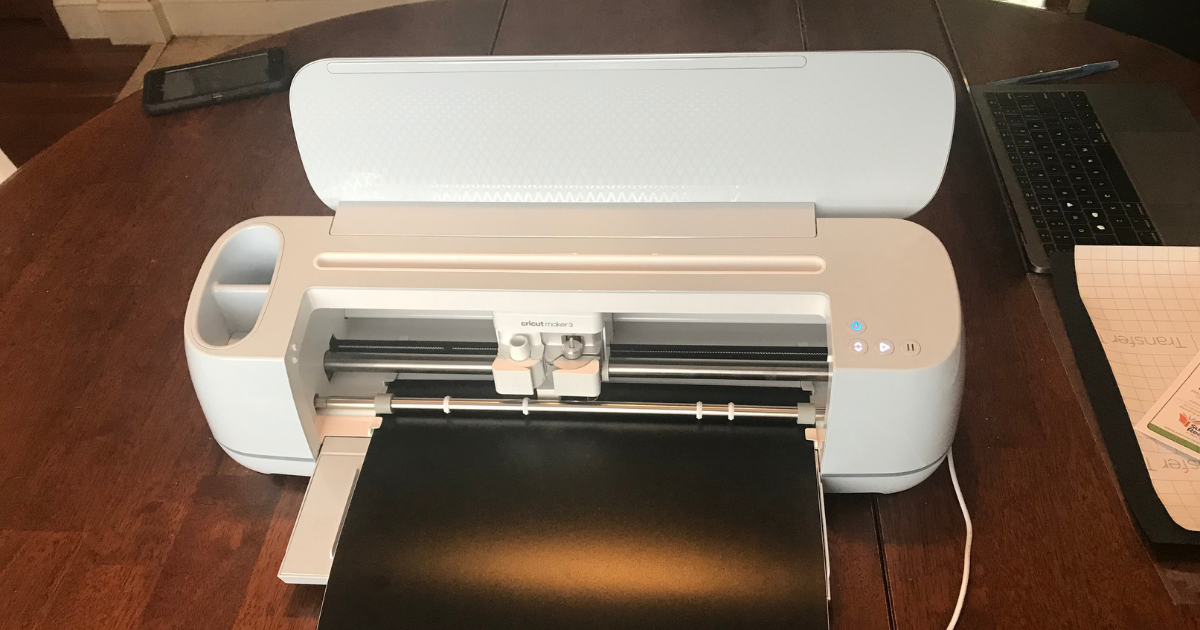
Decorating the Scrapbook Album Cover with Vinyl
Weed the cute album cover design by removing all the parts of the image you own’t need using a weeding tool.
Apply transfer tape over the image and apply it to the scrapbook album cover. Place it lightly so you can make sure it’s straight and where you want it.
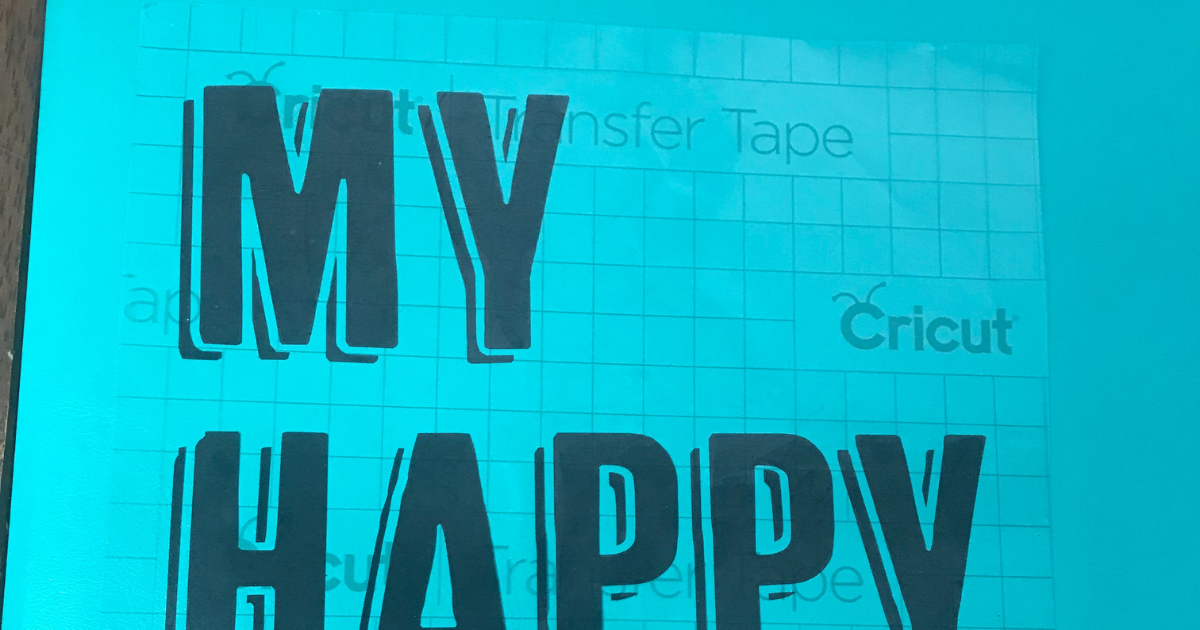
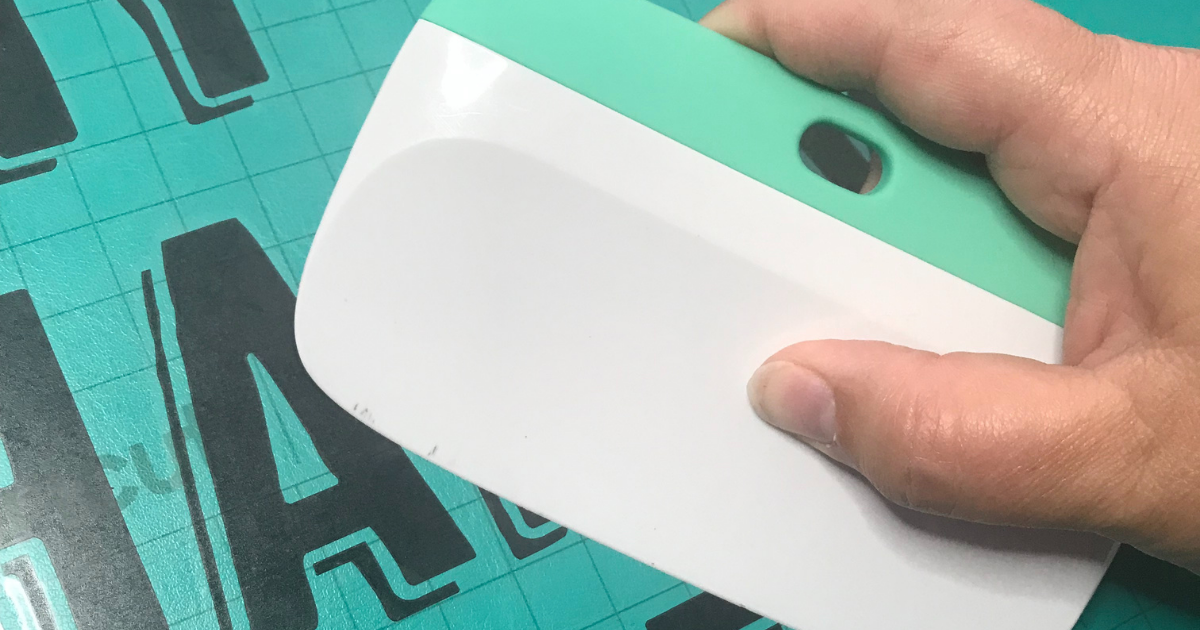
When the design is placed, take the scraper and rub gently over the image.
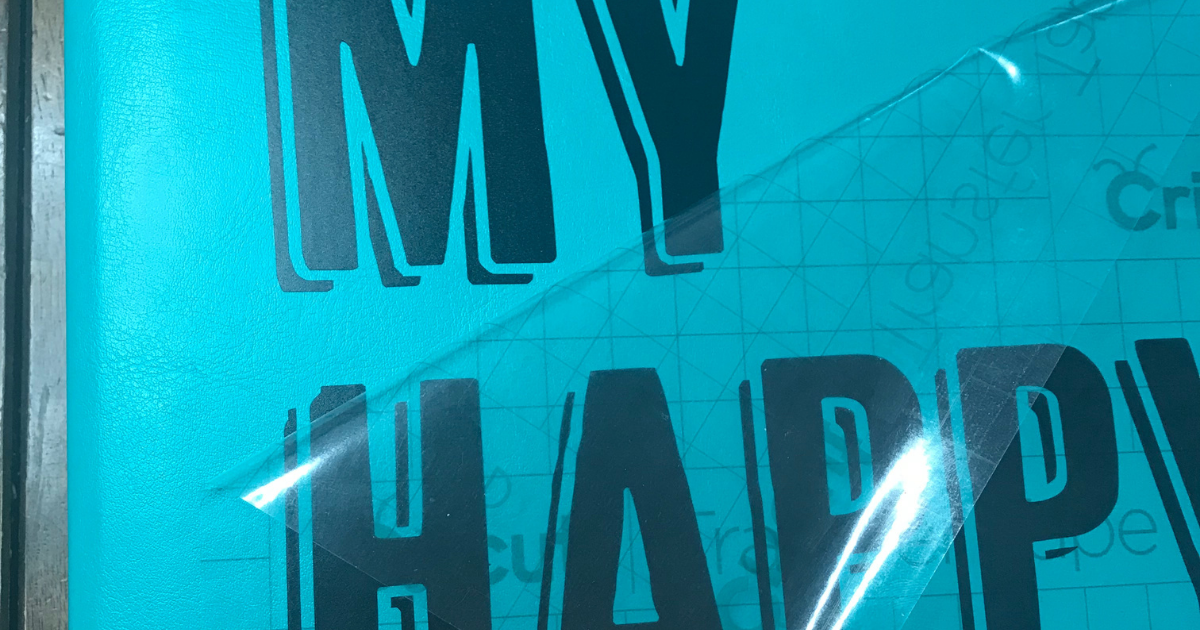
In the corner, start gently peeling the transfer tape off of the album at an angle. If some of the vinyl doesn’t adhere, just lay the transfer tape back down and rub over it with the scraper. Keep peeling gently until all the transfer tape is removed.
So easy and my new DIY scrapbook album looks awesome. I like the simplicity of the design and it describes my life and memories perfectly. I hope this tutorial inspires you to create a custom decorative scrapbook album cover and spine.
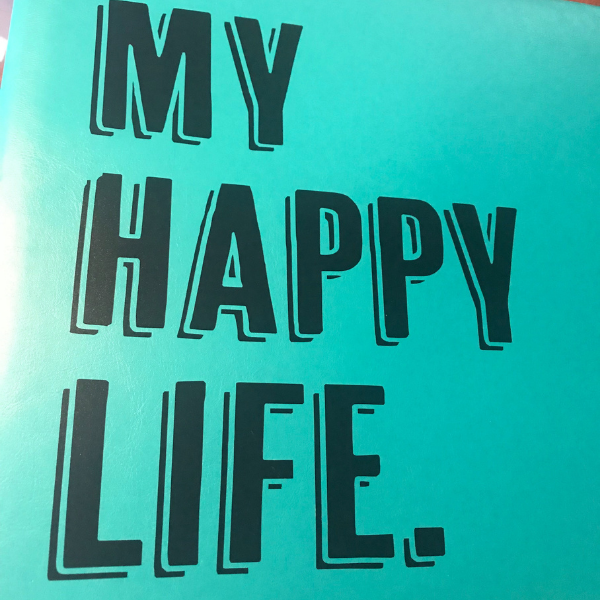
Cute DIY Scrapbook Album Cover and Spine
Cute Scrapbook Cover

Scrapbook Spine
