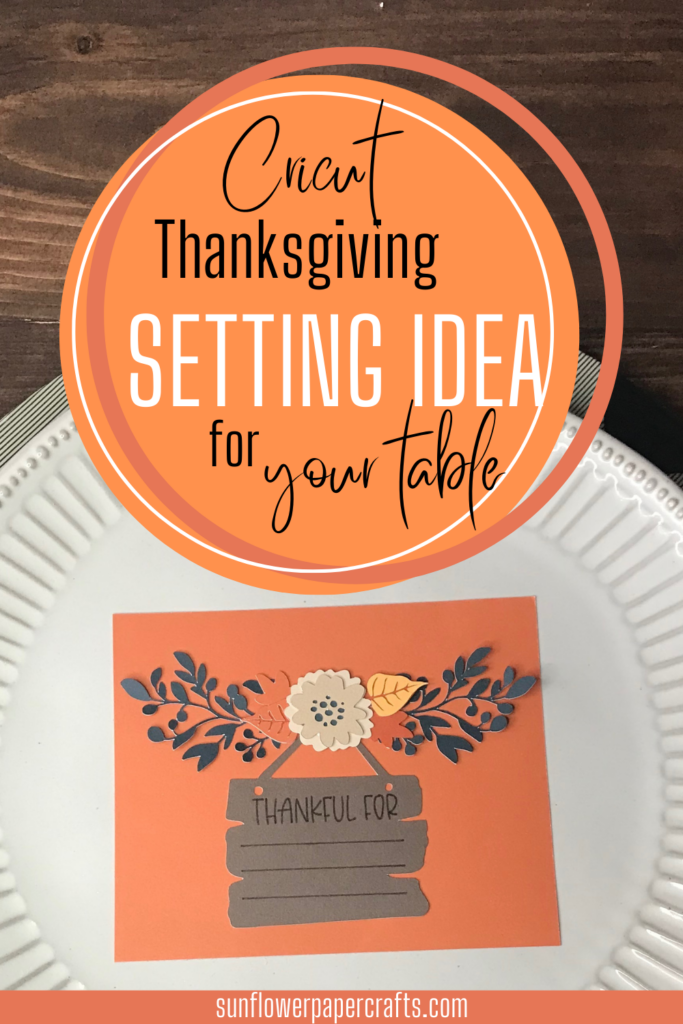
Cricut Thanksgiving Table Setting Idea | Thankful Card
Note: As an Amazon Associate, I earn from qualifying purchases. If you click on a link from Amazon or another of my advertising affliates, I will earn a small commission at no additional cost to you. Please see my full disclosure policy here.
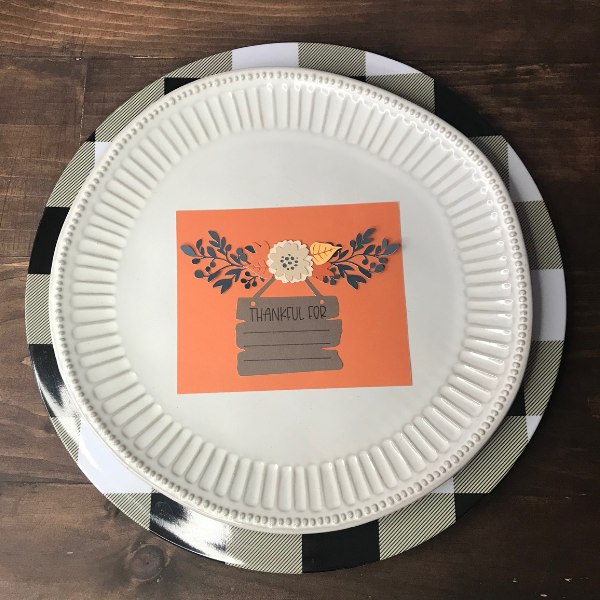
Thanksgiving is all about family, food and being around the table with those you love. So why not make it pretty too? Using your Cricut machine and card stock, you can make a pretty Thanksgiving Table Setting with it. This Cricut Thanksgiving table setting is beautiful and you can personalize it anyway you want. You can create a thankful card for each place setting or use this image as a Thanksgiving place card.
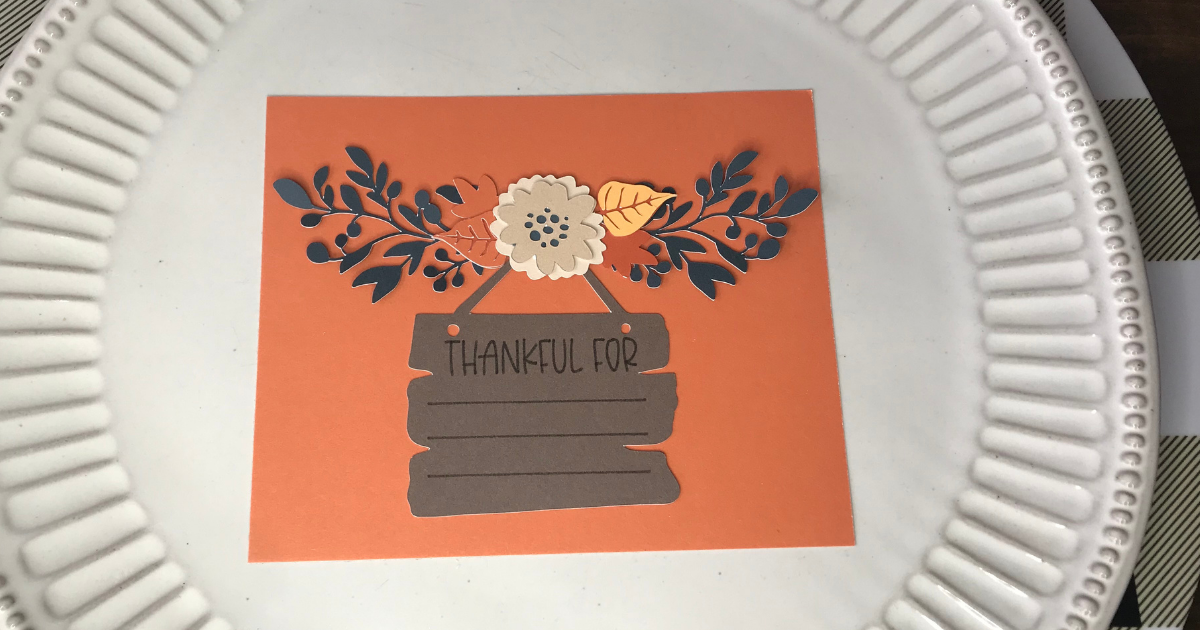
I fell in love with this pretty image from the Close To My Heart Pumpkin Spice Digital Art Collection. The rustic look of the sign and the combination of florals and leaves is so pretty. It looks so delicate and perfect for fall. CTMH now has digital image sets for each of their new collections. Here is everything you need to know about the digital art collections. Right now you can get the pumpkin spice or Holly & Ivy.
Supplies for Cricut Thanksgiving Table Setting
Cricut Joy
Close To My Heart Pumpkin Spice Digital Art Collection
Pumpkin Spice Coordinating Card Stock
Creating the Thanksgiving Table Decor in Design Space
To get started with this Thanksgiving project, purchase the pumpkin spice digital art collection and upload the images to Cricut Design Space. Once the images are uploaded to Design Space, click on the image and add it to your canvas.
The sign design says Give Thanks and it would look super pretty if you just leave it and add it to the Thanksgiving table setting, which is a great option. Or you could make a thankful for card to put at each place setting. My Thanksgiving table decor is about 5 inches wide and 3.5 inches high.
To make a thankful card for each place setting, hide the give thanks layer. Add the text “Thankful for” to the top of the sign in a writing font. Cricut has so many good writing font choices now that it’s tough to choose. If you like a script font the Alyssa Stencil script is super pretty. I was torn between the Alyssas Stencil Script and Blueberry Pancake. For me the whimsical, hand lettered font always wins!
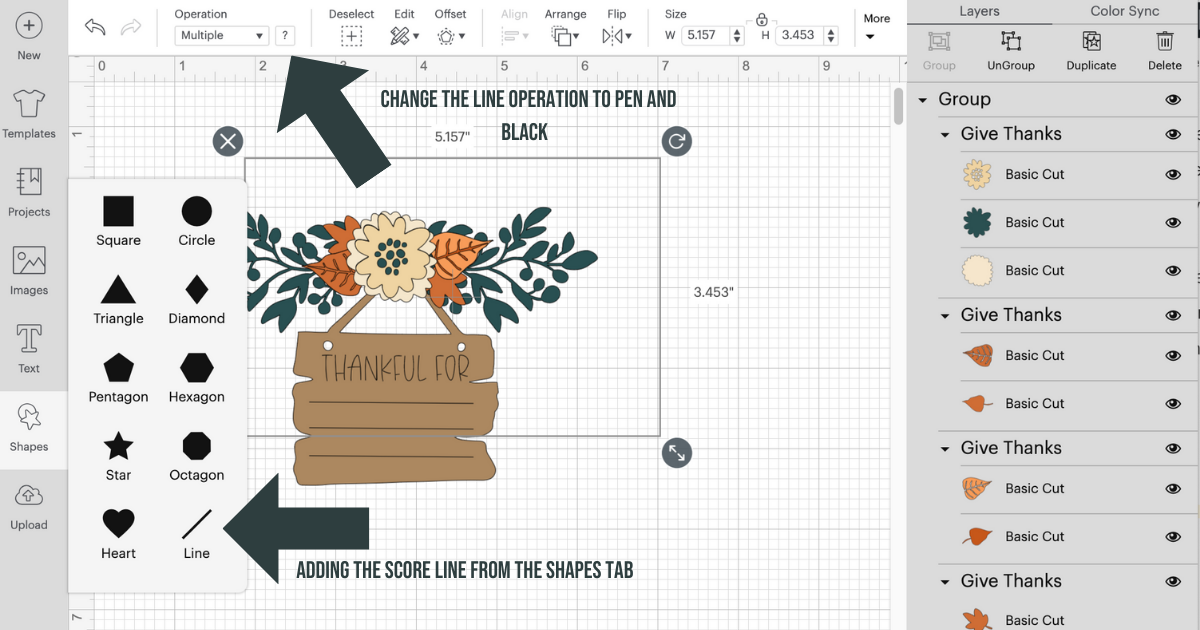
Center thankful for on the sign in the center. Now it’s time to add the 3 lines to write on. Go to the shapes on the side of Design Space and choose the score line. Then at the top change the score line from cut to pen. Space the lines evenly on the sign.
Ungroup the image and move away the other layers or hide them. Highlight the sign and the written text/lines and click attach.
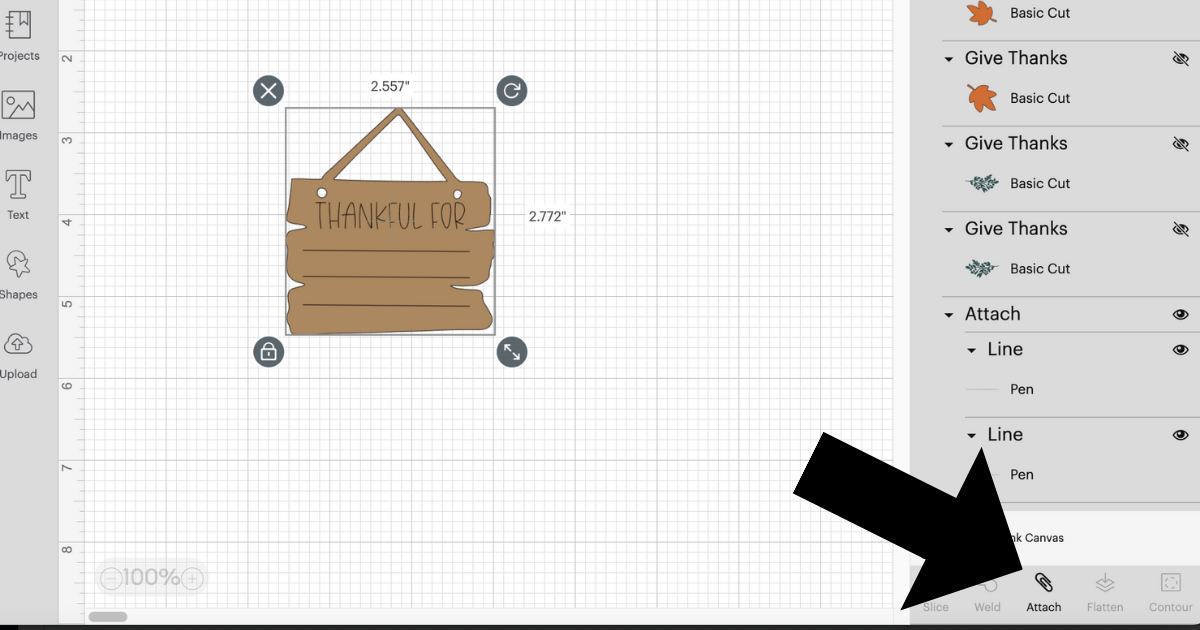
Unhide or move the layers back and it’s time to make the Cricut Thanksgiving table setting.
Cricut Thanksgiving Table Setting
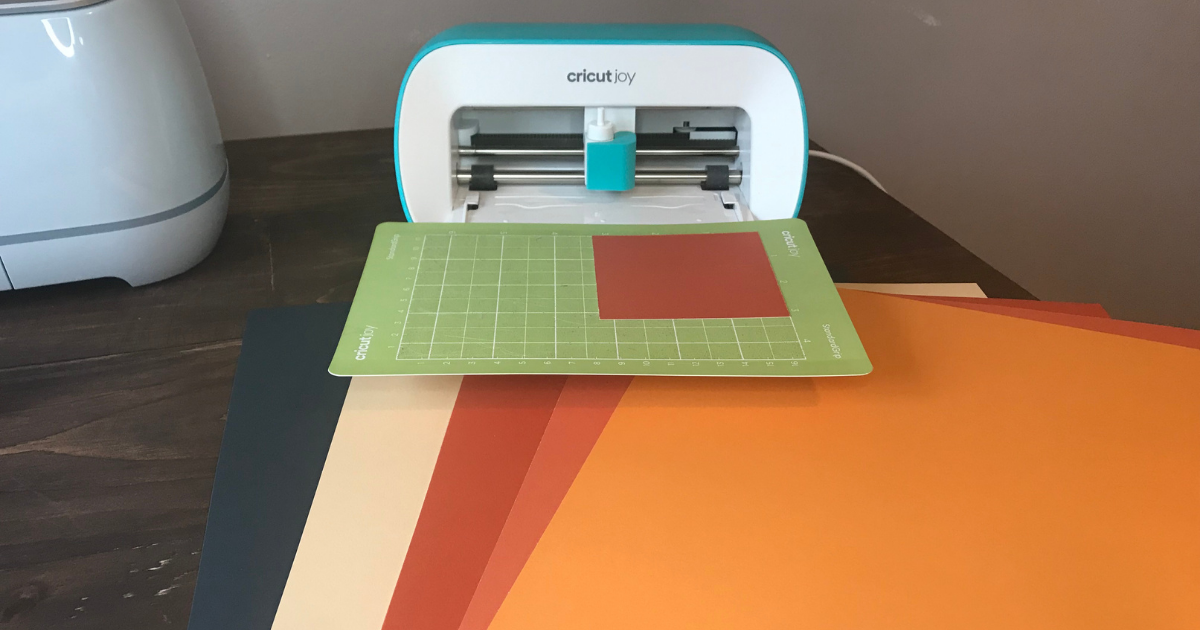
For this design I used the pumpkin spice coordinating card stock. It has a beautiful combination of oranges, blues and creams.
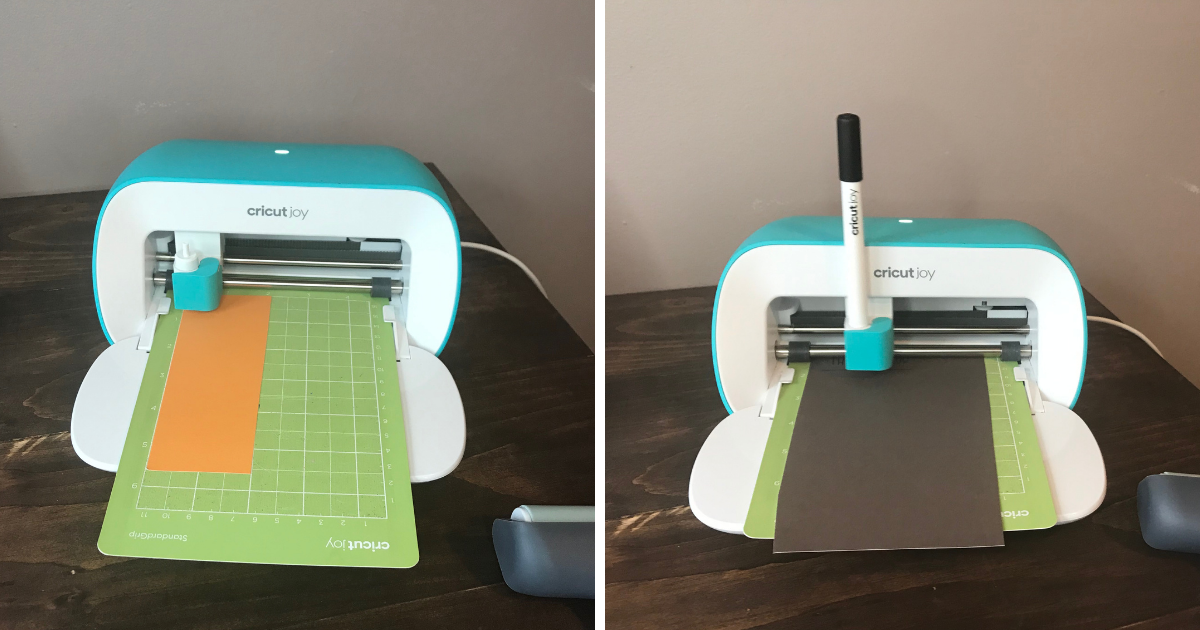
I cut the design with my Cricut Joy because it was the perfect size, but any Cricut machine will work. If you are using the Cricut Joy, just follow the prompts on the screen of when to add the pen and than the blade.
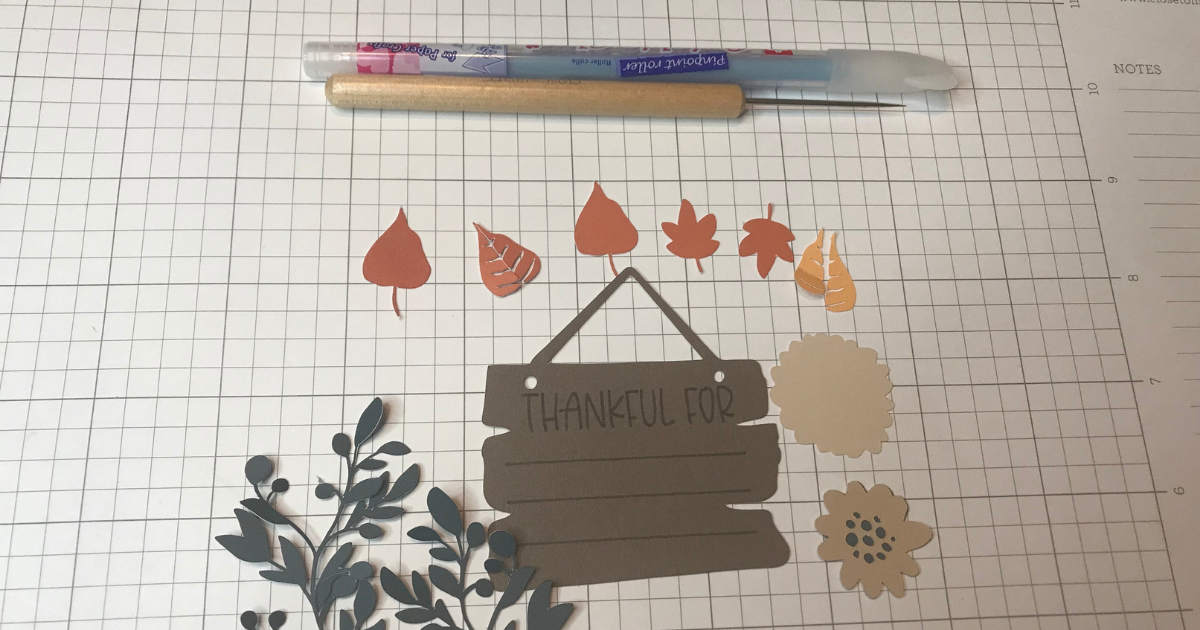
When all the pieces are cut, it’s time to start glueing it together. You have to get the quickie glue pen because it’s fabulous! I’m always on the lookout for a good glue pen and this one is tops. Easy to use and no glue mess everywhere.
Glue the vines on top of each other and then add the leaves, sign and the flower in the center. The design is kind of flimsy so I cut a piece of card stock to glue it to. This way it looks beautiful on the plate with a pop of fall color.
Place it in the center of each dish at the table or have them in a basket for everyone to take one, but it’s a great way to remind us that we have so much in our lives to be thankful for.

