Make this Incredibly Cute Cricut Thanksgiving Card in a few Minutes
Note: As an Amazon Associate, I earn from qualifying purchases. If you click on a link from Amazon or another of my advertising affliates, I will earn a small commission at no additional cost to you. Please see my full disclosure policy here.
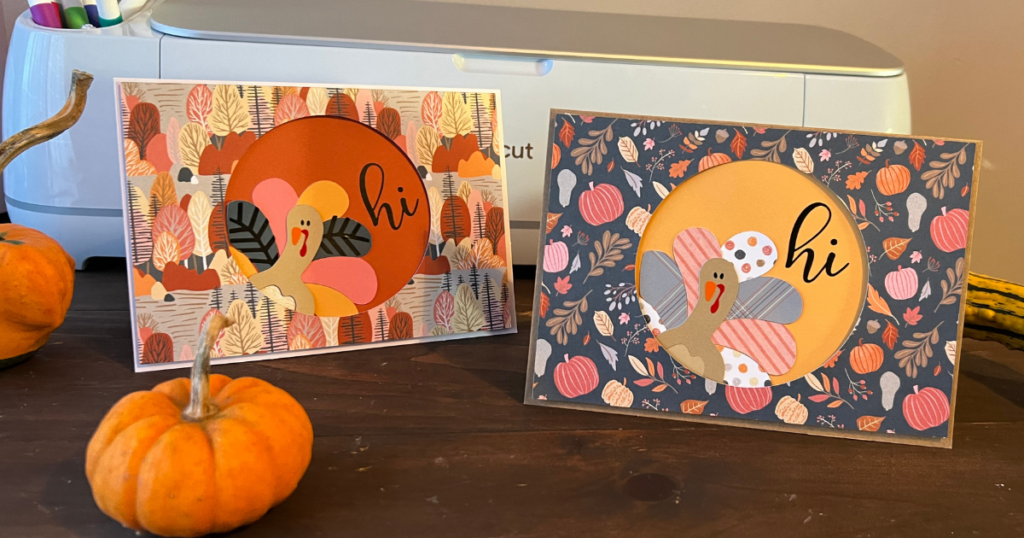
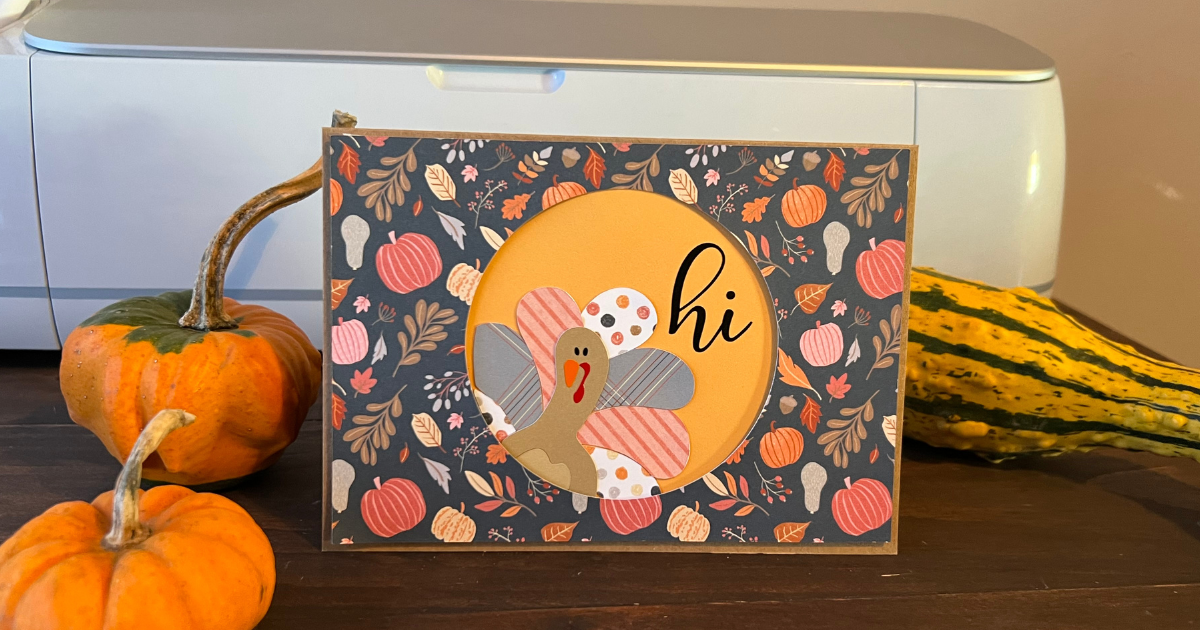
Card making is one of my favorite things and it’s amazing when it all comes together for an incredible look. This turkey popping in to say hi is the cutest. It’s a simple Cricut Thanksgiving Card to create and really only has 2 images to cut. I’m curious because I love a turkey with patterned paper over card stock, but which one do you like the best? To give you an idea of how the turkey looks both ways, I had extra fun and made another card.
One of my favorite reasons why I love card making is that it uses up scrap paper and vinyl. Plus it just makes people super happy to know that you took the time to make them a card.
Supplies for Thanksgiving Card Idea
Patterned Fall Paper
Card stock
5×7 Blank Card
Adhesive
3D Foam Tape
Cricut Machine
Light Grip Mat
How to Make a Cricut Thanksgiving Card
I really love the look of this card with the circle window of the turkey “popping in.” This image is in Design Space and is free with a membership. You can easily make this card by opening my project.
Choose the size of the card you would like to make. Both of my cards are created on blank 5×7 pre-made cards. I prefer using pre-made cards and just decorating them. The only cards I make are the slimline cards with my Cricut. I made one with the Kraft paper card and one with a white card. It’s amazing how the color of the card changes the whole look of it.
Begin by choosing the paper for the project. Since this card is Thanksgiving themed, I used fall themed color card stock and patterned paper. For the small pieces like the turkey’s face and the vines of the leaves, I used vinyl.
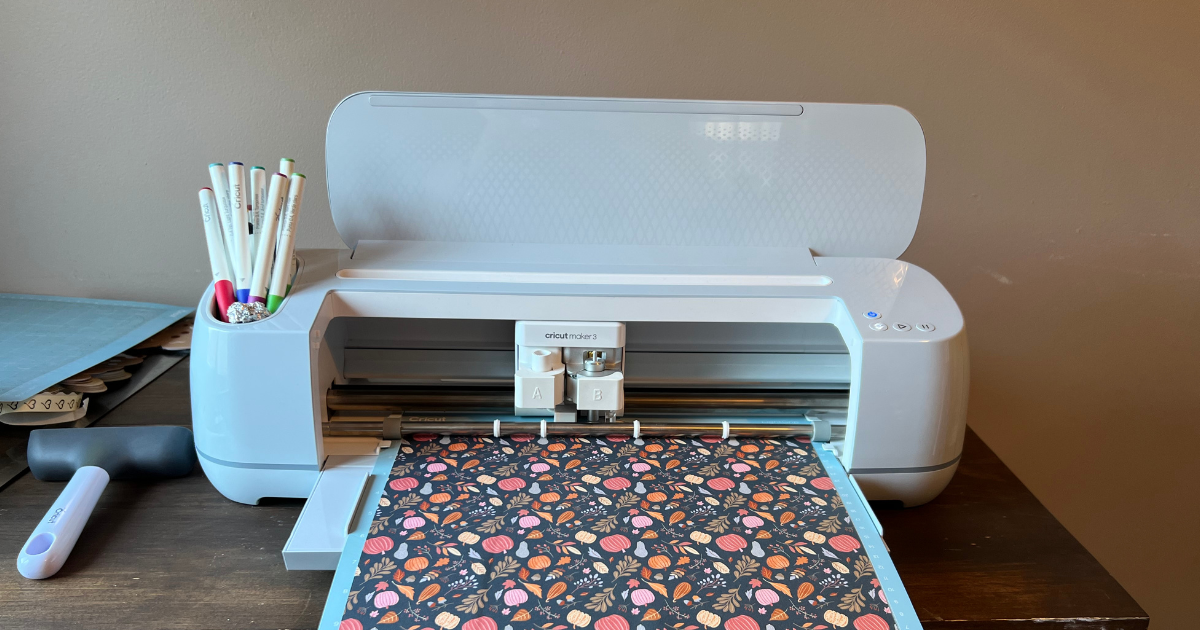
This adorable turkey will have to be made on a Cricut Explore, Air or Maker machine because of the size. Cut out all the pieces for the card.
Creating the Cricut Card
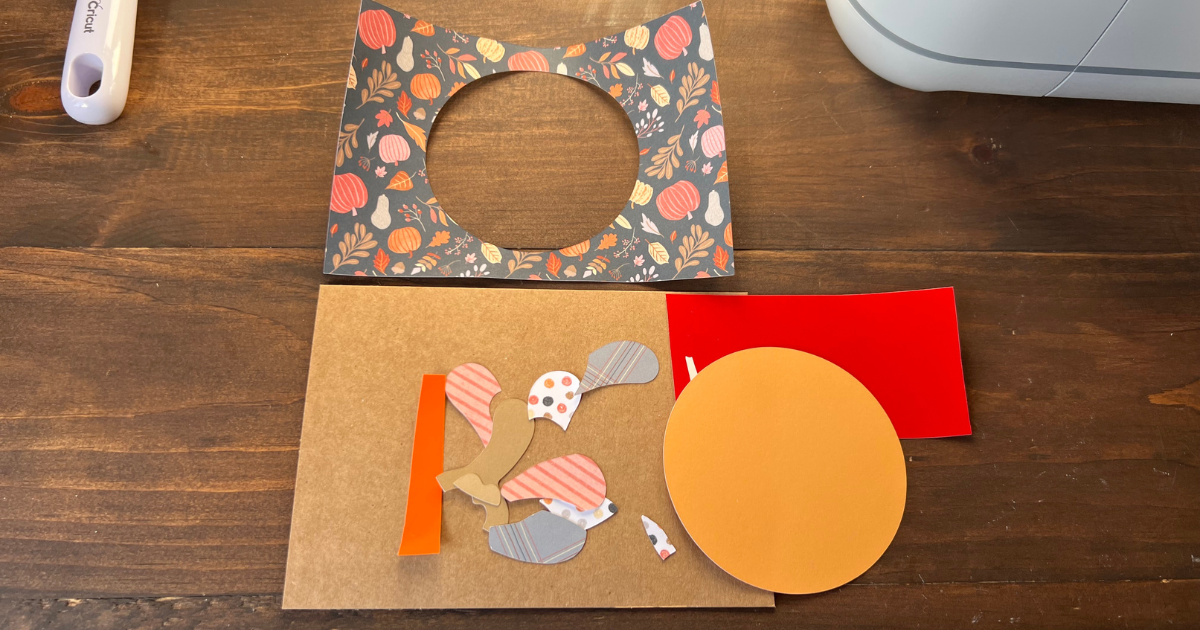
Then lay the turkey feather pieces together to see how they fit. Start by glueing the bottom of the turkey to the round circle so you can slide the feathers under the turkeys body. Add the feathers around the turkey and the small piece of the turkey’s body.
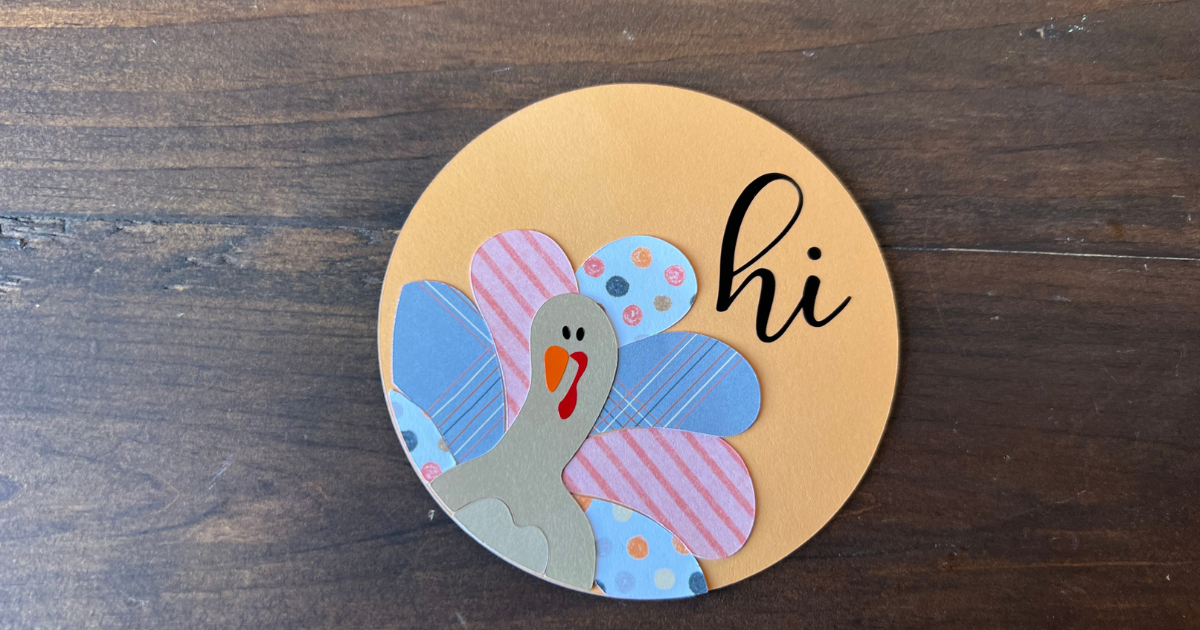
When the turkey is all made, glue the body to the circle. For the turkey feathers with the patterned paper, I chose not to do the leaf vines, but for the card stock I did. Add the leaf vines before glueing down the turkeys body.
Next add the small pieces of the turkey’s face and how adorable is that expression?
To give the card the cool window look, you will use 3D foam tape all around the paper background with the circle cut out of it. Use the 3D foam tape all over the back of the card and begin by removing the top foam strip and adding it to the card.
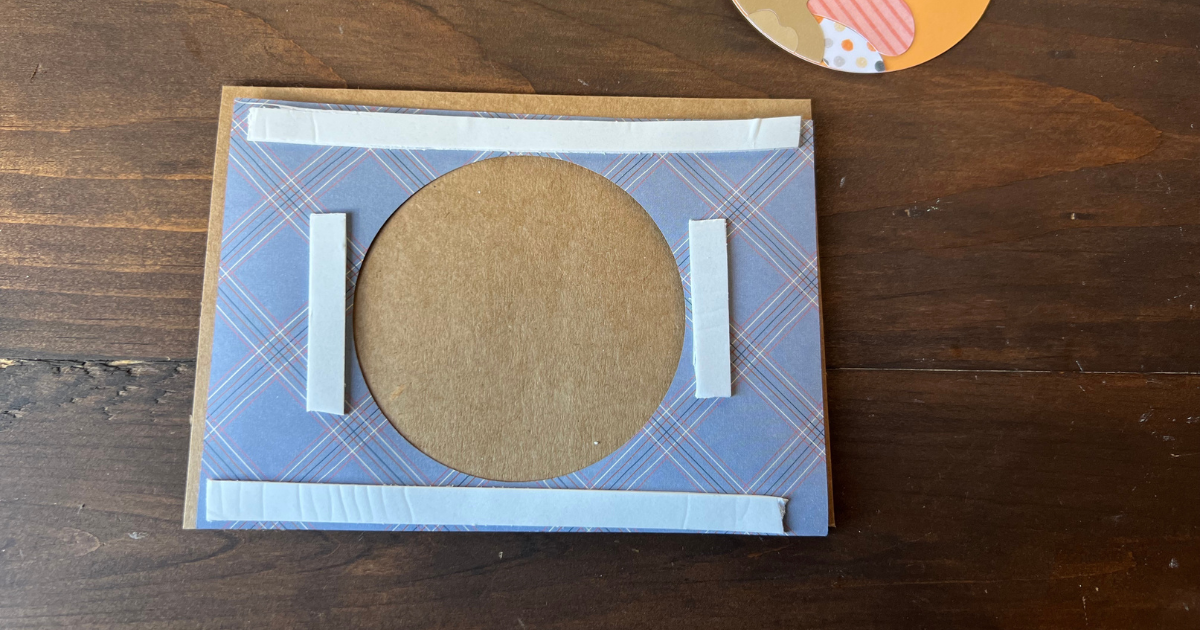
When it’s in place, slide in the turkey circle to the center window. When it’s in the right place, remove the rest of the 3D foam steps and press it into the card.
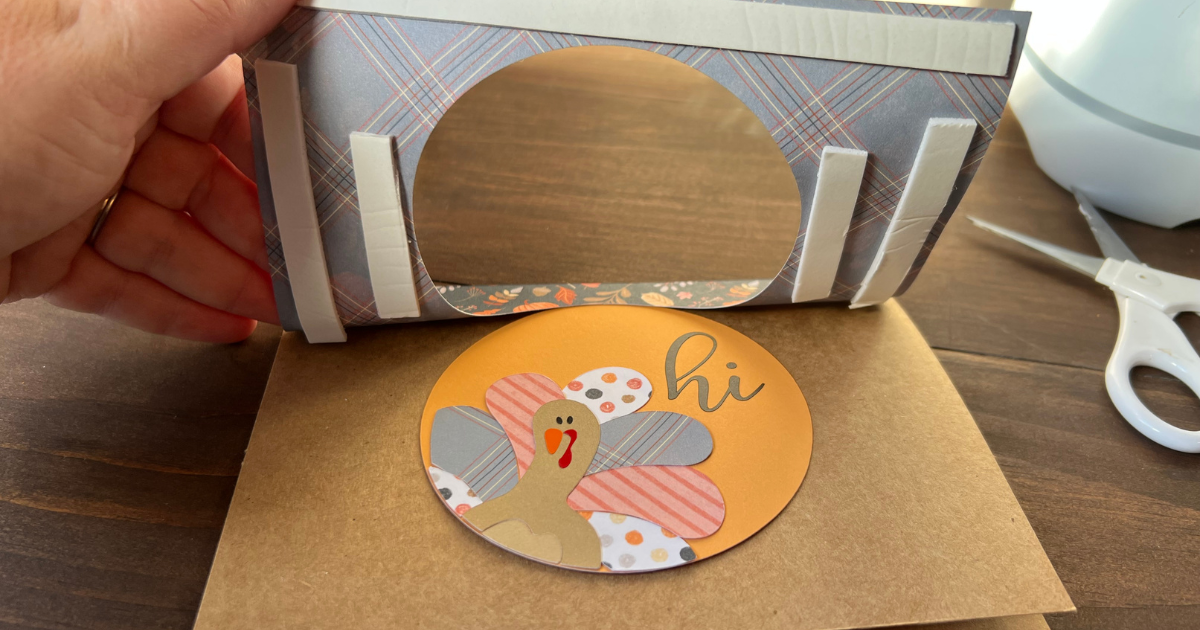
Adorable Turkey Card for Everyone
The wow factor of this card is amazing, but it’s a super simple DIY. Even better is that this card design could be used for anything, just change the circle image in the center.
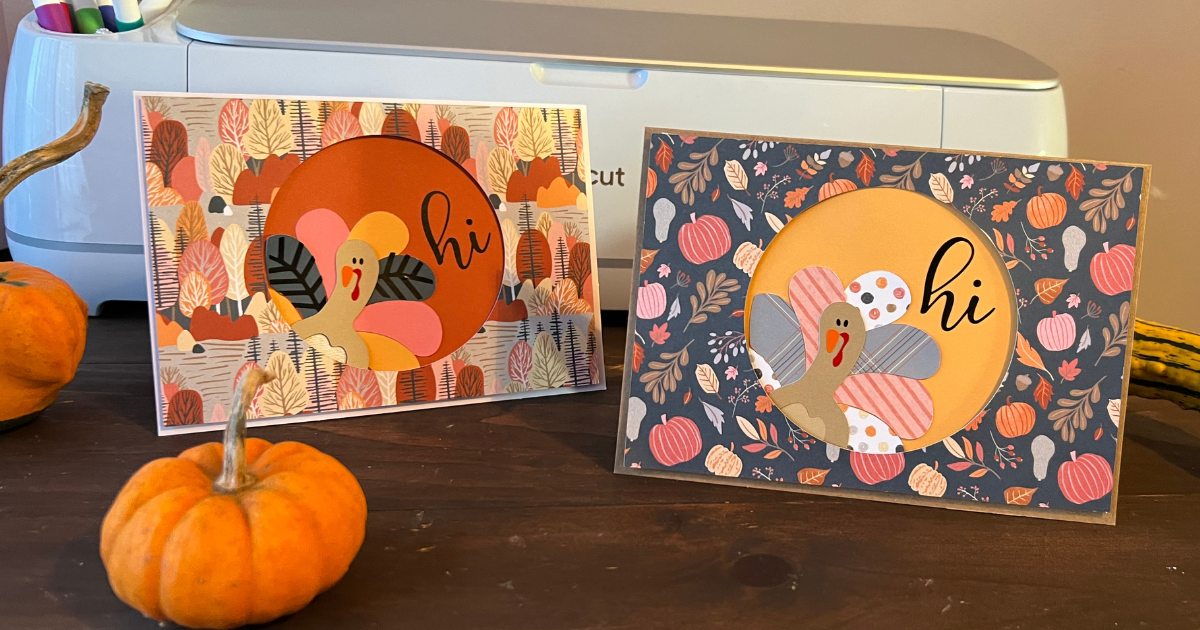
Here’s the Cricut Thanksgiving Card Idea with the patterned paper turkey feathers.
Gobble! Gobble! It’s the card stock turkey’s Thanksgiving card idea.
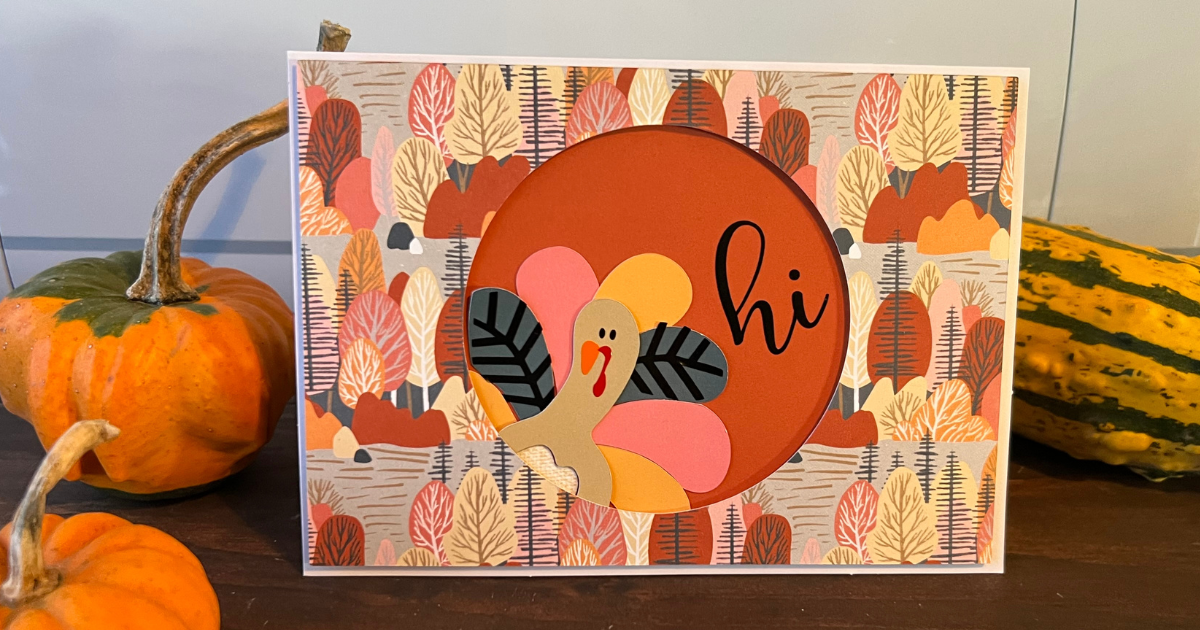
Which one do you like the best? I personally just love that turkeys silly expression. He’s cute and funny!
