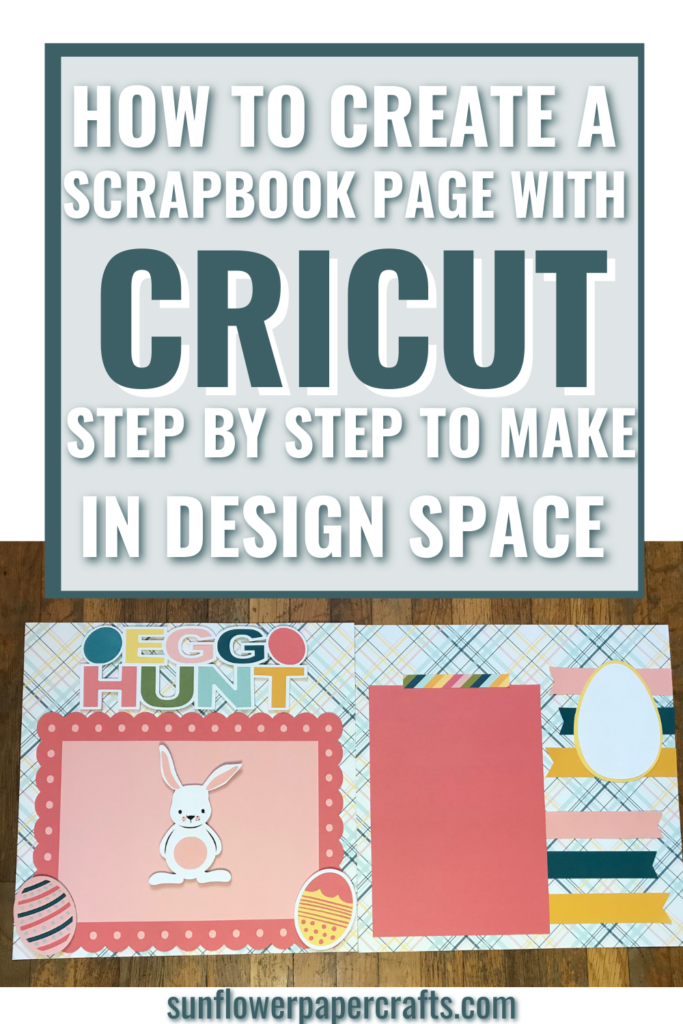
How To Create a Scrapbook Page with Cricut
Note: As an Amazon Associate, I earn from qualifying purchases. If you click on a link from Amazon or another of my advertising affliates, I will earn a small commission at no additional cost to you. Please see my full disclosure policy here.
I can’t believe it’s been over 5 years since my first Cricut. I feel like I’ve had it forever. My husband always works so hard to make my dreams come true and he sure did when he bought me my first Cricut. The main reason I wanted a Cricut so badly was to create scrapbook pages and images with it. It’s still my absolute favorite thing to do. If I could sit all day and just play with paper whether scrapbooking or just creating stuff with my Cricut, I would be super super happy, but you know life always gets in the way. I see many people ask, how do you use a Cricut for scrapbooking? Well it’s super easy and I will show you step by step how to create a scrapbook page with Cricut.
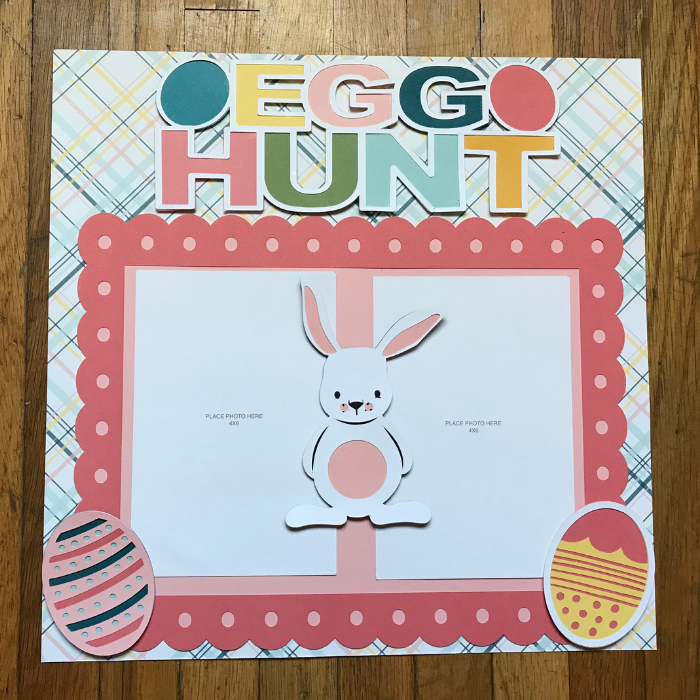
These steps can be used for any type of scrapbook page. The one I’m making is an egg hunt theme since Easter was a few weeks ago and I want to share the awesome Daisy Meadows Cricut Collection with you. The images are super cute. The basics of creating the page will work for any themed page.
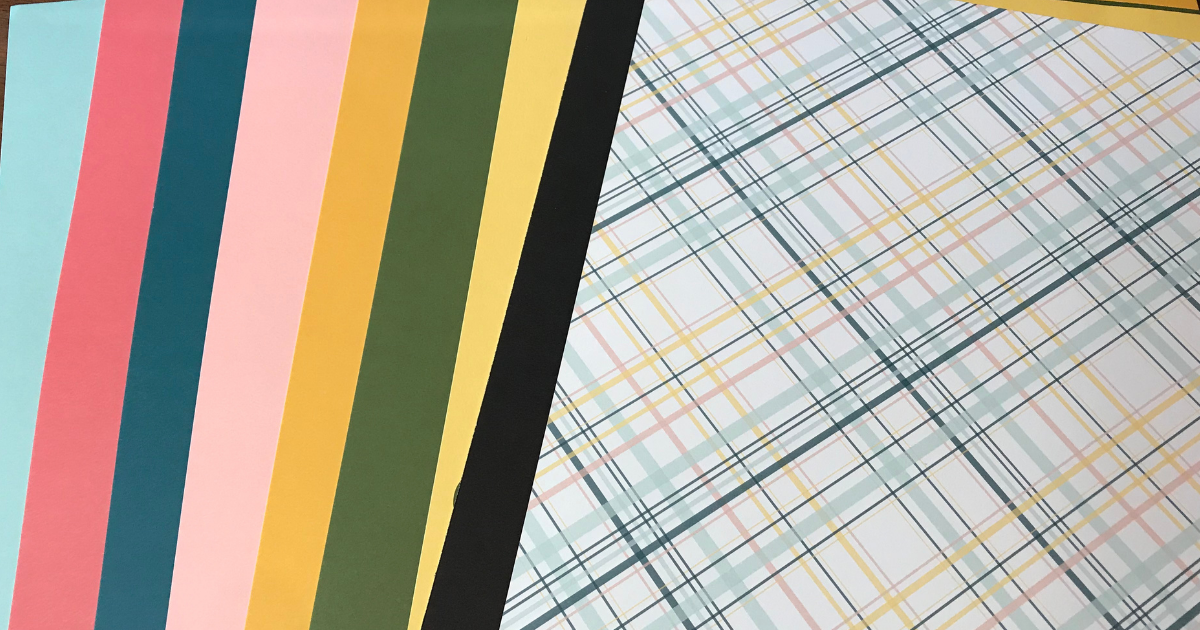
A really cool thing about the Close To My Heart Cricut Collections is that the colors used in the images in Design Space, match the coordinating card stock sets. It makes choosing the card stock super easy for creating these pages. I used the Daisy Meadows Card Stock and the Daisy Meadows Paper Pack for my scrapbook page.
Creating a Scrapbook Page with Cricut
When creating a scrapbook page, it’s all about the layers. The more layers you add the more decorative and detailed your page will be. Today I’m creating an easy simple layout that is pretty basic, but I’ll be sharing more in the coming weeks of more detailed pages with Cricut.
Also when I create in Cricut Design Space, I like to just get the pieces of my page created, then I worry about the colors, patterned paper, and card stock at the end before I cut the design. If I played with the colors and was constantly changing it, I would be creating forever. Plus I prefer to look at my photos, card stock and patterned paper to choose the colors rather than in Design Space.
Base Layer in Cricut Design Space
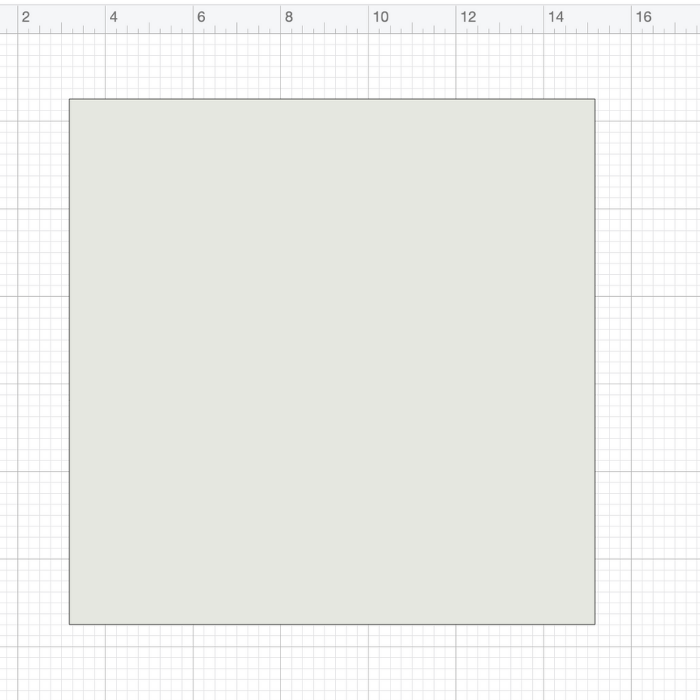
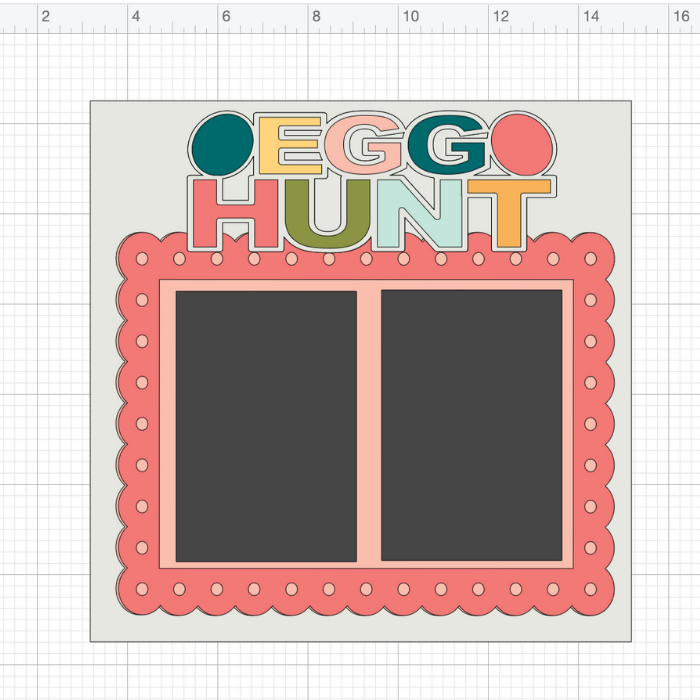
Start with the base layer that will be your page size. I’m making a 12×12 scrapbook layout today. In Cricut Design Space, I create a 12×12 square, but I will hide the layer when I go to cut my design. Choose a square from shapes and make the size that you need.
Add Layers to Scrapbook Page
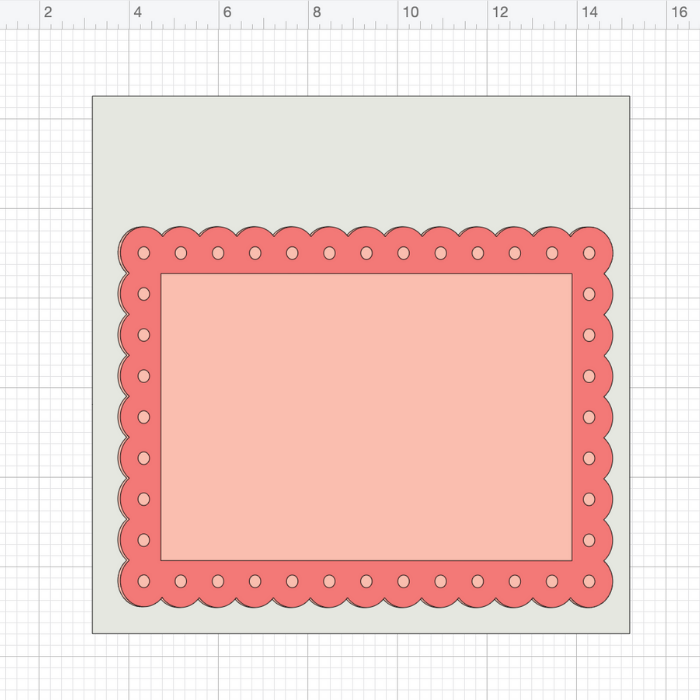
The next step is to choose the next layer to go on top of the base layer. For this layout, I will be using this decorative edge rectangle as the next layer. This is the layer that I like to think of as the decorative paper, like pennants, rectangles, a circle, or any shapes that you want to add to your scrapbook layout.
Add Photo Squares
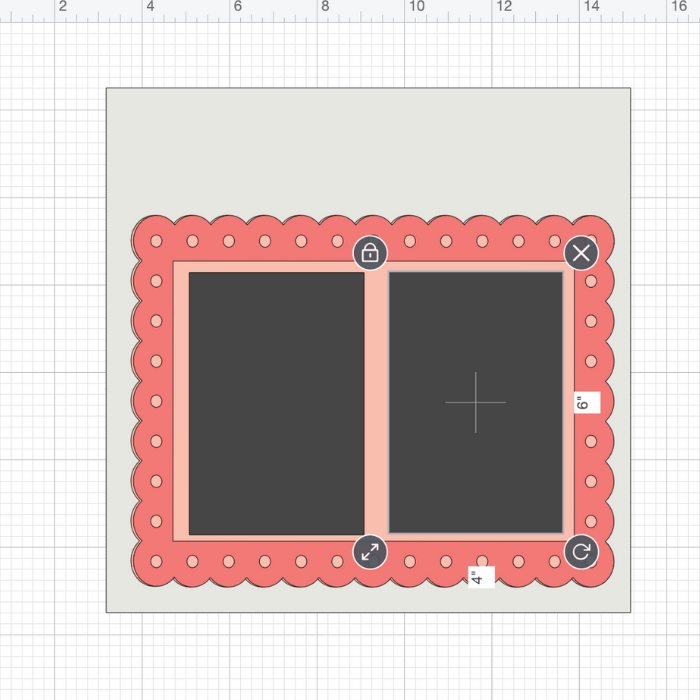
When the base of the layout is ready, it’s time to add the photo squares for the size of the photos that will fit the layout. My Easter egg hunt layout will hold two 4×6 photos.
Title for the Scrapbook Layout
Next it’s time to add a title to the page. In Design Space, I will be using the Egg Hunt image from the Daisy Meadows collection and placing it at the top of the page in the center. For title ideas you can use an image from Design Space, upload an image or create it using the text or drawing feature.
Choose Images to Decorate the Page
Who’s ready to make the page extra pretty? Now that the basics of the scrapbook page are created, it’s time to add the images to decorate the page. From the Daisy Meadows collection, I will be using the bunny and decorative eggs for the corners of the rectangle.
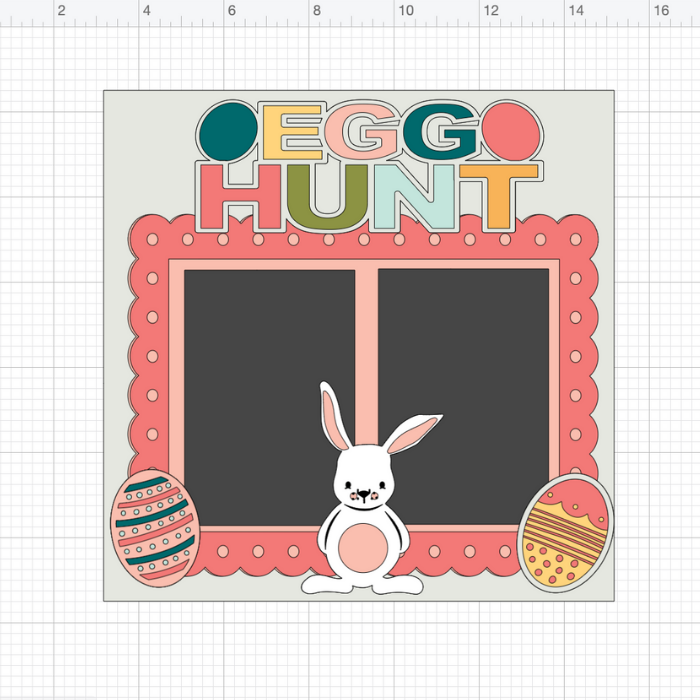
Once your scrapbook page in Design Space is complete, it’s time to choose the paper to create the page with. This is my favorite part because I really start to see my design coming to life once I start choosing paper.
Cutting the Scrapbook Page with Cricut Machine
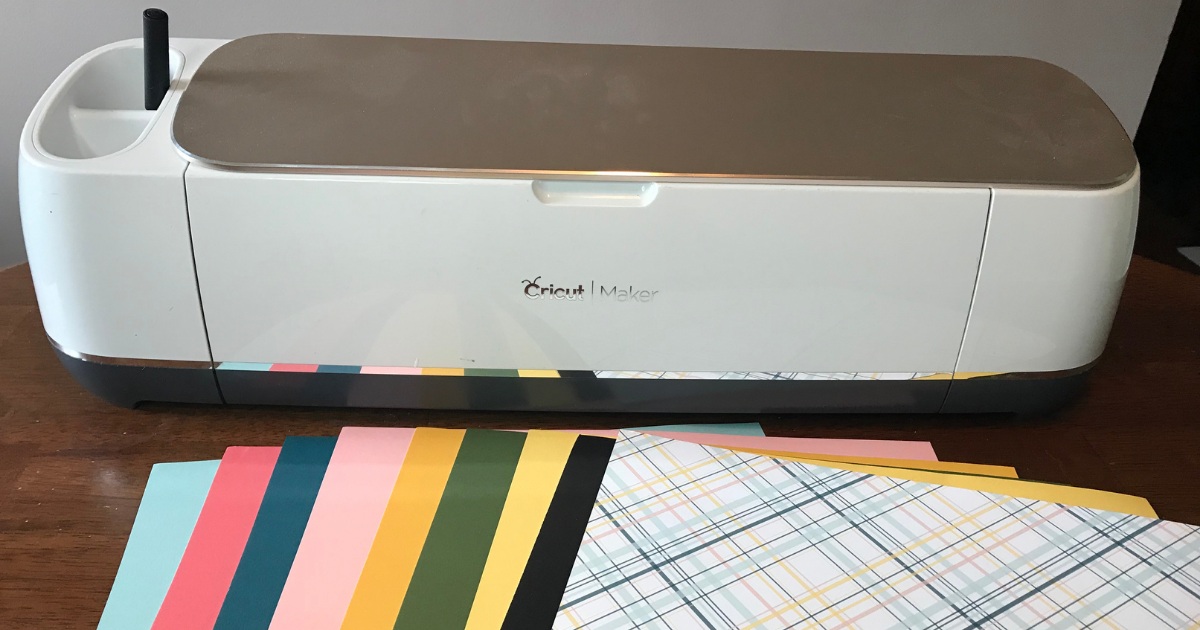
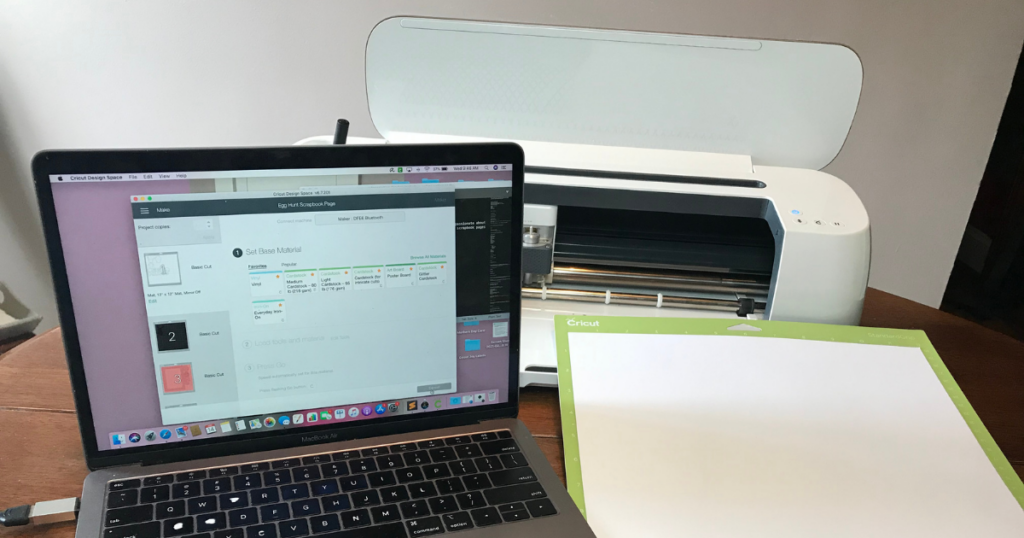
When all your paper is chosen, get out your Cricut machine. Depending on the size of the images, you can cut it with your Cricut Joy, Explore or Maker. I love to use my Cricut Joy for decorative elements because most of the time they are smaller than 4.5 inches wide. If my images are bigger than that, than I use my Cricut Maker. Remember to hide the base layer because that will not be cut.
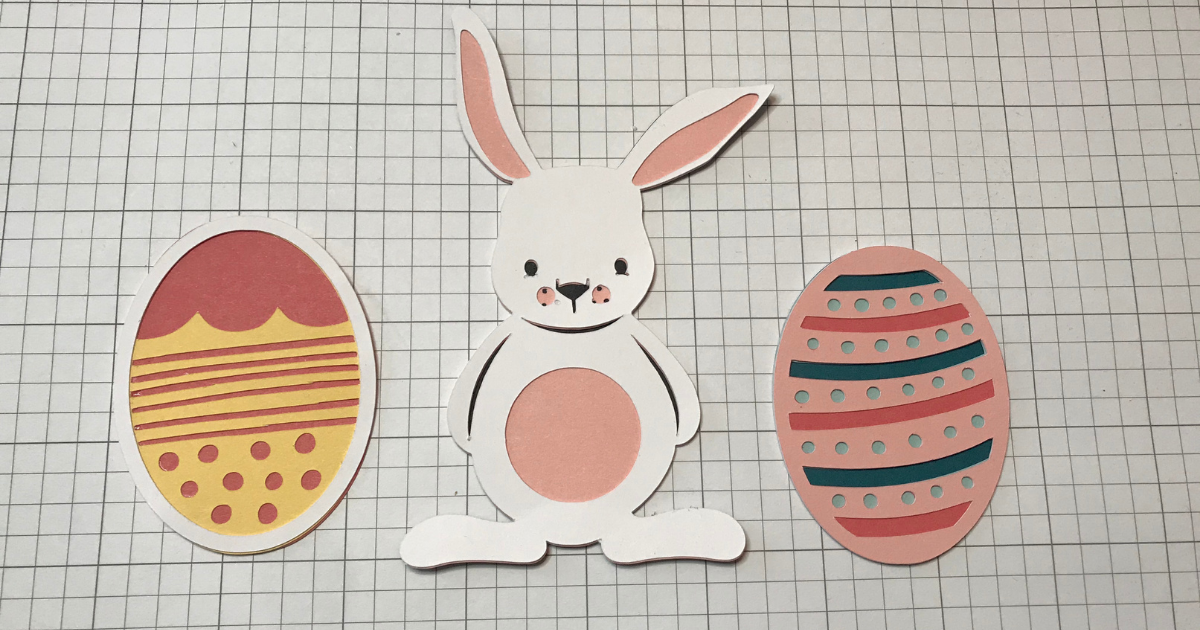
Start with the base layer and build upon it as you glue on the pieces. If you are unsure how to glue the images, my tip is to ungroup the image in Design Space. The layers will show you the top, middle, and bottom layer. Use this as your guide to glue the images together.
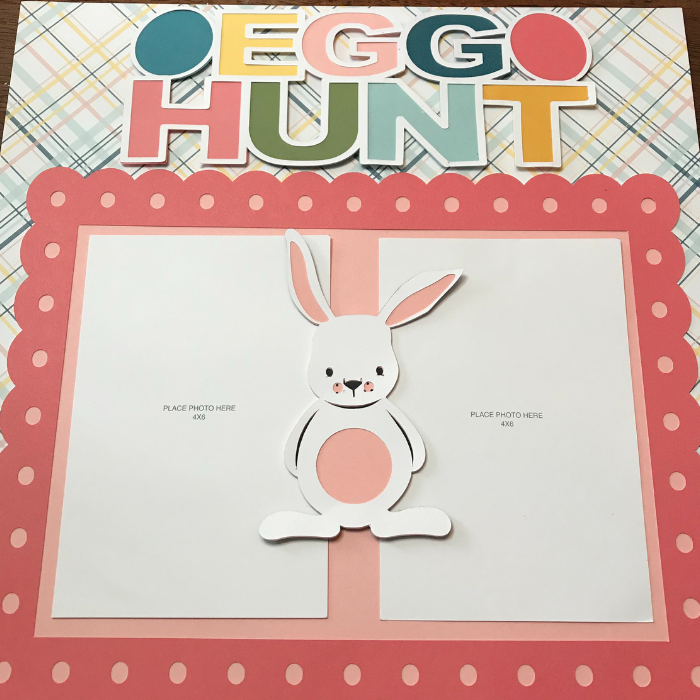
Glue on the pieces in the order that you created them in Design Space. Really easy right?
I changed up the placement of the bunny, so I used 3D foam dots in the center of the bunnies back so that the photos can slide in under the bunny. I did the same thing for the eggs on the corner of the page too.
Scrapbooking with Cricut
Also you can easily turn this simple scrapbook page into a double layout by just changing a few things. I used the inside of the dark pink rectangle from the frame and added the banners and the egg for journaling. The zip strip at the top is from the patterned paper.
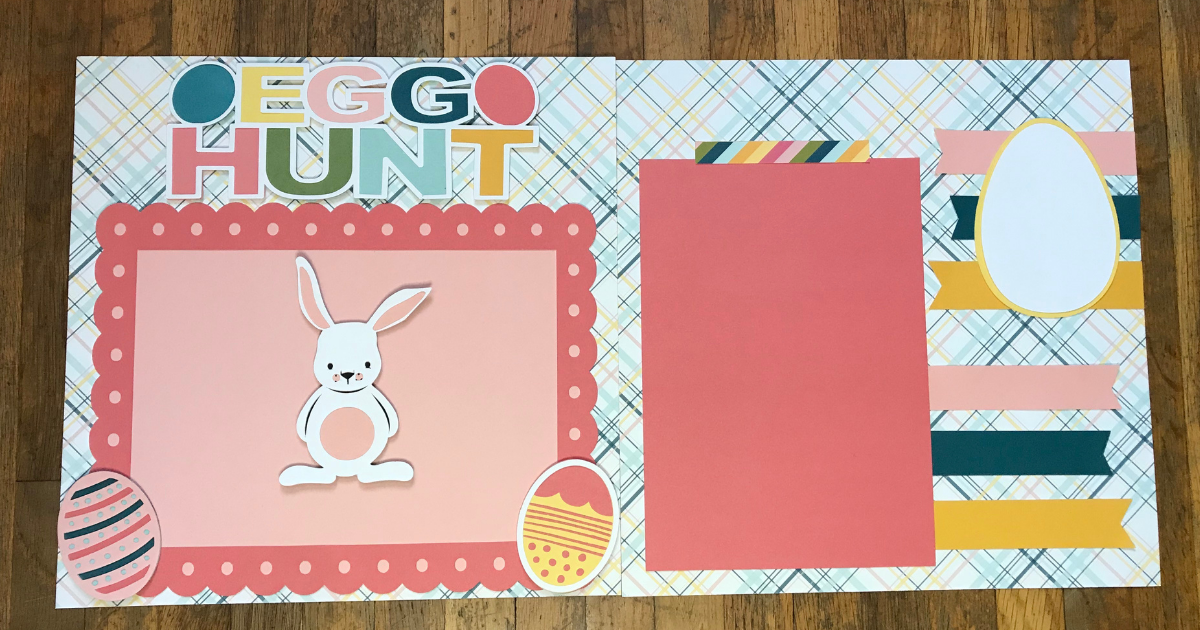
Scrapbooking with your Cricut is a lot of fun and allows you too customize and personalize everything. The possibilities are endless of creative scrapbook pages to make.
