How to Make a Delightful Beginner Scrapbook Layout | Make It Today
Note: As an Amazon Associate, I earn from qualifying purchases. If you click on a link from Amazon or another of my advertising affliates, I will earn a small commission at no additional cost to you. Please see my full disclosure policy here.
Do you get excited like me to finish off a pack of paper and stickers? I love that feeling of accomplishment and joy. I feel like over time I have collected all these tiny pieces from collections and it’s time to start using them up. Honestly I’m also running out of space for my scrapbooking supplies so I need to start making space for new stuff. Today I’m finishing off a collection by creating an easy beginner scrapbook layout as part of my beginner scrapbook series.
For National Craft Month I’m sharing a new beginner scrapbook tutorial every week with a printable template to help make your scrapbook journey easy. I know it can be overwhelming and sometimes when you are overwhelmed you never start. By the end of March, you will have 4 scrapbook page templates to use over and over again. They all come with step by step tutorials to show you how to create the page.
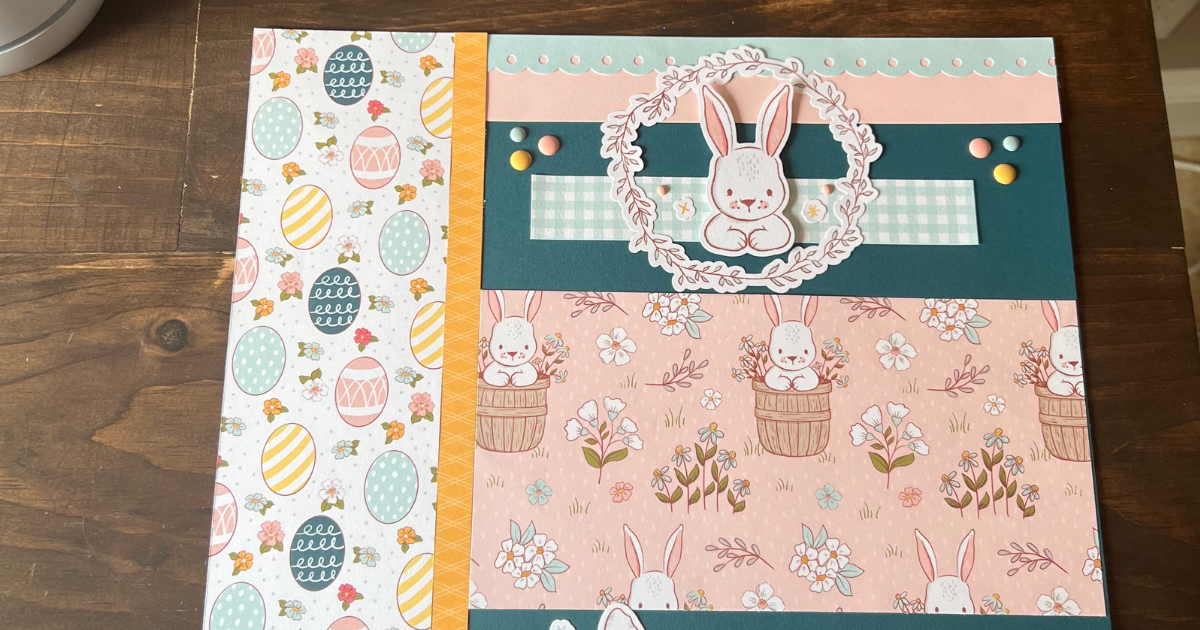
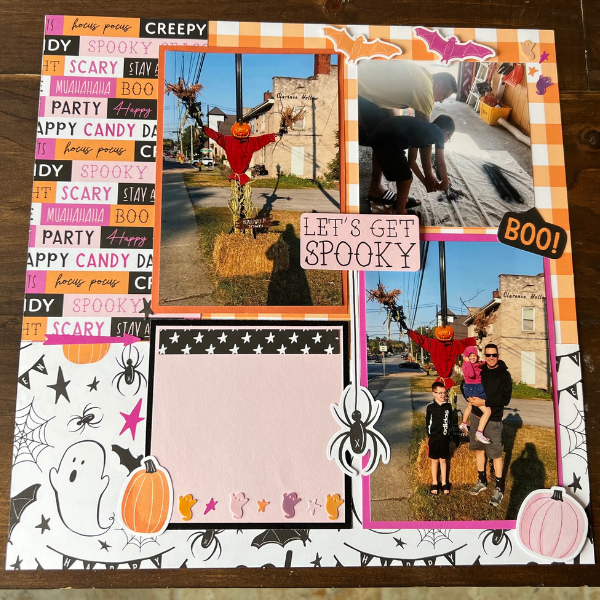
Here is last weeks Beginner Scrapbook Layout that can easily be made in 15 minutes. Just follow the step by step tutorial and template.
Scrapbook Supplies for Beginners
Paper Trimmer
Adhesive
3D Foam Dots
Card Stock
Patterned Paper
Dots/Embellishments
Stickers
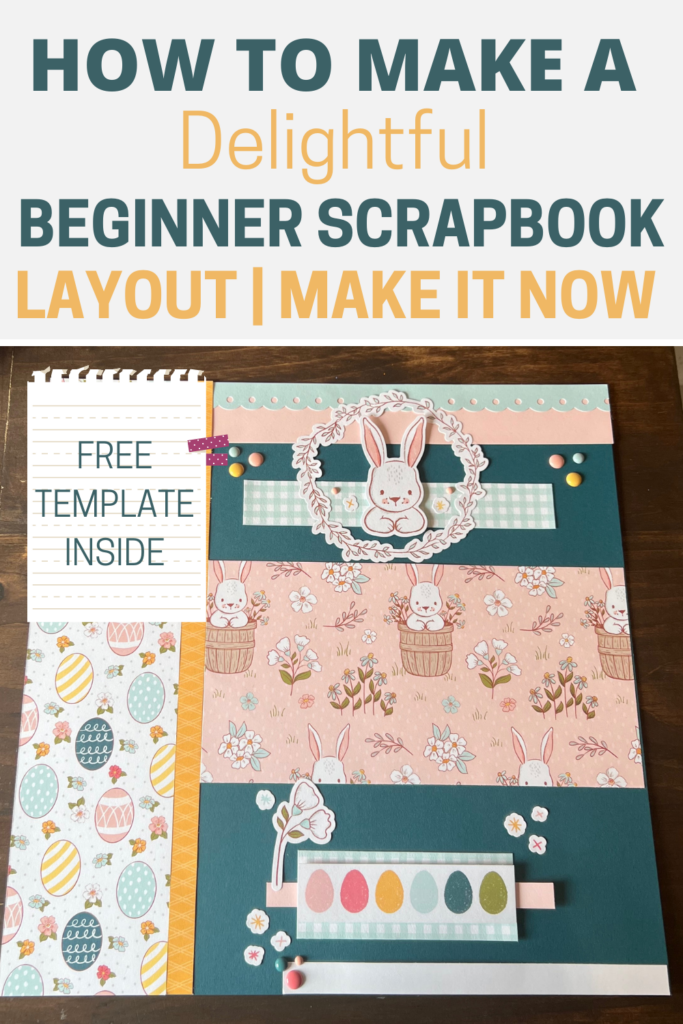
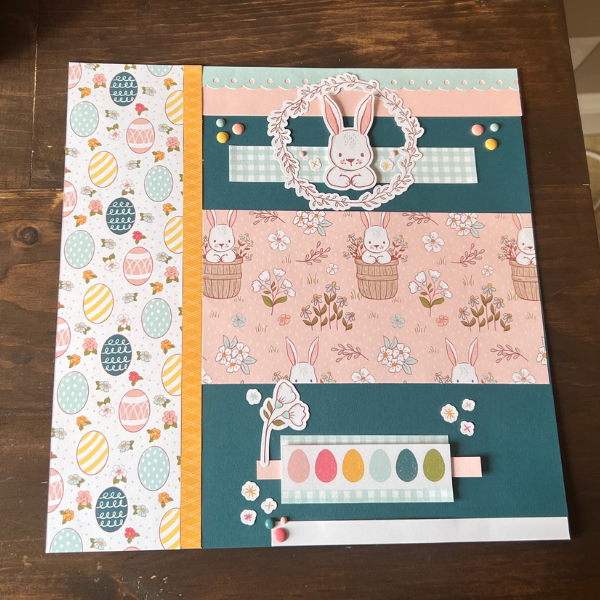
Easy Beginner Scrapbook Layout
Start by gathering your supplies together. I’m using scrap pieces for this, but any paper will work with this page layout.
Choose your card stock base. I’ll be using peacock for my base. Only two pieces need to be glued together so I do that before I start building my page. Add the sticker or the zip strip to the large rectangle and the thin strip on top of the shorter rectangle.
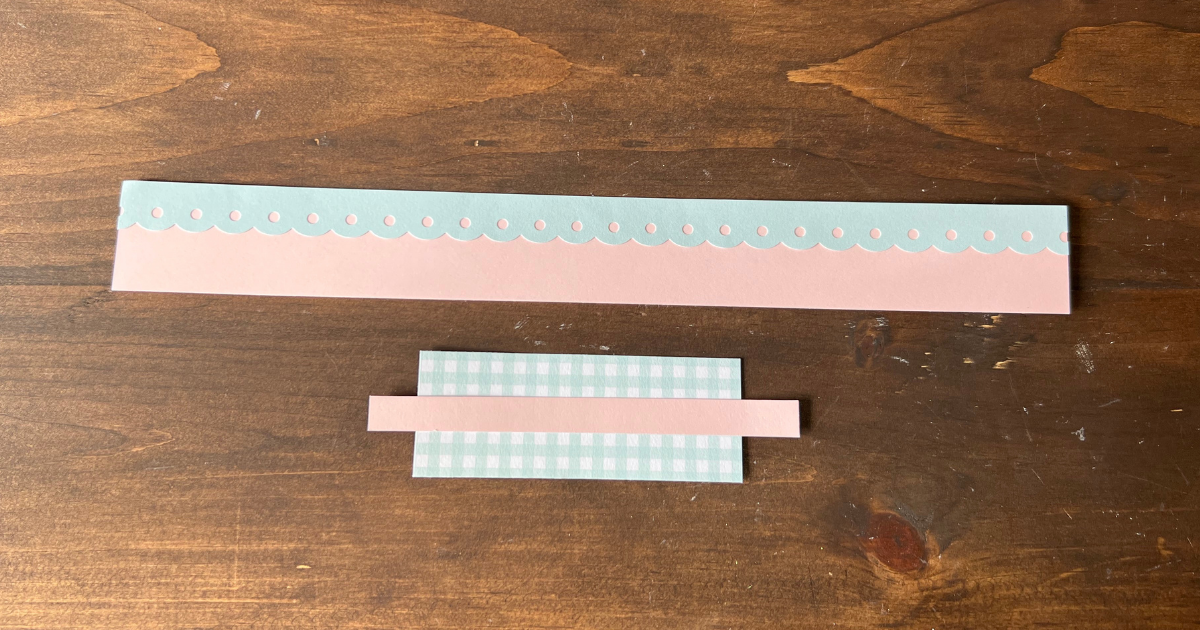
For this scrapbook layout, I’m starting at the top. Take the long peach card stock strip with the sticker and glue it to the top of the base page.
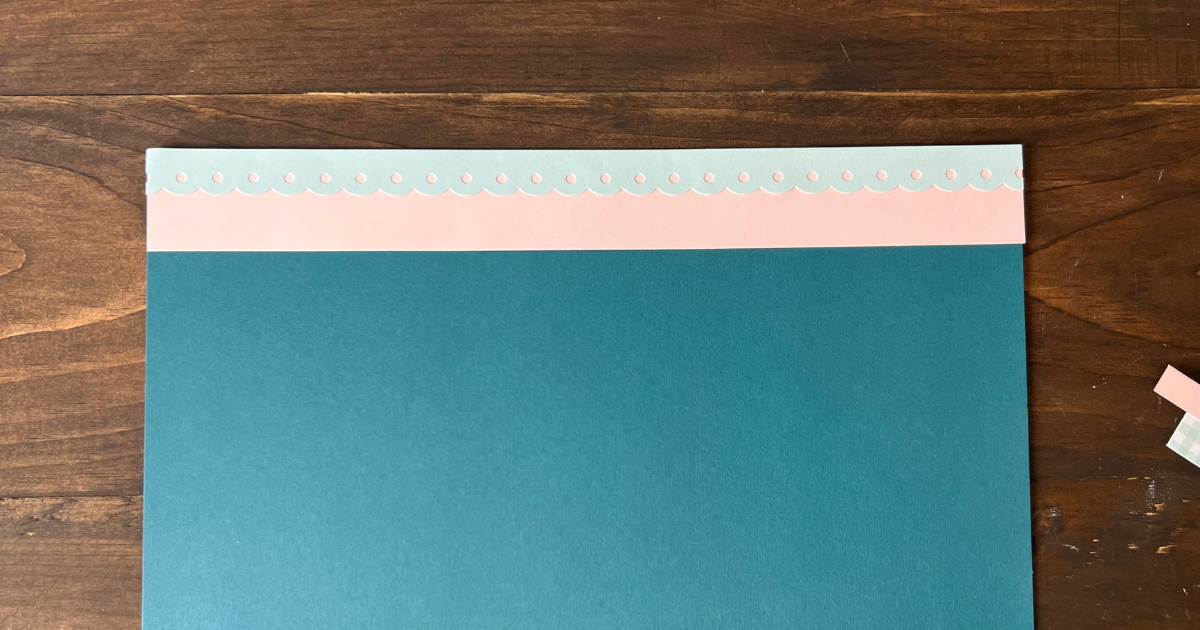
The next step is to cut a piece of patterned paper 3 x 12 and glue it over the top strip. Add the zip strip (.5 x 12) next to the patterned paper.
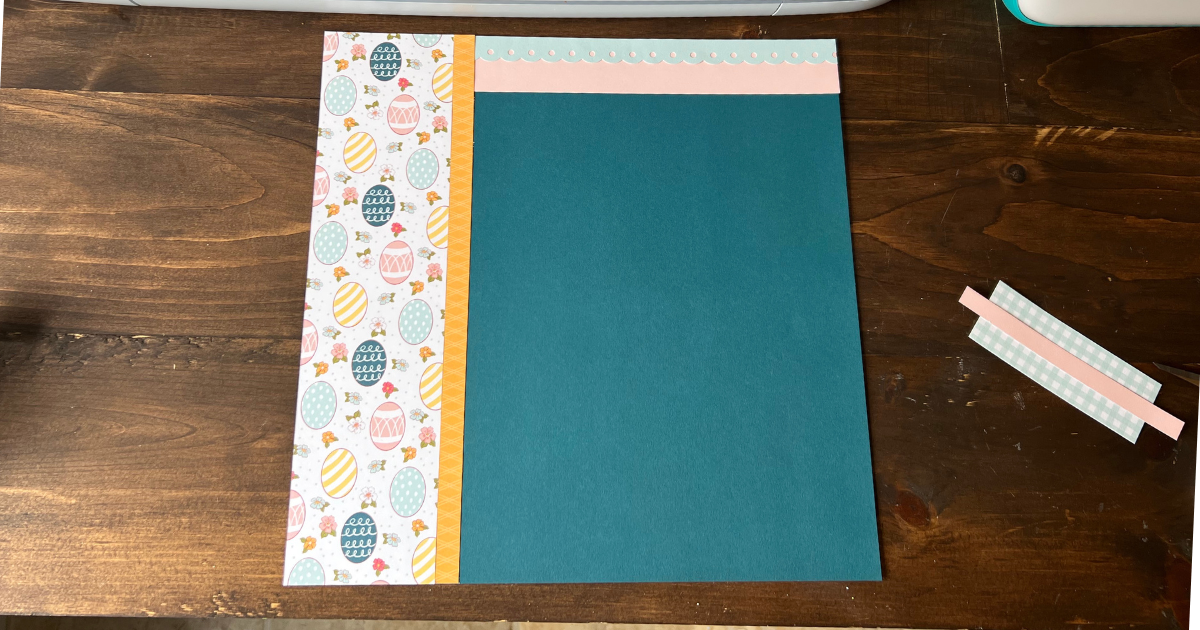
Cut the patterned paper (bunny paper) 4.25 x 8.5 and glue it to the center of the base page.
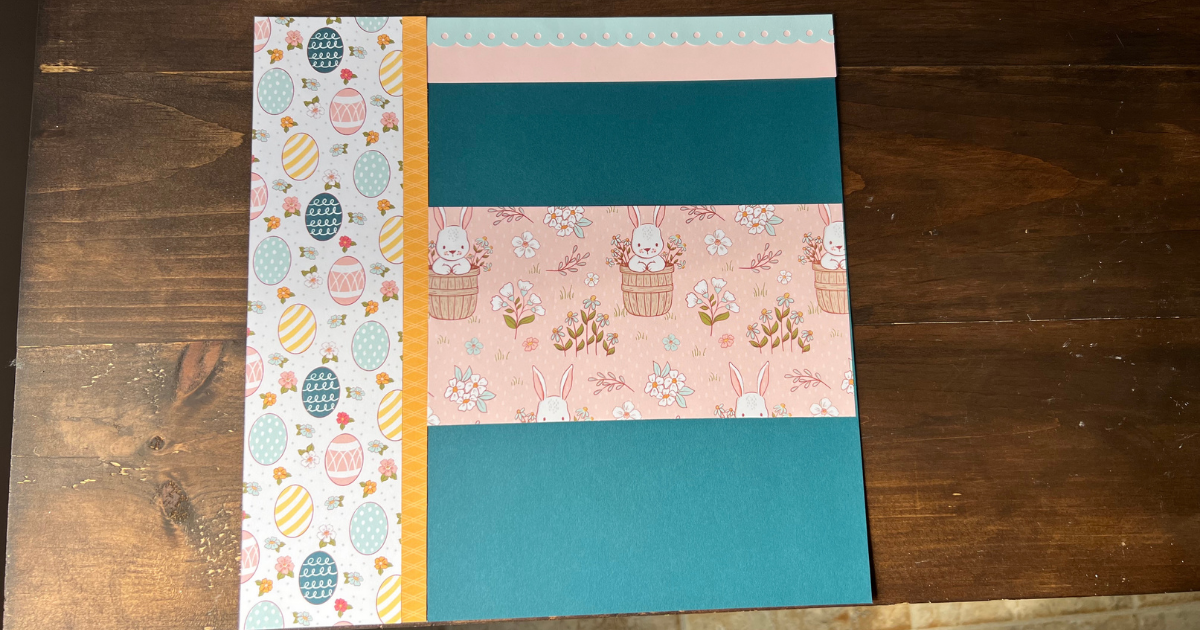
Choose another patterned paper and cut two rectangles (checkered paper for me). One is 1 x 6.5 and the other is 1.5 x 4. Glue the long and thin rectangle to the top and he shorter rectangle on the bottom. When glueing them, place both of these rectangles in the center of the page between between the bunny rectangle and the top and bottom.
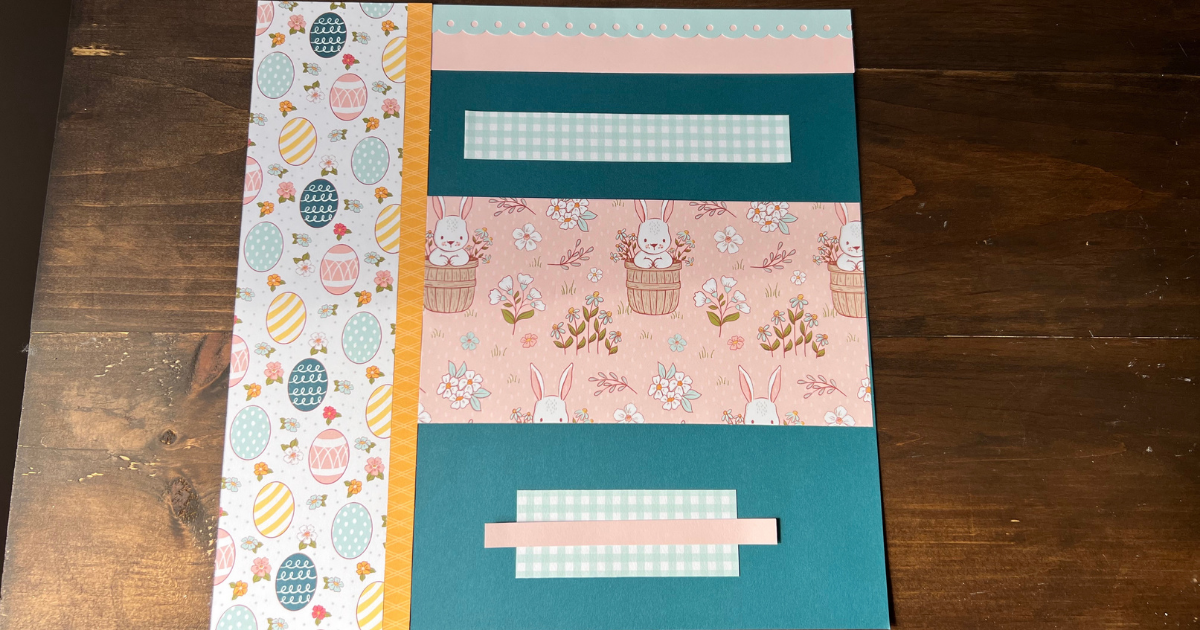
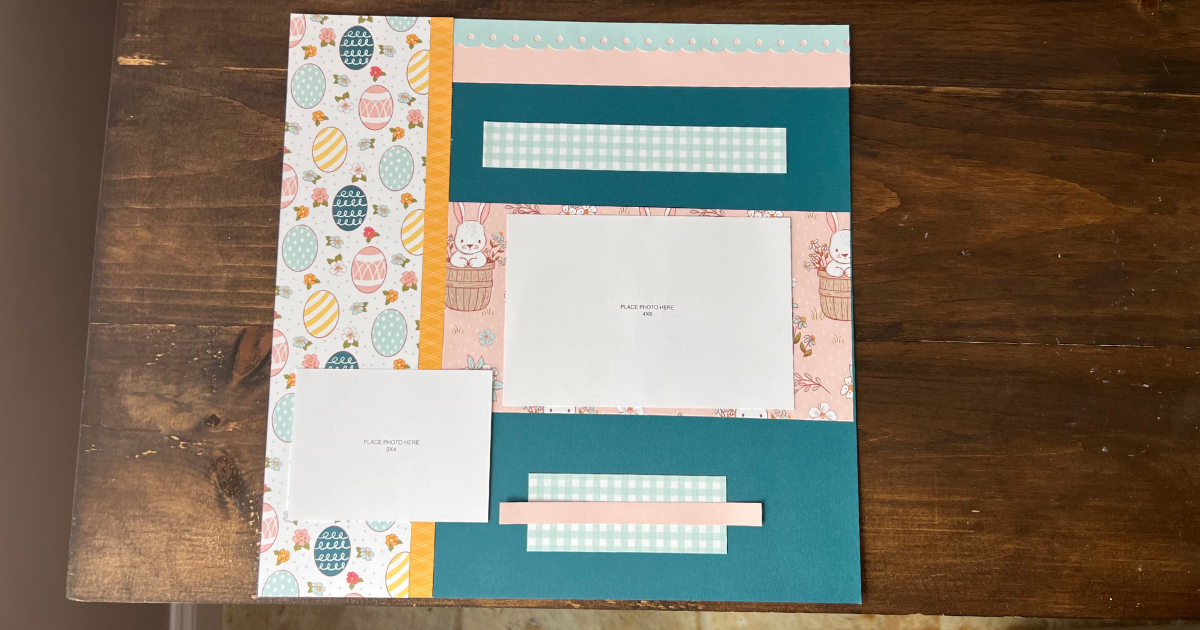
I completed the page layout and realized I forgot a journaling strip. Cut a white piece of card stock .5 x 7 and add it to the bottom corner of the scrapbook layout.
You are probably asking, hey where are the pictures? Well I don’t have any Easter photos right now so I’m saving this one for Easter. This page will hold 1 4×6 landscape and a 3×4 photo.
Decorating the Scrapbook Page to Make it Cute
The last step is to have fun and decorate it. All of the paper and stickers from this are part of the Daisy Meadows collection. The bulk paper pack is still available and so is the card stock and picture my life cards, but the sticker sheet is not.
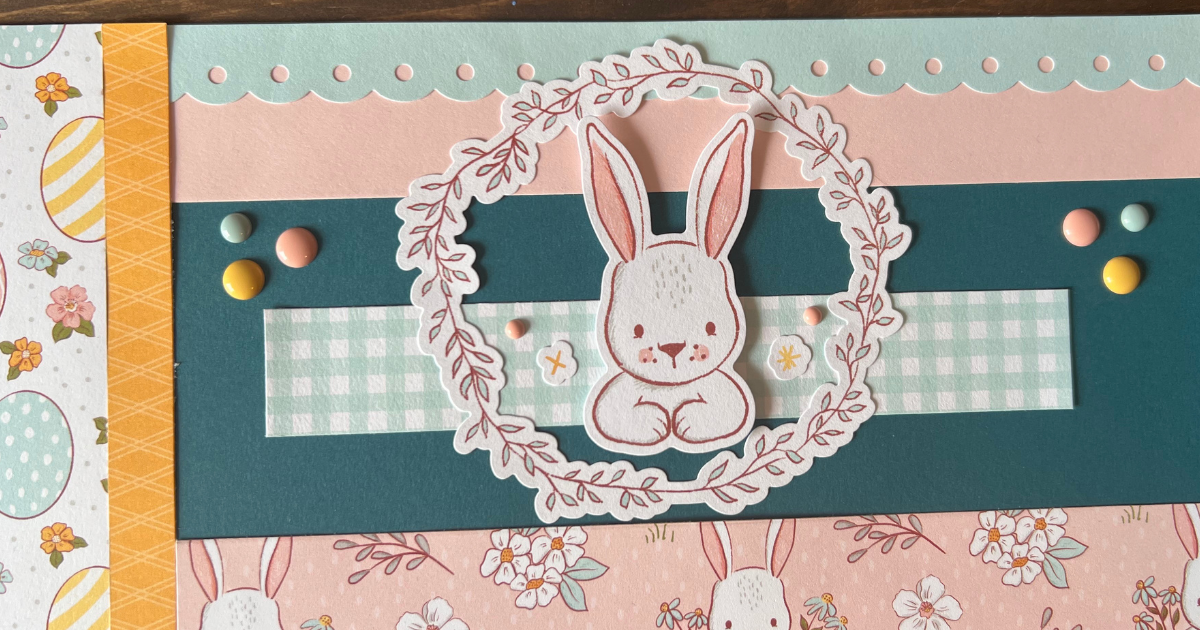
One easy beginner scrapbook decoration idea is to use these super cute embellishments I love the dots that come in different colors and there are so many wooden and plastic embellishments to choose from. Just stick them onto your page for instant cuteness.
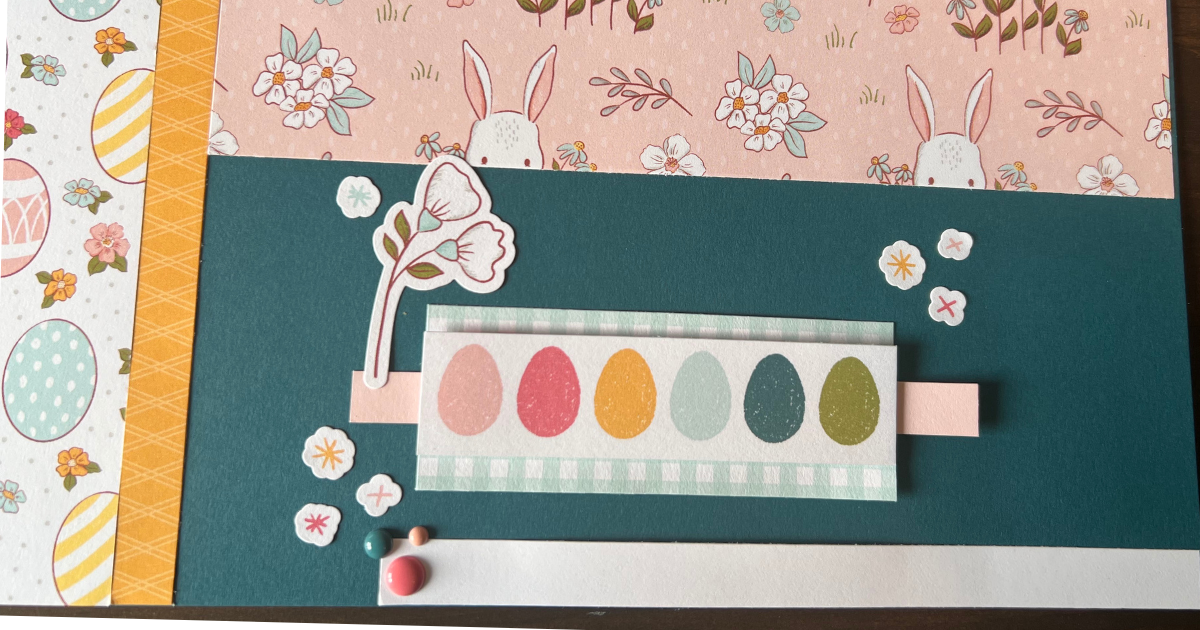
Another basic way to decorate your scrapbook pages is with picture my life cards You can either use the whole card like I did in this fall scrapbook page idea or you can cut the cards. The colorful eggs are from a picture my life card that I cut and added 3D foam tape for a decoration.
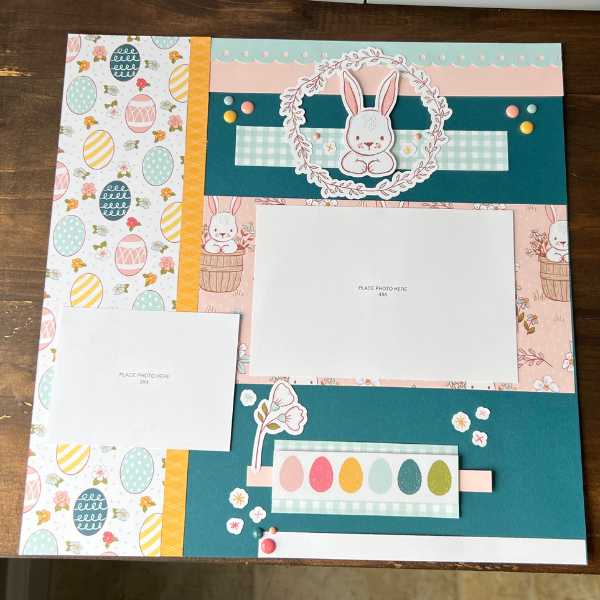
I hope this scrapbook tutorial helped you and that you are ready to go and create this easy beginner scrapbook layout. To create this layout here is the free scrapbook template, just download/save/print. All of the measurements are on the template. Keep all of your templates together because you can always reuse them or look at them for inspiration.
