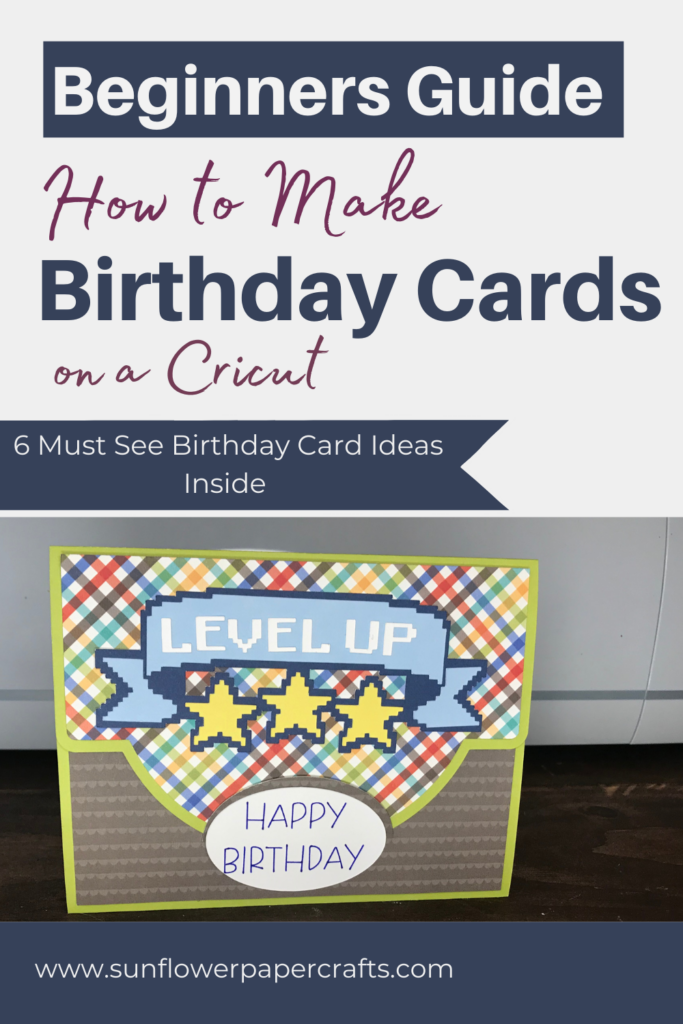
How to Make a Birthday Card on Cricut | A Beginners Guide
Note: As an Amazon Associate, I earn from qualifying purchases. If you click on a link from Amazon or another of my advertising affliates, I will earn a small commission at no additional cost to you. Please see my full disclosure policy here.
Have you ever made a project that you love and just can’t stop making? I totally fell in love with this tri fold card and I kept saying 5 more minutes I’ll be done. Let’s just say dinner was a little late that night, but totally worth it. I had to stop making them to write this post for you because I want you to wow everyone with this fun Cricut birthday card idea. I’m going to show you how to make a birthday card on Cricut that Is a tri fold card.
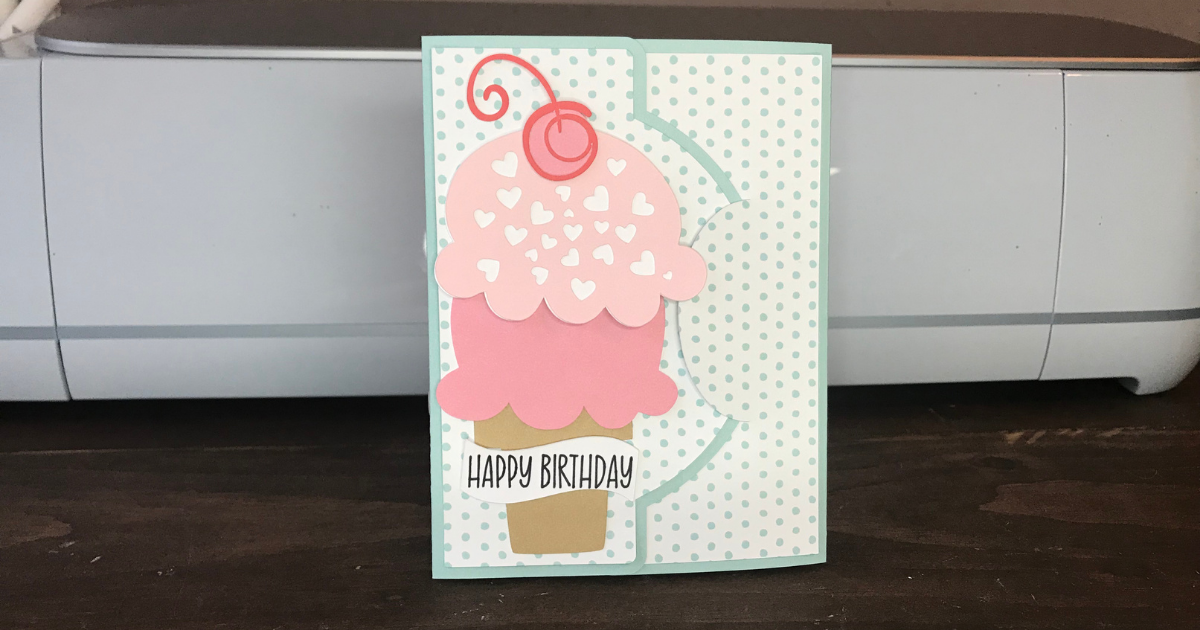
Everyone will be impressed when you give them this birthday card and think you spent hours on it. Totally let them think that, but you will know that this card project is super easy to make and only takes a few minutes of your time. I had no idea this tri fold greeting card would be so easy to make. This is my first time making a card like this and it’s now my go to. The tri fold Cricut card template is a blank template that you can decorate in anyway and make any kind of greeting card or invitation.
I’m going to show you how to set up the card in Cricut Design Space, make a master tri fold card to use over and over again and how to decorate it. It’s everything you need to start card making today. Throughout the post I’ll be sharing 6 creative, fun and super cute birthday card ideas for you.
Materials for Cricut Card Projects
Card stock
Patterned paper
Scoring wheel/stylus
Light grip mat (the blue mat)
Adhesive
Cricut Pens
Cricut Maker/Explore (any model)
How to Make a Birthday Card on Cricut
Start by purchasing the Close To My Heart Sawyer digital art set that the card is a part of it. The card, images and scrapbook page are totally worth buying. After purchasing the set, go to the digital library in your Close To My Heart account and download the collection. I explain it in more detail in my Fall Scrapbook Page SVG.
I’m all about working smarter, easier and faster. I would rather be playing with paper and putting the cards together than sitting forever in Design Space making a card from scratch. Learning how to make birthday cards on Cricut with already created cards is the easiest way to go.
Download the digital art set to your computer and open Design Space. In Design space, open a new project and click upload and upload image. Then drag the tri fold cold image into the drag and drop area.
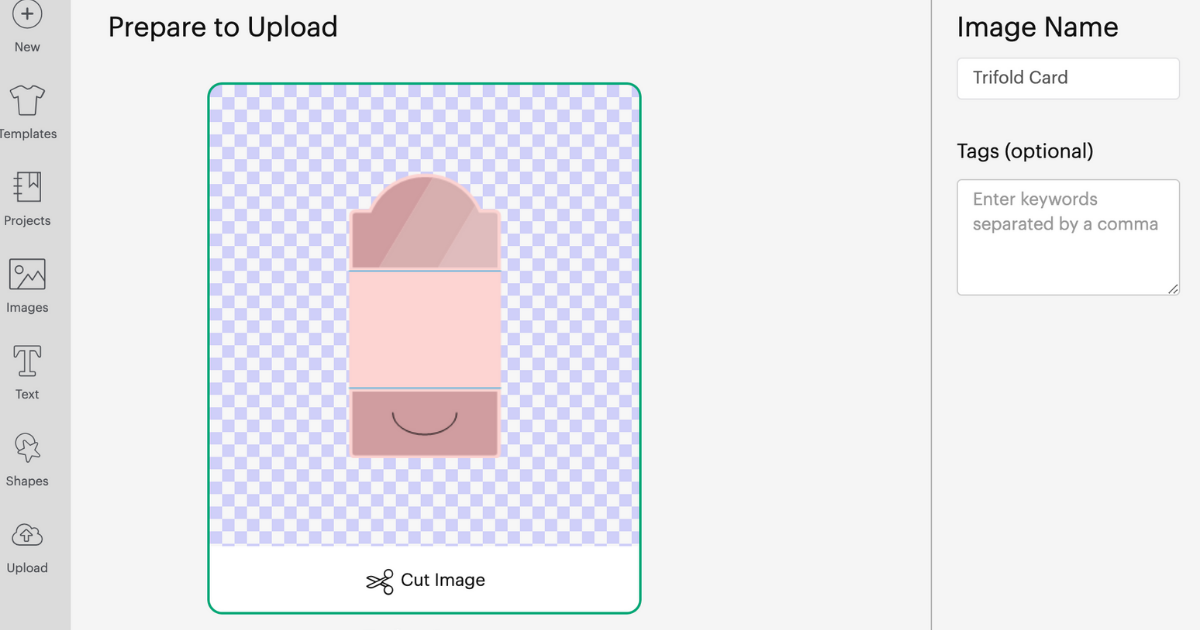
The card template is an A2 card size (4.25×5.5) and fits in that size envelope. I created my cards this size, but you can always enlarge the card too. Click the card image and add to canvas.
Cricut Tri-Fold Card in Design Space
In Design Space, you have to change a few things to get the card set up, but it’s super easy. In two steps you will be making a ton of easy, fun, and creative birthday cards.
Step 1 Score Lines on Template
At the very top are two lines that are titled basic cut, click on them and change it to score. Remember you can only make this card with a Cricut machine that can score lines.
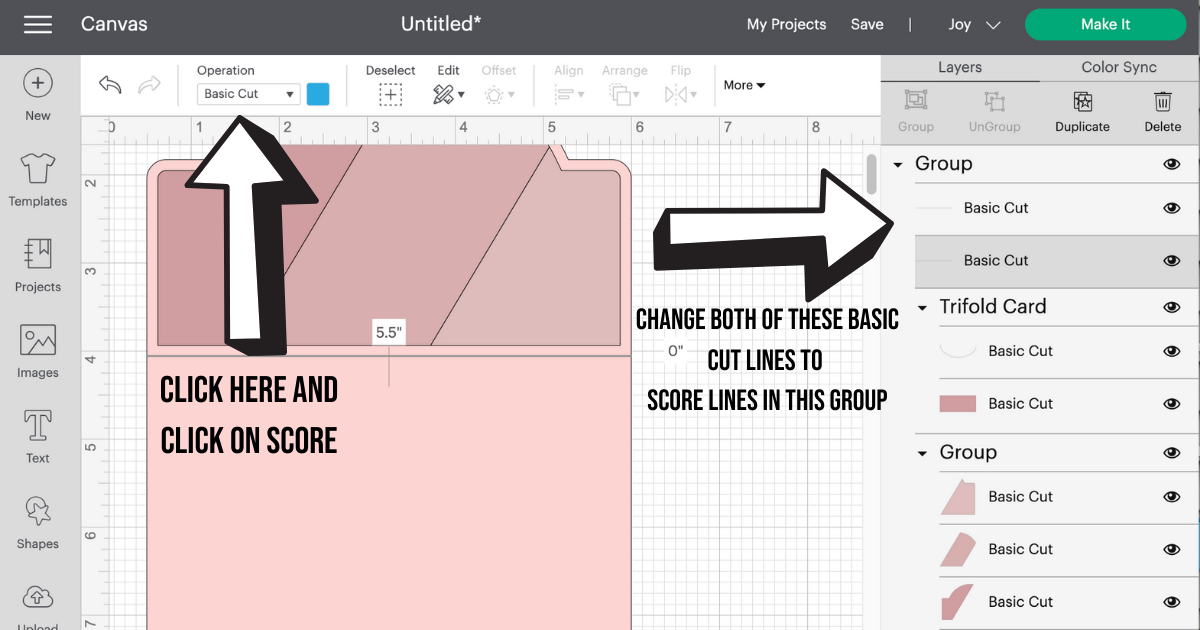
Step 2: Attach the Template
Now remove the added layers as in the photo, highlight everything and click attach. I try to keep my files small if I can so they don’t take so long to open in Design Space, so I deleted the extra pieces for the design on the top and the bottom.
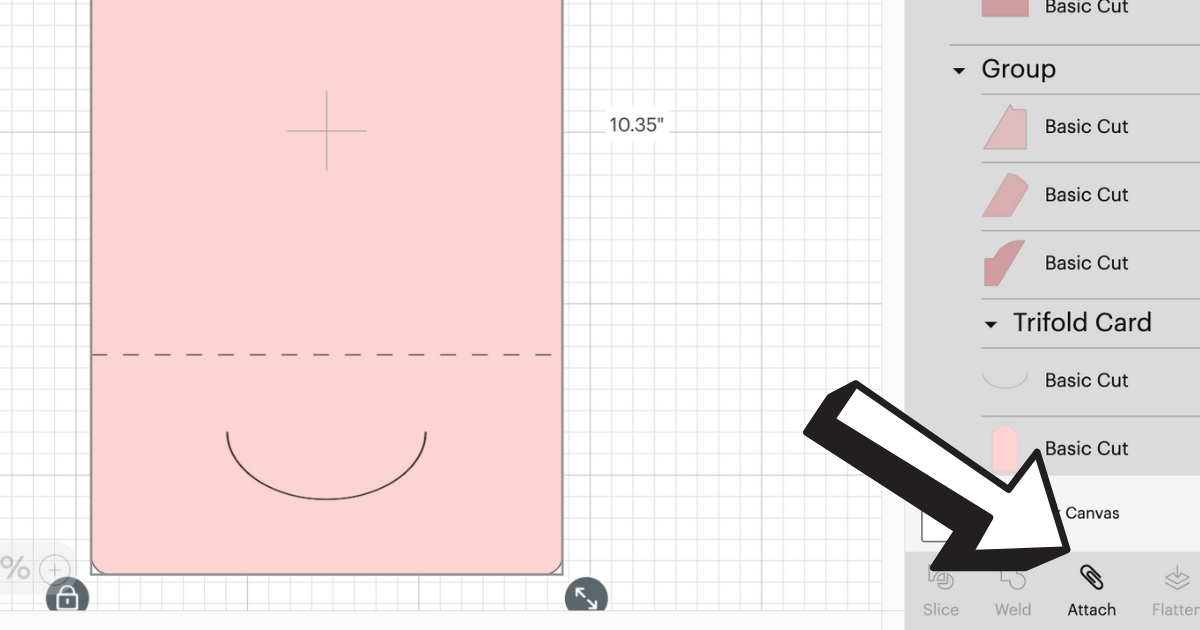
Save it as your Master Tri Fold card so that every time you go to make a card the template is all set, just design it. Every time you design a card, click save as and name it. It will save you so much time. Even better have a master card collection so I’ll your master card designs are in the same place.
The Tri Fold card base is made out of medium card stock so that the card is sturdy and strong. You can get two tri fold cards from one piece of 12×12 card stock.
Birthday Card Design in Design Space
If you want to use the card template as is with the 3 shapes as design on top, then just skip this step, but I want to use patterned paper as a decorative piece on the top and bottom of my greeting cards.
So I added another image of the tri fold card and deleted the card form and score lines. Next ungroup the images left.
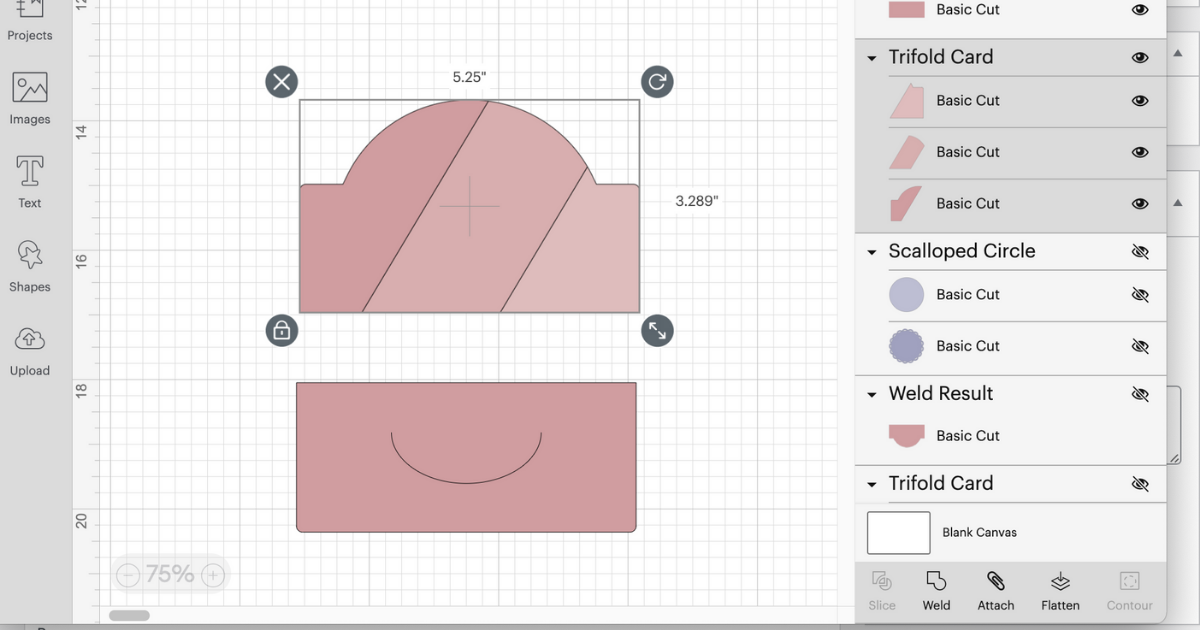
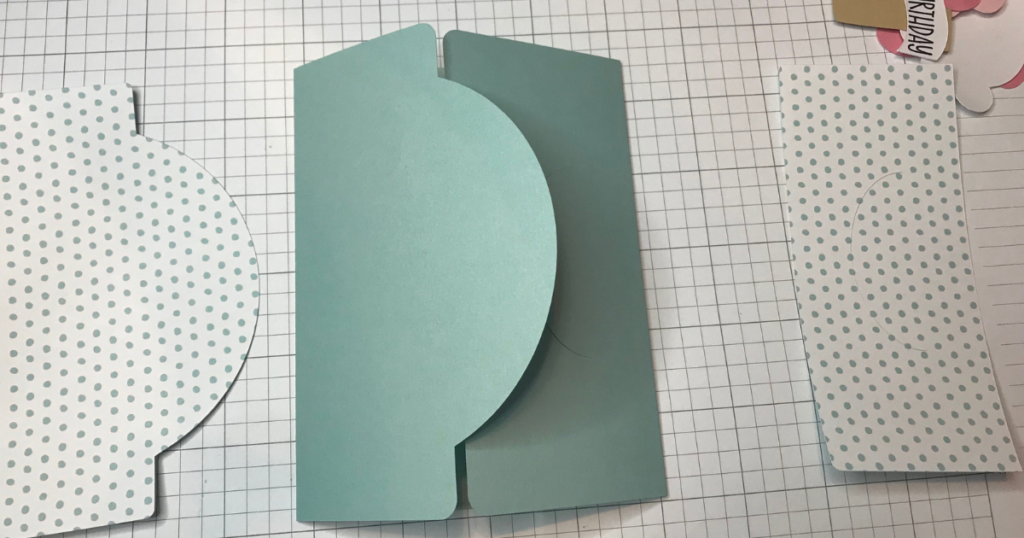
Here is what is left. Highlight all the top pieces and click weld which will make this all one piece to decorate the card. Leave the bottom piece of the card as is.
Before Weld
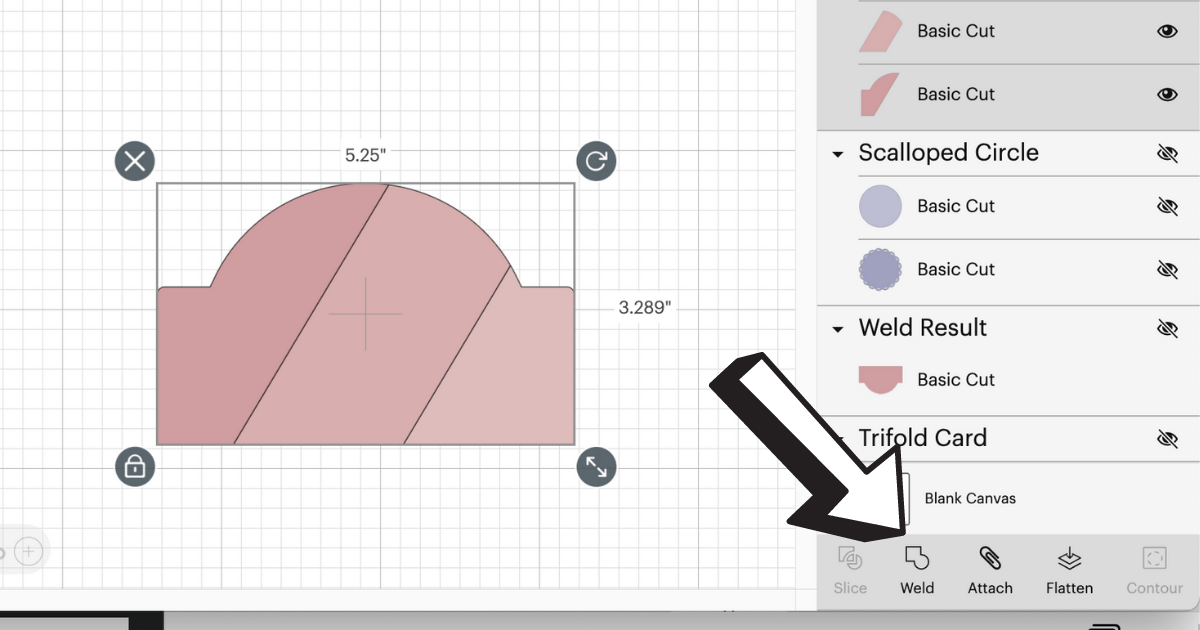
After Weld
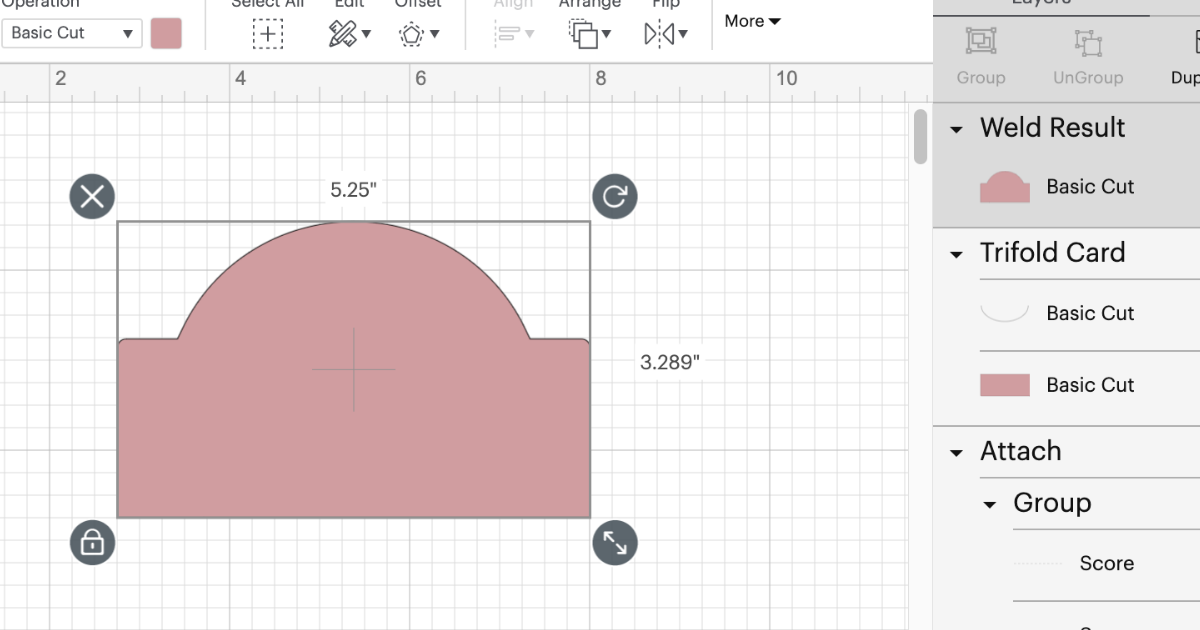
Also keep the cut line on the card and the bottom rectangle because this is how the card will close. I’m going to save this as part of my master tri fold card because I will use these pieces of the card design over and over.
I know it seems like a lot of steps, but really it’s just changing a couple of lines to score and attaching the score lines. I went a few extra steps to make a solid piece to decorate the top of the card, but it’s more my style.
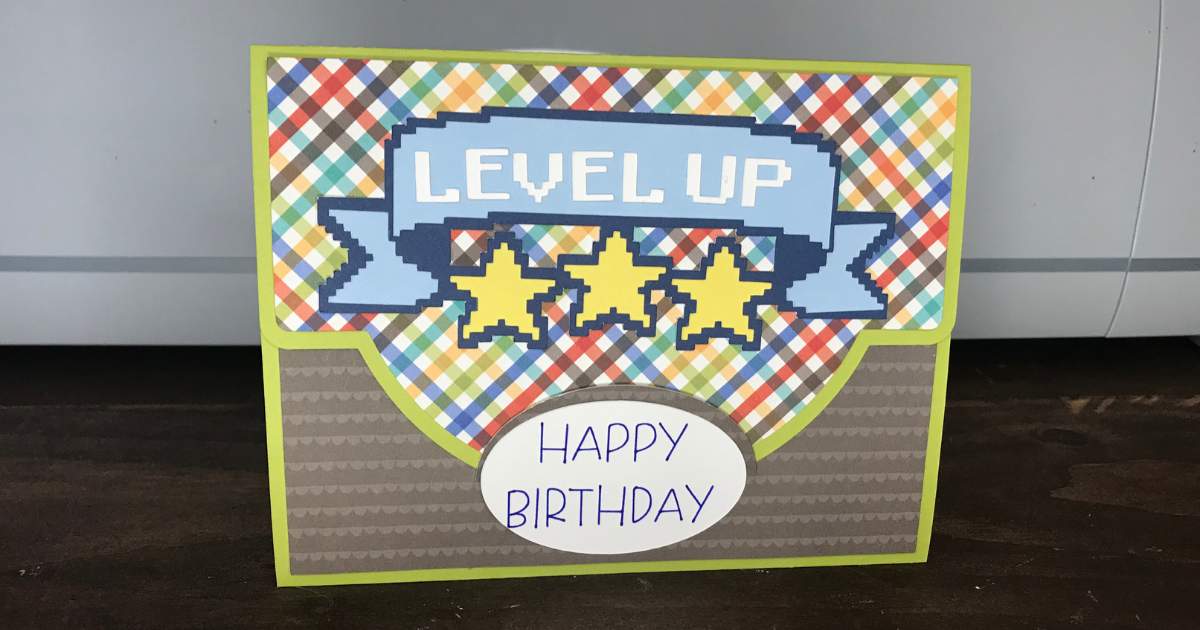
Cricut Birthday Card Ideas- Let’s Decorate
Decorating cards in Design Space is so much fun! I like to find inspiration around the internet and then I use those ideas to create a design. Another cool thing I forgot to mention is that this card can truly be made vertical or horizontal. I asked a card making friend how they would decorate it because at first glance I was like “huh?”
Another fun little fact is that you can decorate the inside of these cards too.
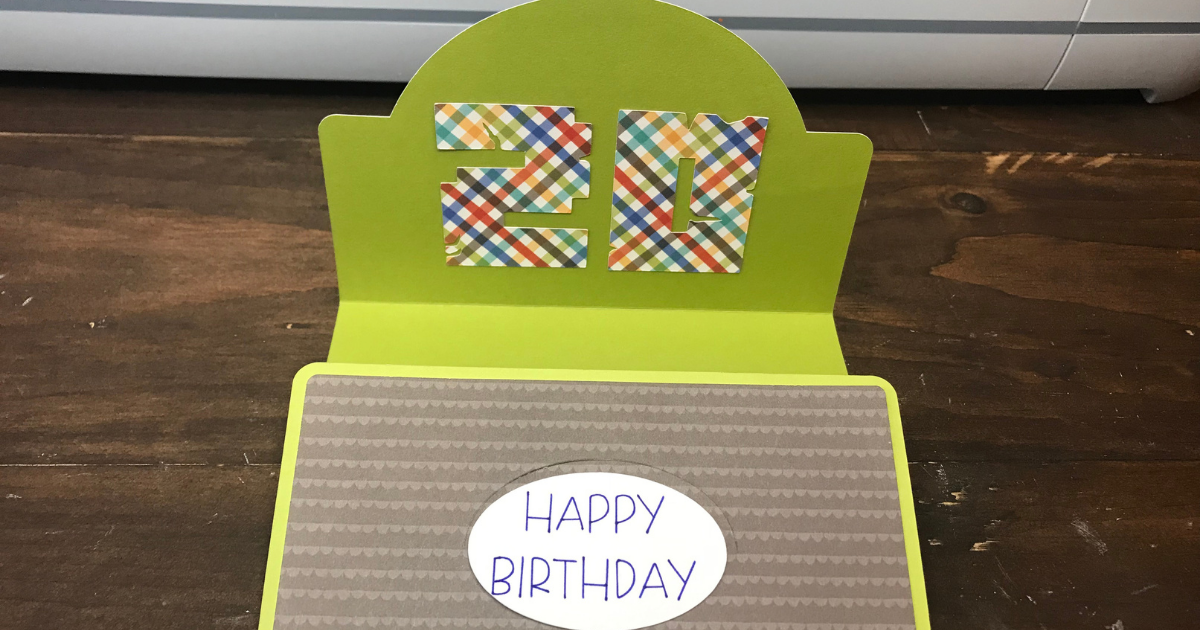
For all the cards, I chose to use patterned paper on the curved part and the bottom part. The welded top piece of the card looks so good as one piece and I just love patterned paper. I love Close To My Heart (CTMH) paper and highly recommend it if you love to craft with your Cricut. It cuts so smooth and folds so nicely for cards. Also CTMH has beautiful paper collections so for some cards that have a variety of paper, I just pulled two patterned papers from the same collection and created the card. It took seconds because I already knew the cards matched because they are from the same collection- talk about a time saver.
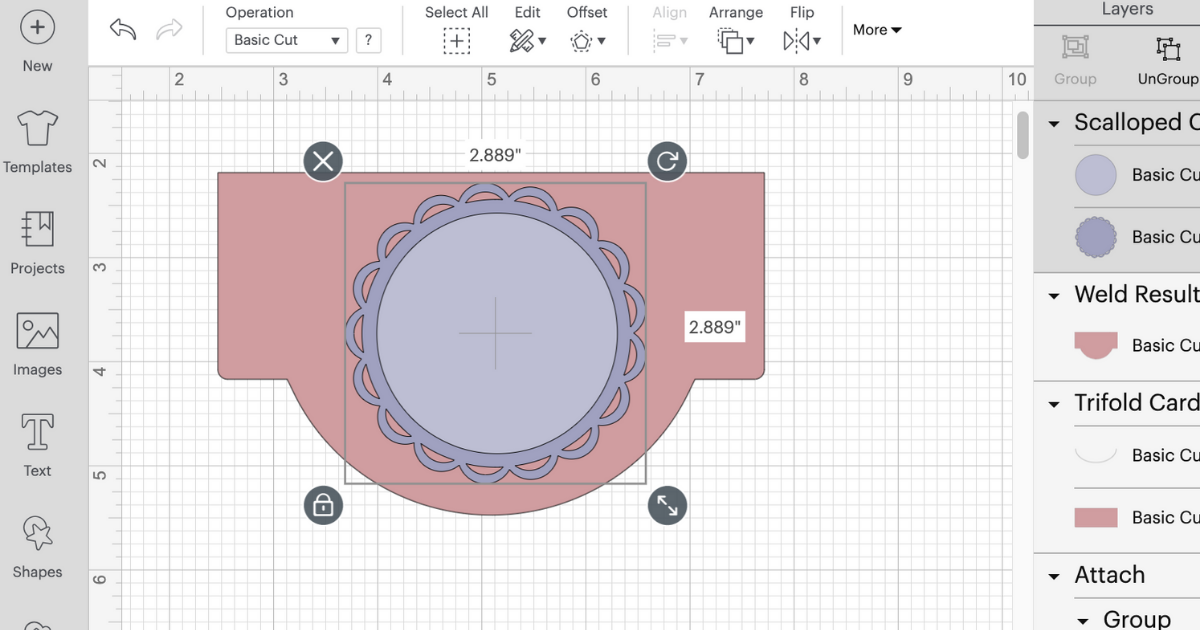
As for the images, you want the images to fit inside the top card piece like in the photo below. Don’t use any kind of 3D foam dots because you need the top layer to slide into the bottom layer to close.
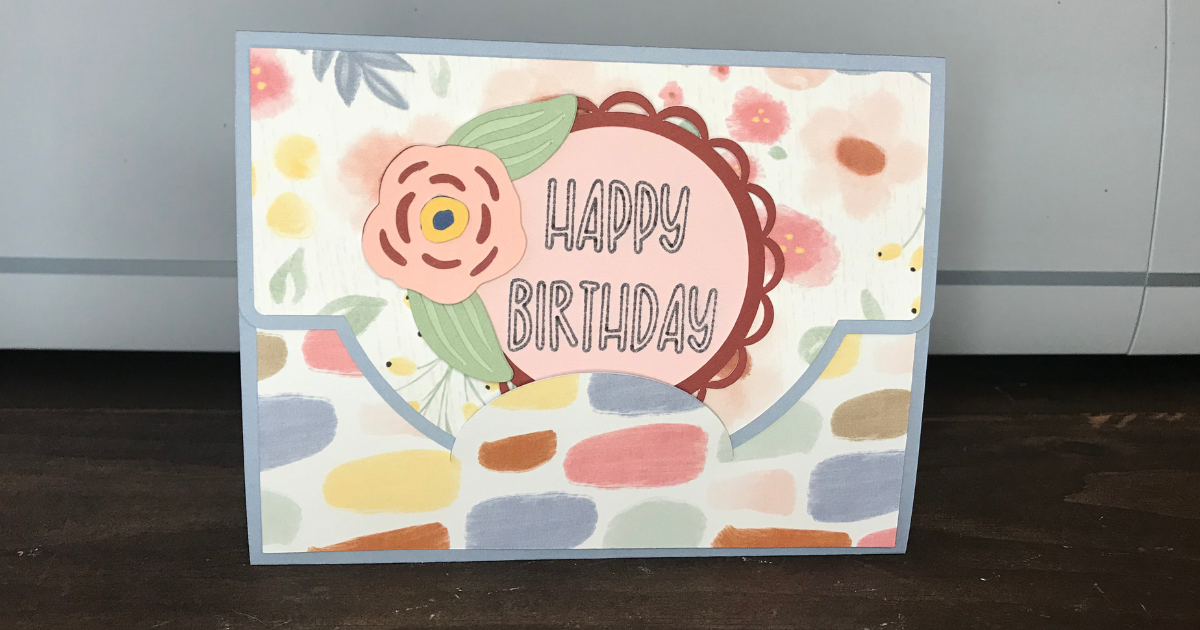
Flower Card
Rainbow Card
If the design hangs over the top of the card don’t glue at the bottom because then the card won’t close. I learned my lesson on this with the rainbow card.
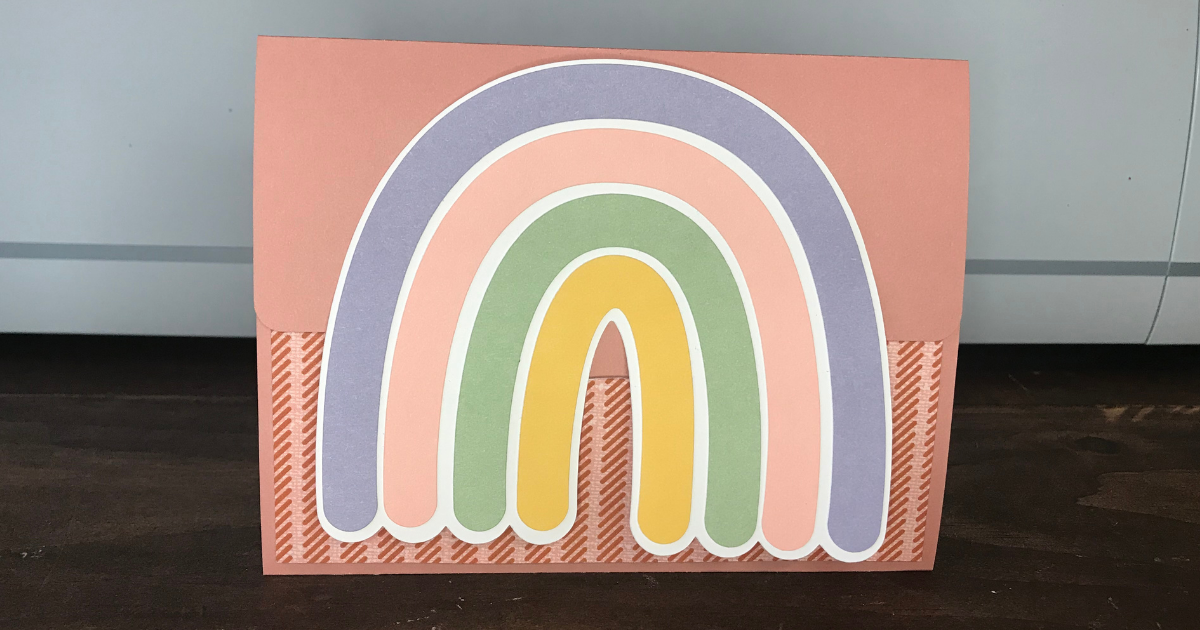
Honestly make sure to use some repositiaonable glue and don’t use any that adheres immediately because you might have to do some adjusting until you get the hang of it. At the bottom of the card, make sure the cut pieces line up so the card slides into the cut smoothly.
Golf Birthday Card Idea
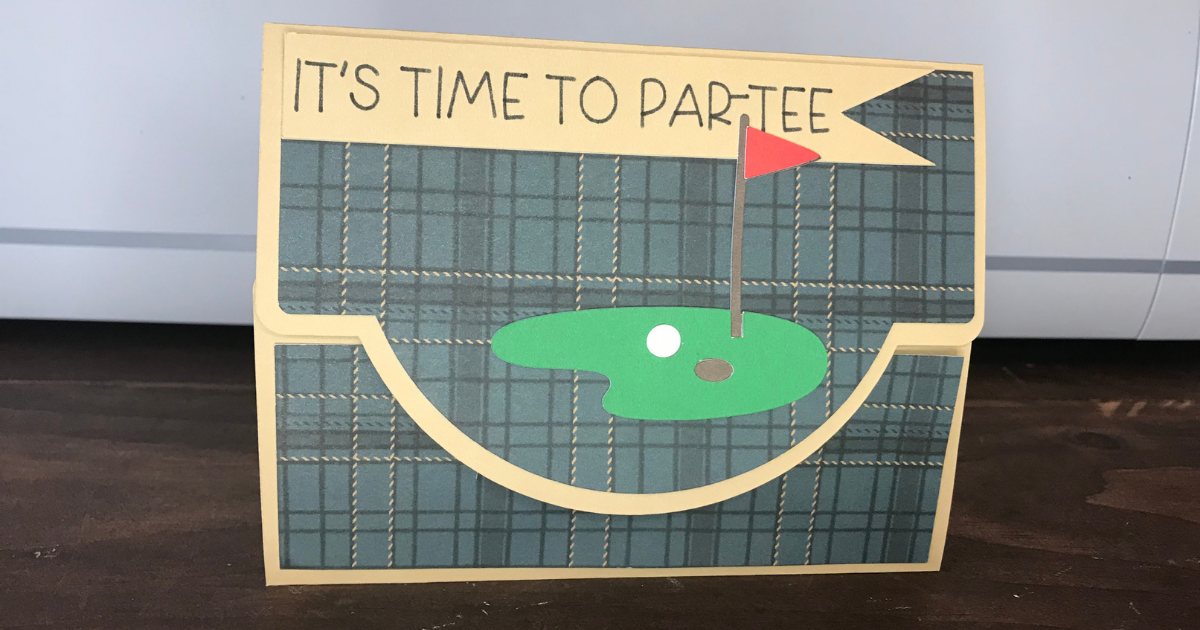
Learning how to make a birthday card on Cricut can seem overhwhelming, but trust me it’s not. Remember its only two steps to create a master card template that you can use over and over again. Then the design part is fun. After you make one of these card projects and figure it out, the the card making flow becomes smooth, simple, easy and fun!
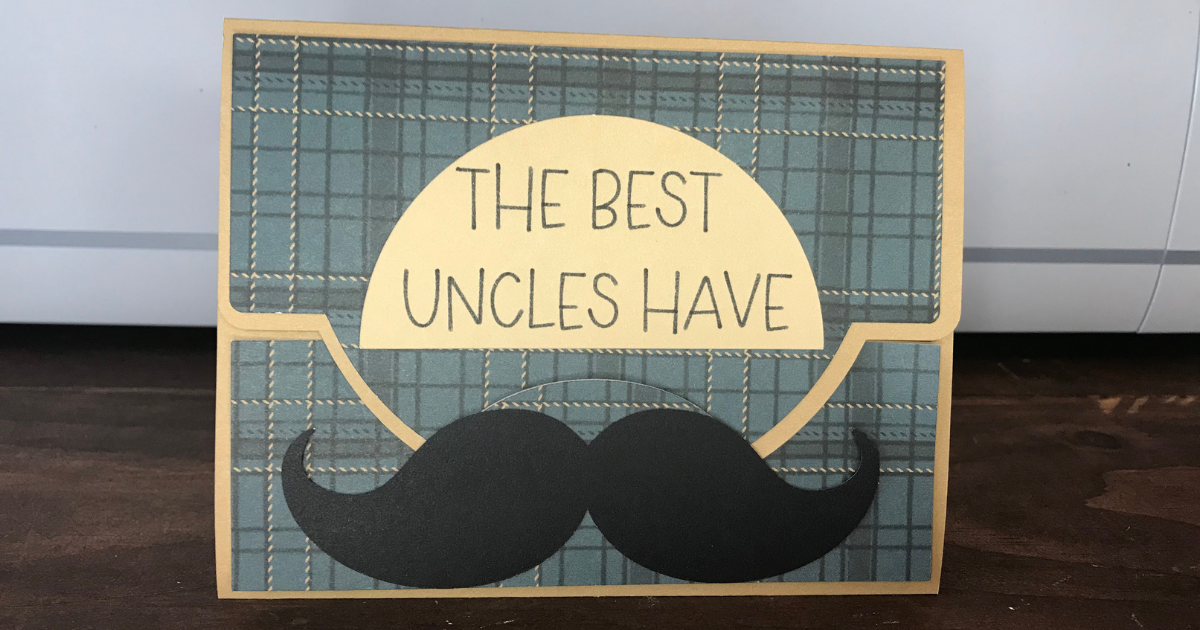
Mustache Card Idea for Uncle
