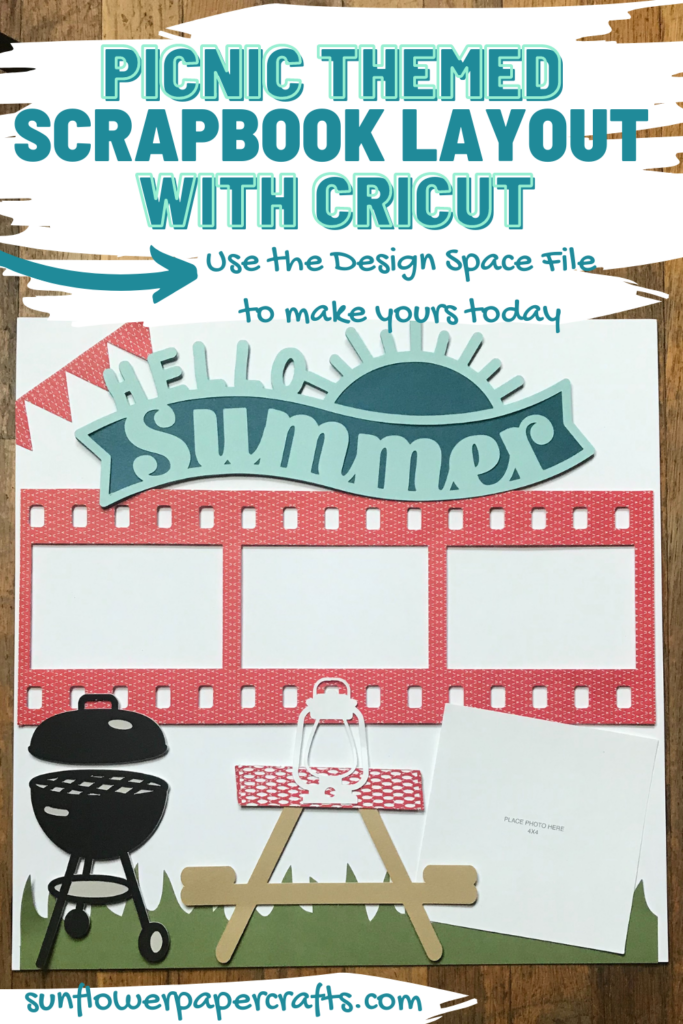
Picnic Scrapbook Layout- Cricut Made
Note: As an Amazon Associate, I earn from qualifying purchases. If you click on a link from Amazon or another of my advertising affliates, I will earn a small commission at no additional cost to you. Please see my full disclosure policy here.
Can you believe next week is Memorial Day weekend and the “unofficial” kick off to summer? I’m really looking forward to a fun summer this year (we all know how last year was). Keep those summer bbq and picnic memories with this super cute easy picnic scrapbook layout. I kept a red, white, and blue theme going for Memorial Day, but for some reason red just says picnic to me. I think it all goes back to the red and white check tablecloths.
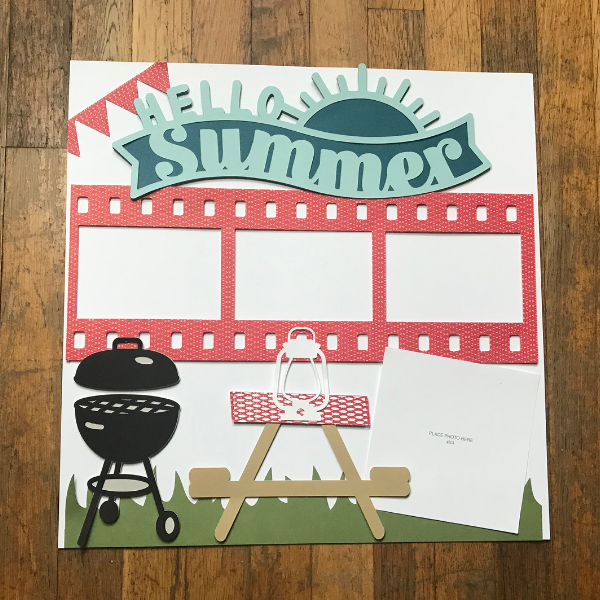
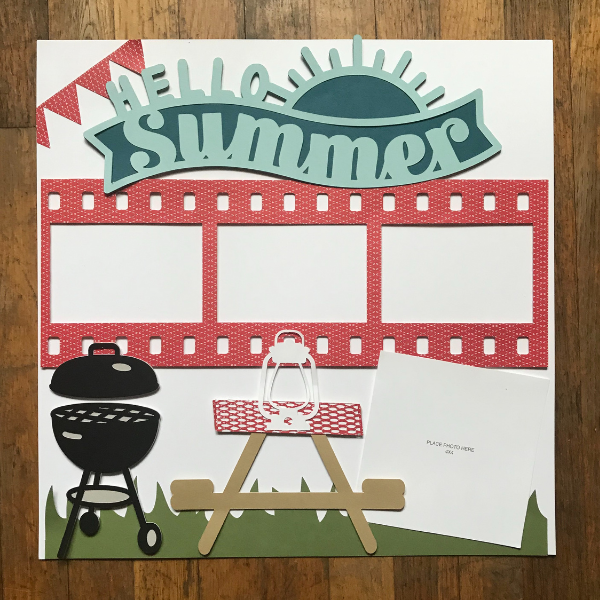
My picnic scrapbook page is a basic one that could work for a family picnic, a picnic at the park or a large bbq bash. Anyway you like to celebrate will work for this fun and cute page. My absolute favorite part of this page is the film strip. I just love the look of it and I can’t wait to add pictures in to it.
This whole picnic scrapbook page is created with Close To My Heart Cricut Images. All of these images are free with a Cricut Access membership. The film strip is a fun way to share photos. Not only did I use Close To My Heart Images, but I used their paper too. I am in love with this paper. The Cricut cuts it so smooth and so well, that it’s a dream come true. For this page, I used the Mix-in Paper Packet and card stock in black, candy apple, fern, glacier, peacock, toffee, and mink. The card stock is amiable in individual color packs or you can make a custom pack of 12 sheets or 24 sheets.
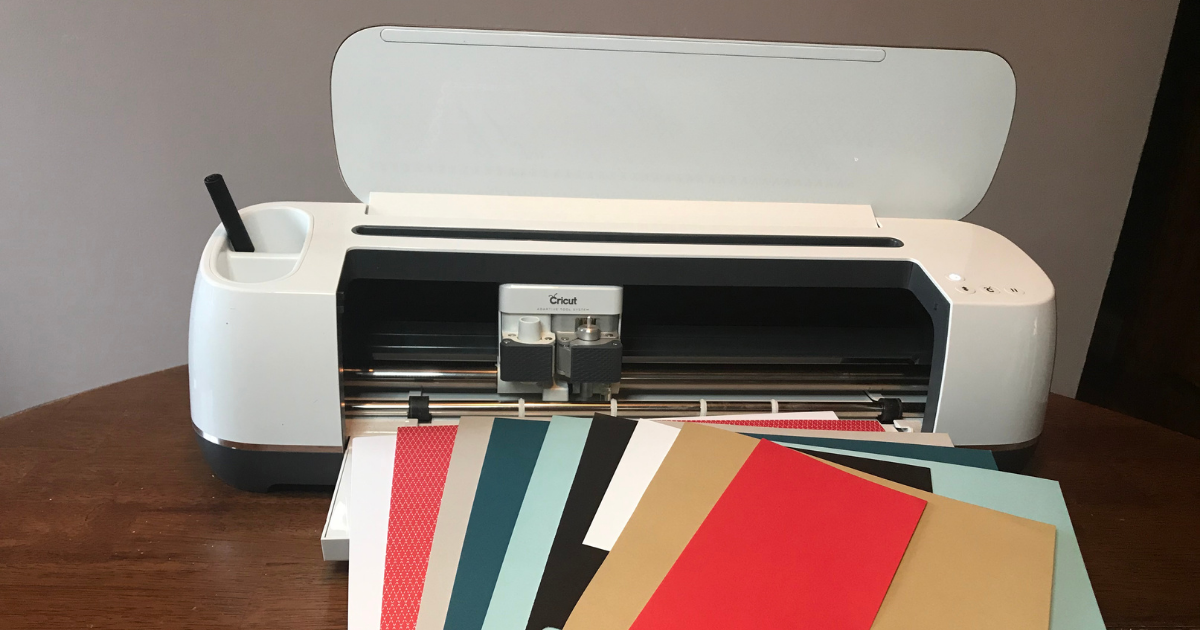
Cricut Scrapbook Page Supplies
White Daisy Card Stock as the base
Cricut Air or Maker (because of the large cut sizes)
Adhesive Runner/3D Foam Dots/Glue Dots
Light Grip Mat (the blue one) or an older standard green mat
Piercing Tool or Cricut Weeding Tool
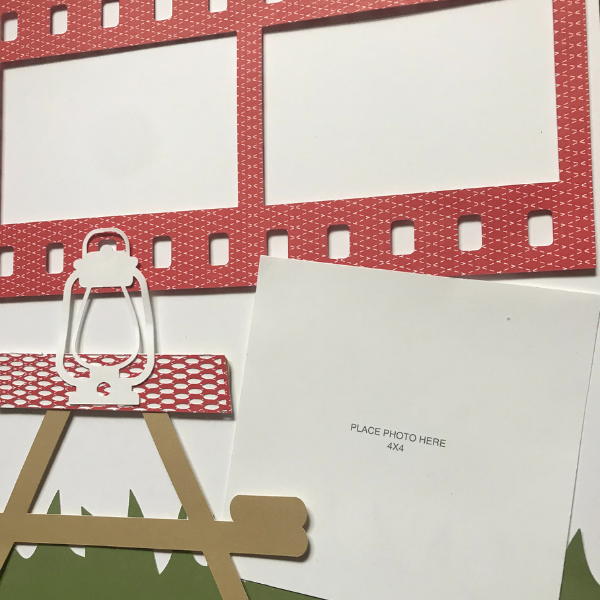
Picnic Scrapbook Page Holds
1- 4×4 Photo
3- 3×4 Photos
When you have all your supplies ready, open the Design Space Picnic Scrapbook File. Before cutting the design, hide the white base layer and the photo squares. I just use them as place holders and to know how to size the other pieces of the page. You could always cut them too. It’s up to you. The grass and the film strip will say you need a larger mat, but it will cut fine on the 12×12.
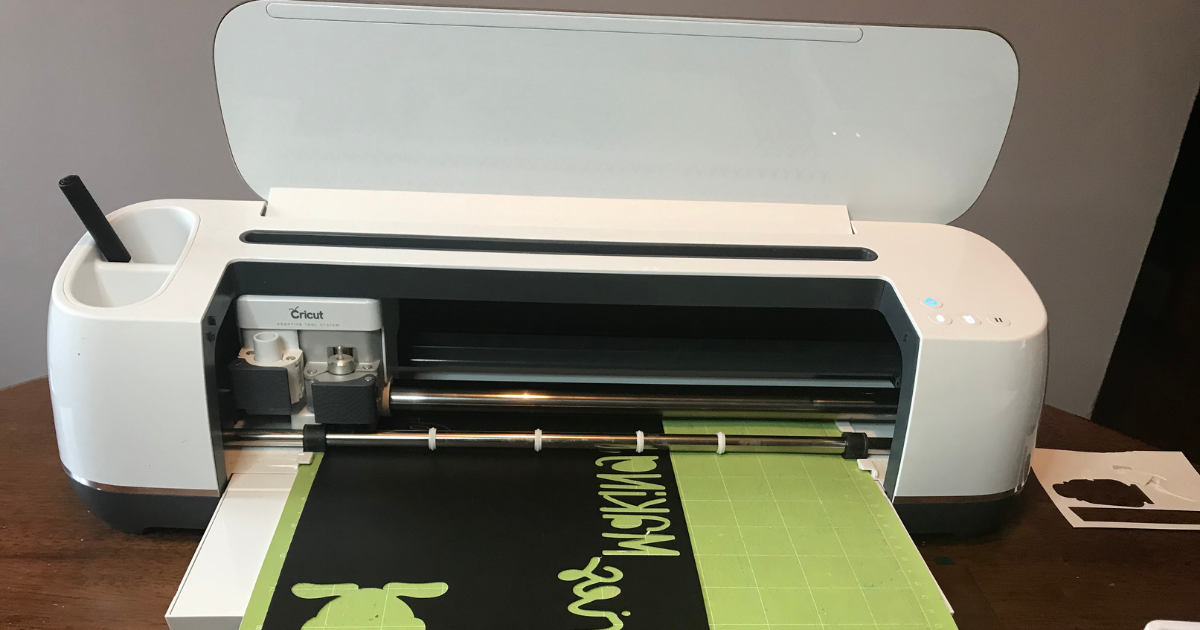
For cutting the picnic scrapbook page, try to use an older green standard mat or the light grip blue mat. With these mats, your card stock won’t stick as bad or be difficult to remove (it will curl too). Try pulling the mat away from the card stock to remove it and remove each piece gently and slowly. Some of these images do have small pieces (like the grill and tablecloth) so you may need your piercing tool or Cricut weeding tool to remove some of these small pieces.
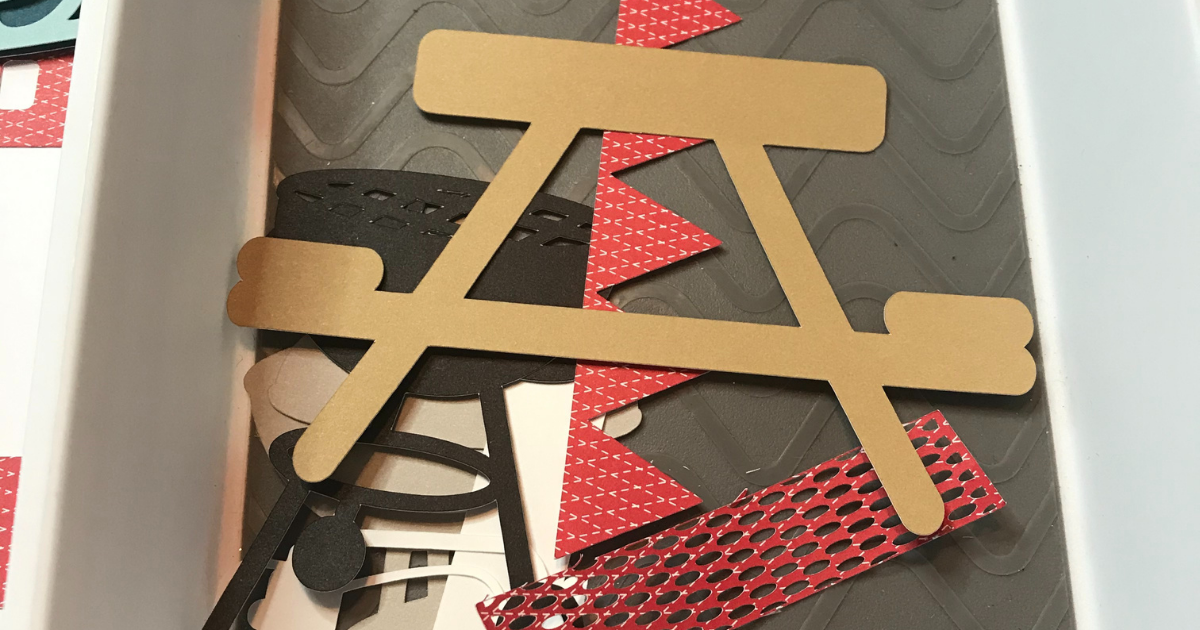
I use a dollar store container to put all my pieces in once they are cut. It keeps it organized and no pieces get lost.
Putting the Cricut Picnic Scrapbook Layout Together
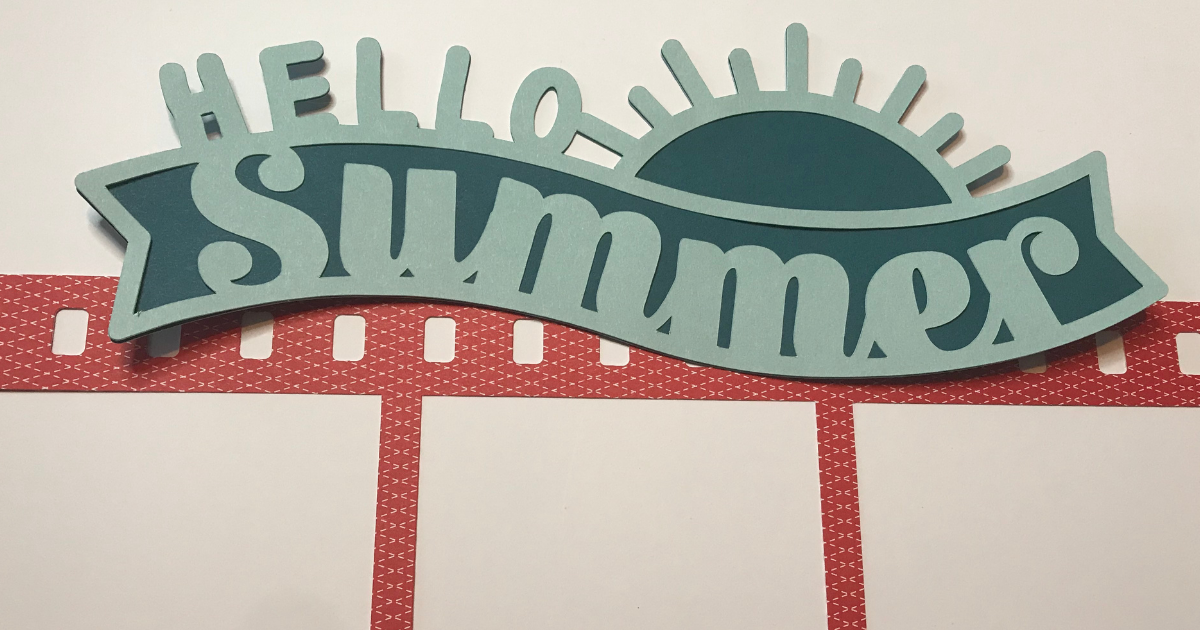
Everyone likes to create differently, but for me I like to glue all the pieces together. Then when everything is ready, I start adding it to the base page. I used 3D foam dots on almost all the pieces of the page because it gives the page depth and a great look.
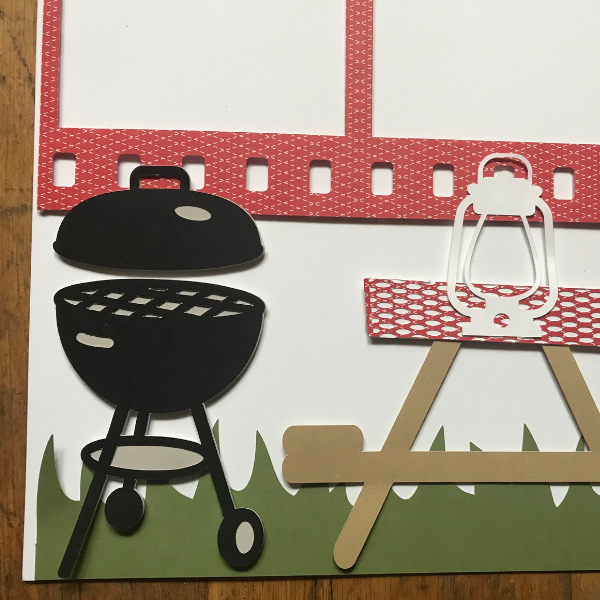
As for the pennants in the corner, I didn’t size them to page, but I cut them off with scissors after I created the page. That way is actually easier than changing it in Design Space.
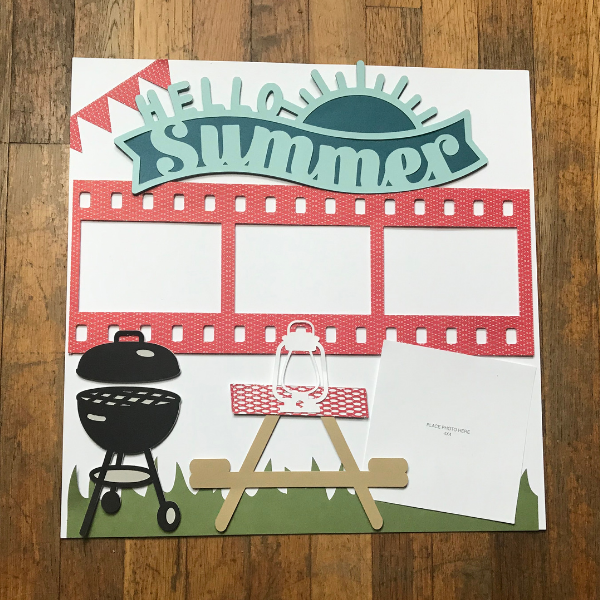
Creating Cricut scrapbook pages is fun and easy. If you have never created a Cricut scrapbook page before, use this step by step how to scrapbook with Cricut. Cricut and Close To My Heart also have a collection of Cricut Scrapbook Templates that are already created for you. Just click make it and cut and glue (if that’s your style). They are all super cute too!
