Send the Prettiest Slimline Christmas Card by Learning How To Make One
Note: As an Amazon Associate, I earn from qualifying purchases. If you click on a link from Amazon or another of my advertising affliates, I will earn a small commission at no additional cost to you. Please see my full disclosure policy here.
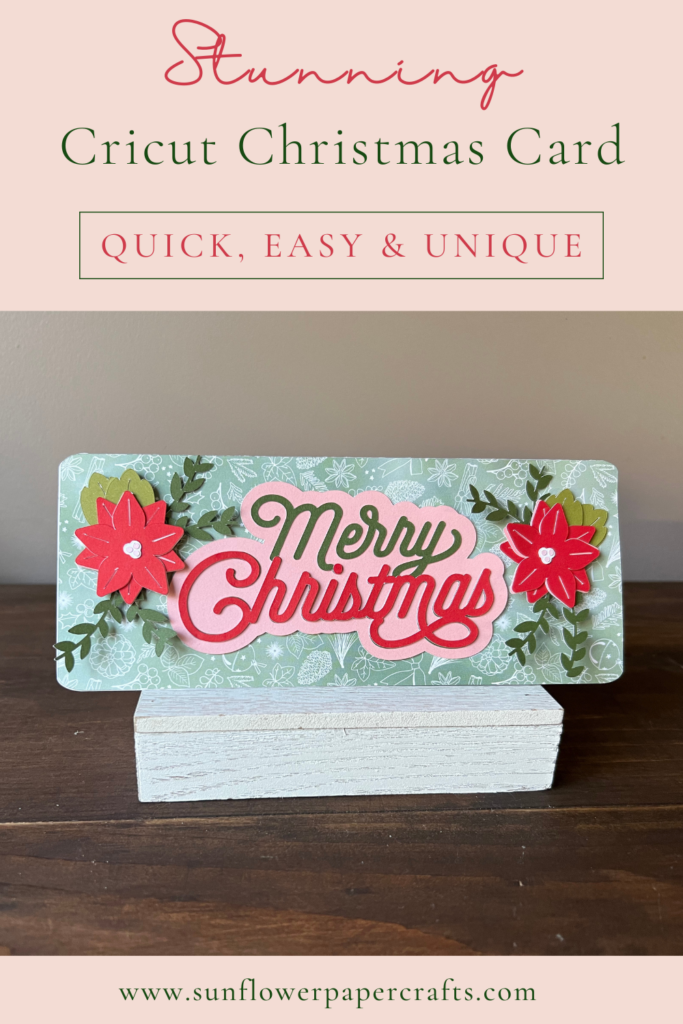
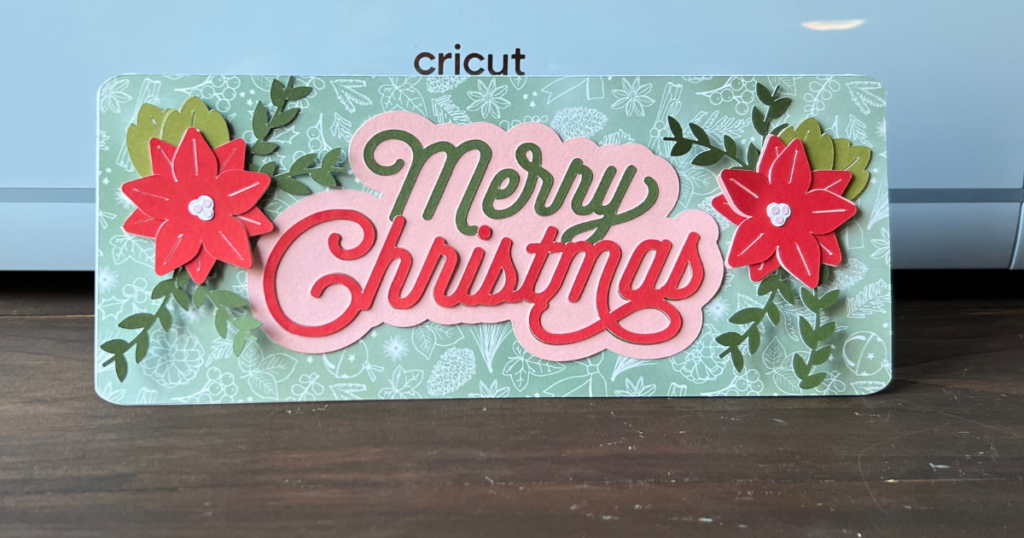
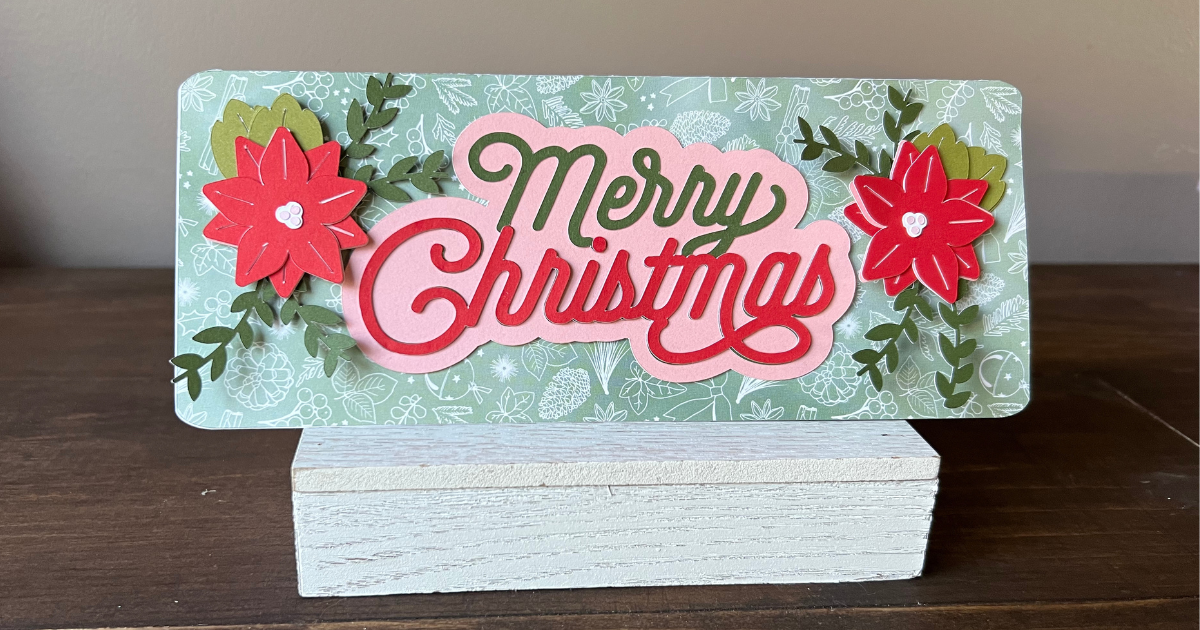
Are you ready to make a unique Christmas card this year? Then I have something perfect for you (plus I just love the unique shape of the slimline card). The cool thing about slimline cards are the length of them to decorate. They can be created horizontally or vertically. The slimline Christmas card idea I’m sharing today is a Merry Christmas card with poinsettias.
Christmas in July is the perfect time to start your Christmas gift tag and card making to get a ahead start on Christmas. So far I have completed the teacher gift tags and I’m moving on to their Christmas cards next.
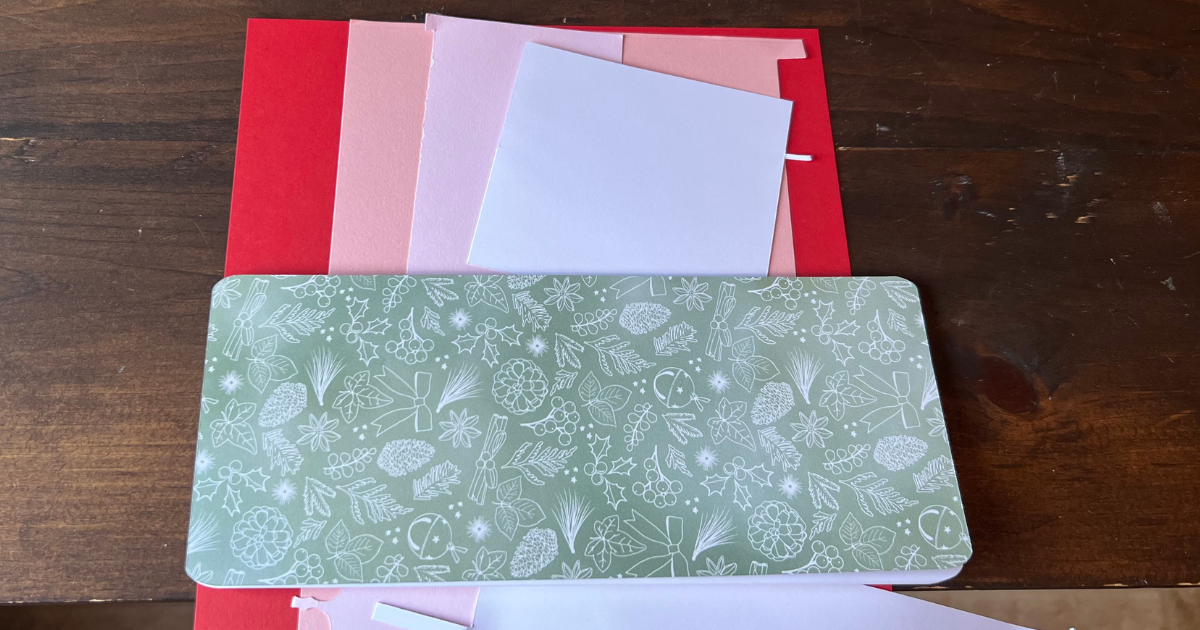
As for the slimline cards, you can create them with your Cricut or you can purchase them already made. The slimline card I’m using was created with my Cricut and the white daisy cardstock. To create a slimline card with Cricut here is the step by step tutorial for Cricut Design Space. This whole slimline card is created with Cricut, but something very similar could be recreated with stamps, die-cuts or stickers.
Supplies for Slimline Christmas Card Idea
Cricut machine
Light Grip Mat
Scoring Wheel or stylus
Slimline Cards and Envelopes
White Cardstock
Card Stock: Red Cardstock , Dark Green Cardstock, Peach Cardstock, Pink Cardstock
For card stock, I love the Close To My Heart card stock. I no longer waste a ton of paper and the Cricut cuts it smoothly and cleanly. Close To My Heart has a Custom Cardstock Pack and you can pick 12 sheets fo 12×12 card stock for $9.85. It’s a great deal!
Merry Christmas Slimline Christmas Card
Now that you have your slimline card base (either created with Cricut or purchased) it’s time to start decorating it.
Start by choosing the base paper for the card. The base piece is a patterned scrapbook paper from the holly & ivy collection, which is no longer available, but here are some cute Christmas paper choices. Choosing the base patterned paper first is a good way to choose the card stock colors for the card design.
Cricut Design Space Images Used:
Merry Christmas image #MD7AF2A
Poinsettia from the Merry and Bright scrapbook page #MEE764AD
This poinsettia is my favorite and I always come back to it whenever I want to use a poinsettia for Christmas projects. Plus here are the Christmas scrapbook pages from the collection with the Merry and Bright page.
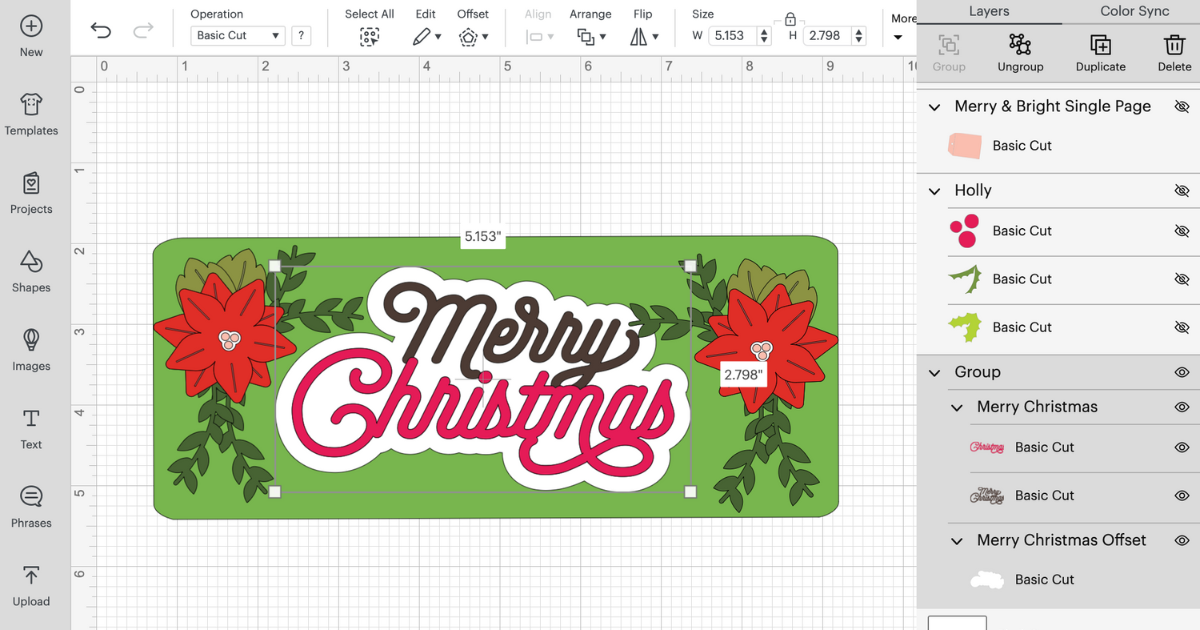
Size the design so the Merry Christmas image is in the center with a poinsettia on each side. I used the candy apple, peach and New England Ivy card stock from the poinsettia on the Merry Christmas image too.
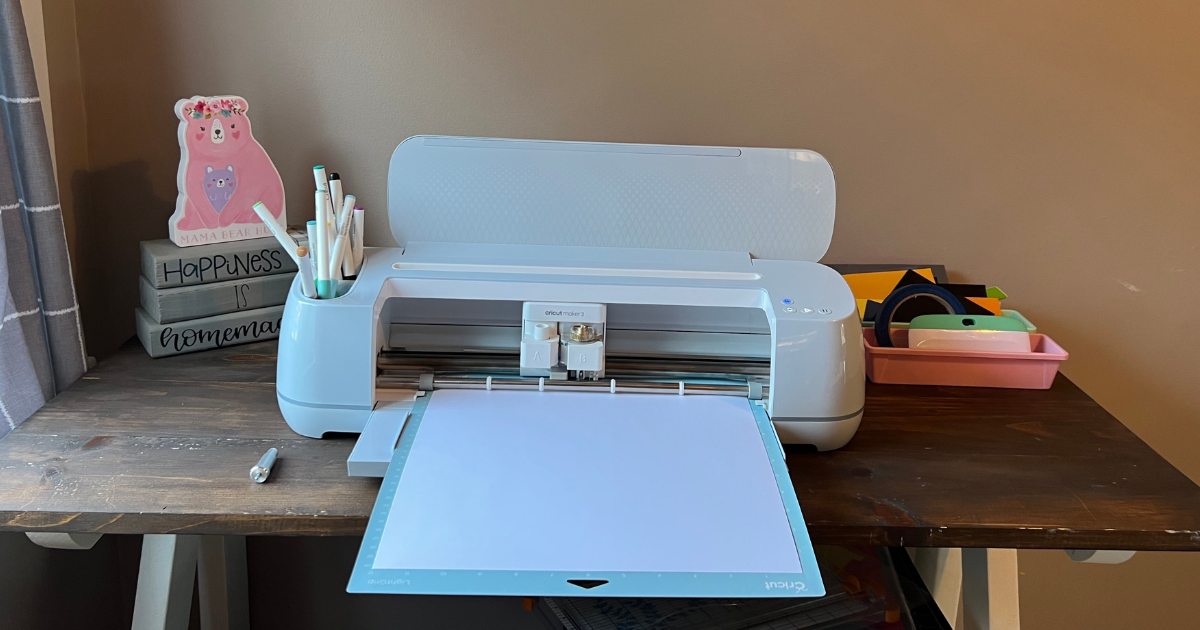
It just pulled the whole slimline card design together. Once the card design is complete, follow the prompts from Cricut Design Space and cut all the pieces of the card. I cut all the thin designs and Merry Christmas image on the cardstock intricate cut setting on the Cricut Maker 3.
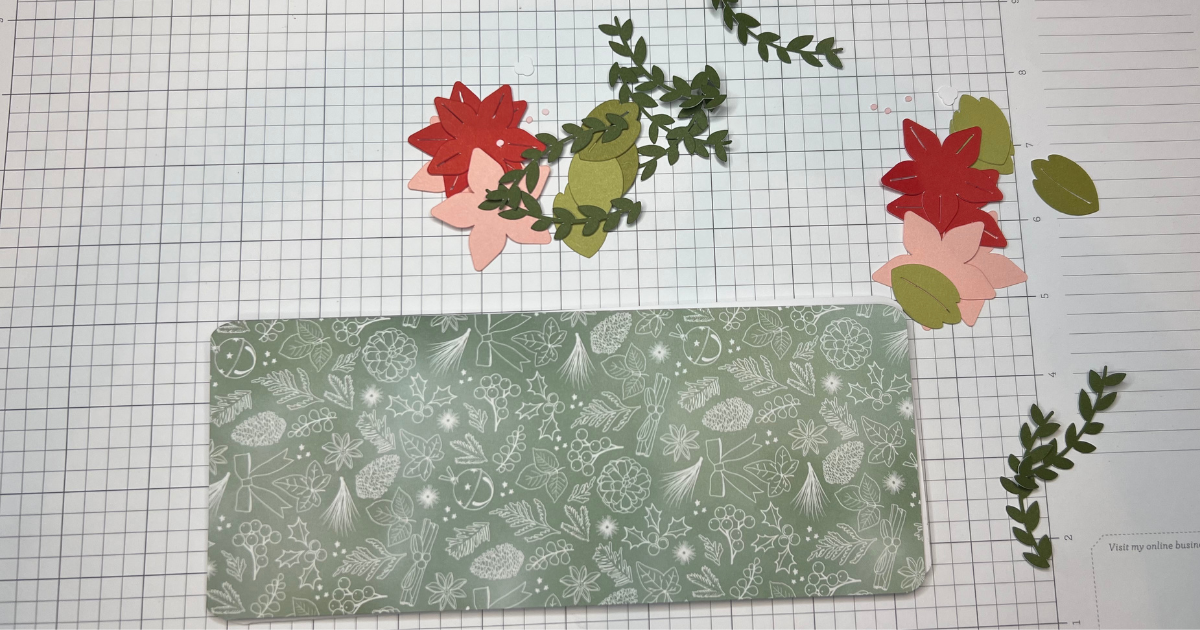
Start glueing the poinsettias together and the Merry Christmas image. When all the images are ready, it’s time to start glueing on the images and. creating this beautiful design.
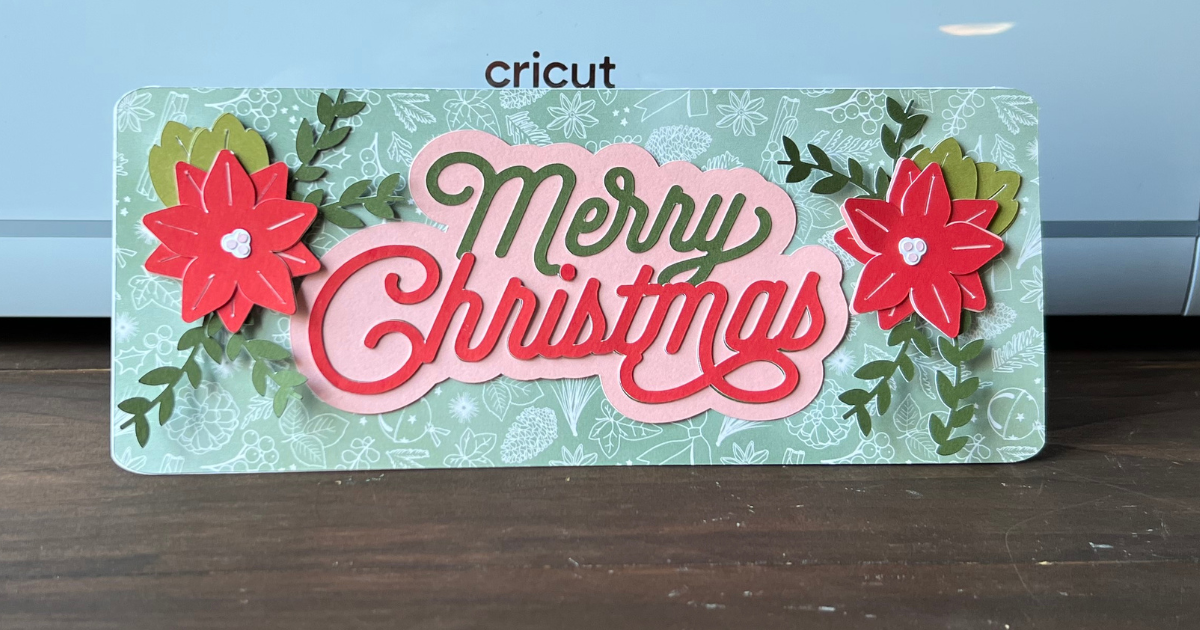
How adorable is this card? I love the red, pink and green together on this card. It has such a beautiful magical Christmas feel to it.
